-
- WEEK 1
Introduction to CGI Foundation
This session was an introduction to the module along with the different CGI techniques.
CGI or computer generated imagery, refers visual elements made using computer graphics software. This is include moving and static features observed visual media such as film, television, simulations or video games.
Unreal engine is one of the most commonly used software for creating video game worlds and landscapes. Therefore this will be a main focus for this module.
Written activity
A 500 word report on how CGI techniques are used in a media of choice (with references).
Dune, Denis Villeneuve (2021)
- Sand screens
To achieve realistic landscapes, DNEG (vfx and design company – digital negative) made the decision to use sand coloured screens rather than green screen. This helped to create a warm lighting that directly relates to the desert settings, in addition to avoiding colour spills created from a green or blue background.
- References
Practical effects were often used as a base source for computer generated imagery. To accurately simulate environmental disturbances observed when a flying vehicle descends, a helicopter was filmed and its movement along with other surrounding features such as blowing sand were replicated to create scenes with space shuttles. This was done to refine the visual production, adding accuracy to details such as blowing sand and surface movement. Prop explosions were also use to create shots that will be later used as reference for moving or blowing sand.
- Landscape and architecture
The films setting predominantly displayed wide desert landscapes and science fictional architecture. While its main attribute is the exaggerated fictional science imagery, the aim of it visual production was to present photorealism regardless. Real life natural landscapes where used to simulate this. Exterior architectural landscapes were created using CGI. Where as shots captured from a range of locations such as Jordan, Abu Dhabi and Norway were altered and combined to create many of the desert shots depicted in the film. Main shots within scenes were often captured in real deserts and extended using computer generated or separately captured imagery. Some shots in the film were composited using Nuke.
- Motion capture
A scene which displays the use of motion capture is Paul Atreides’s vision of him fighting through a mass of army troops. The shot of the army troops is extended using computer software, a model of full uniform Paul Atreides is used against an actor performing the fighting movements. This was one of the most pivotal moments of the film.
- Shai Hulud – the sand worm
Modelling and animation techniques where used to create well known sand worm, Shai Hulud. During its making VFX mainly struggled with depicting the feeling of scale and its dominating presence. To achieve this DNEG had parts of it body rest beneath the sand, challenging the audience to use their imagination to predict its true scale. Additionally, perspective was used to further create this effect; through low angle shots the difference in size between the sandworm and actors were clearly depicted (V. Wagh, 2026). To present realism with its texture, Shai Hulud’s features were sculpted with the intention of creating a somewhat ancient creature; through modelling thickness and rough textures on its skin, this was achieved. This took a year to complete.
References
Wagh, V. (2026). How Denis Villeneuve Finally Solved the ‘Sandworm Problem’ in Dune. No Film School. Available at: How Denis Villeneuve Finally Solved the “Sandworm Problem” in ‘Dune’ | No Film School (Accessed 13 Feb. 2026).
foundry (2021). How DNEG created the award-winning VFX of Dune | Foundry. Available at: How DNEG created the award-winning VFX of Dune | Foundry (Accessed 13 Feb. 2026).
Failes, I. (2021). The ‘Dune’ visual effects team used sandscreens instead of bluescreens. [online] befores & afters. Available at: The ‘Dune’ visual effects team used sandscreens instead of bluescreens – befores & afters
WEEK 2
Environment and Architecture
The aim of this session was to carry out research on types of architecture and environment in response to the assignment 1 brief.
Class Exercise
To carry out research on an architecture style.
Vernacular architecture
This architecture refers the use of methods local to a culture or region. This styles involves the use of traditional material and techniques for the making of buildings. These materials may include mud, rocks, wood, straw, bamboo, and many more. While these are less ‘advanced’ compared to modern materials, however these buildings tend to be more sturdy and durable. The foundation of these techniques are designed in relation environmental factors such as weather or temperature including cultural factors such as religious beliefs.

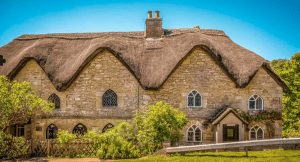
Reference
Architecturecourses.org. (2024). Vernacular Architecture | ArchitectureCourses.org. Accessed: 9/04/2026. Available at: Understanding Vernacular Architecture: A Beginner’s Guide | ArchitectureCourses.org
Assignment preparation
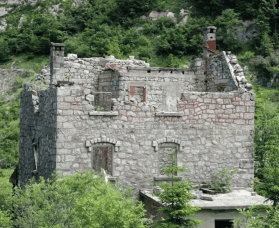
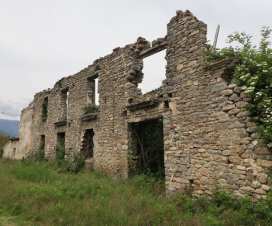
Gathering images and designs in preparation for the final unreal environment and architecture project. For this project I intend to create a world left derelict by an fantasy apocalyptic event. To achieve this I will consider adding worn down architecture, and overgrown trees, plants or foliage, this would further evoke the theme of abandonment. The theme will be inspired by a medieval village setting.
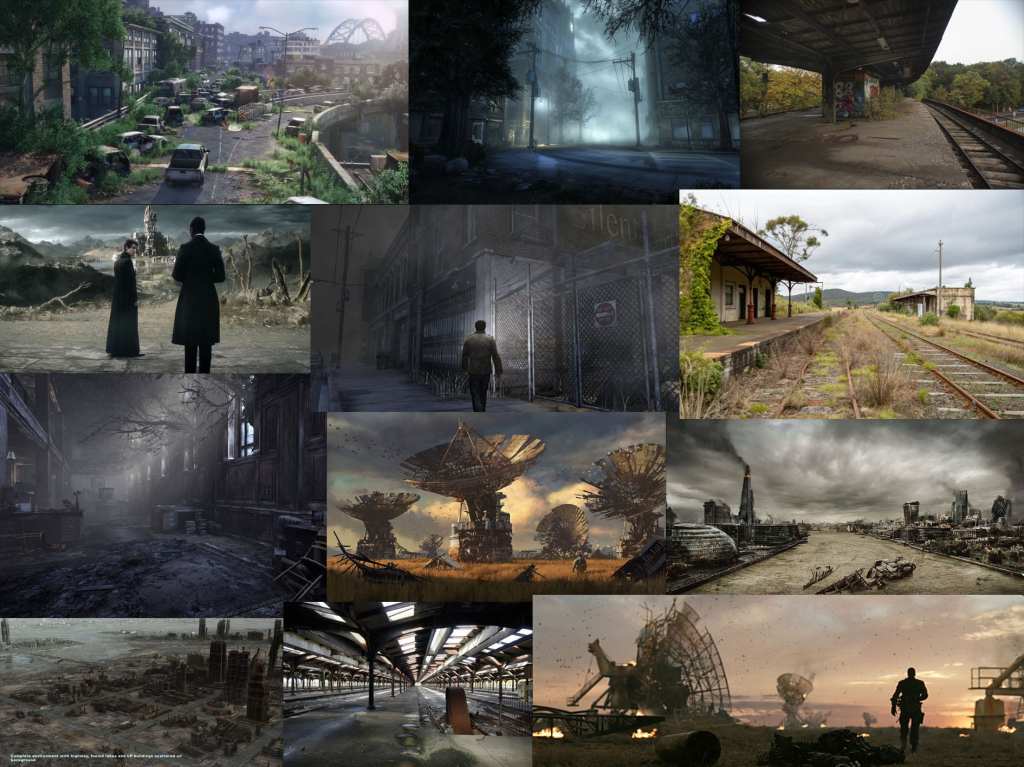
Images:
- Silent Hill, 2012
- Mad Max, 2015
- Sandman, 2022
- Fallout, 2024
- Resident Evil, 2024
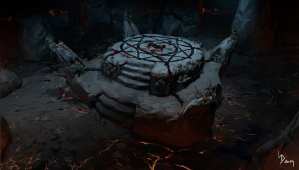
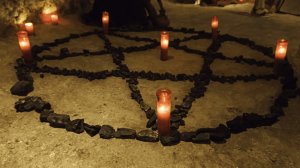
The assets I plan to use will take reference from these images:
WEEK 3
Getting Started with Unreal
This was an introduction to the basic function in unreal engine. It a computer graphics software used to create interactive games or simulations.
Terms associated with using unreal:
- Blue prints
- Object oriented design (OOD)
- Object/actor
- Components
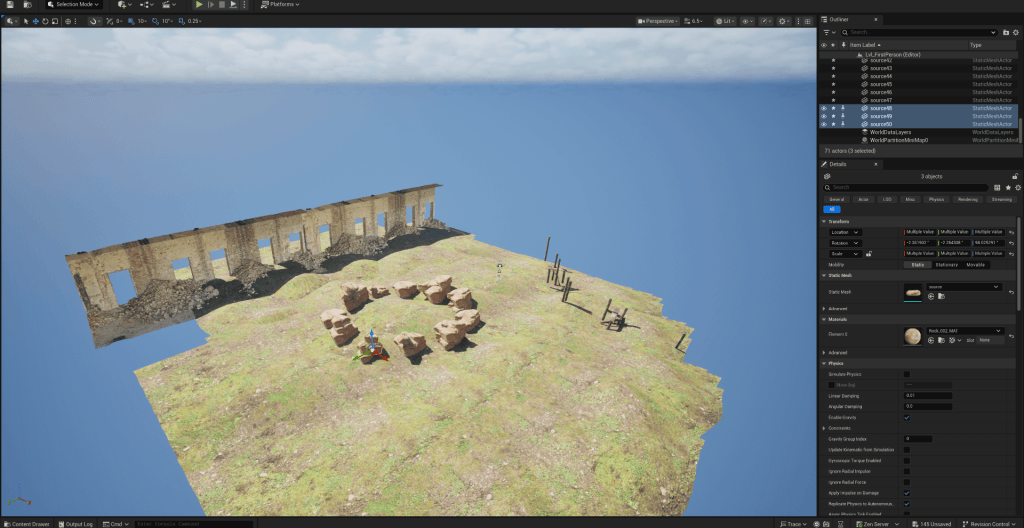
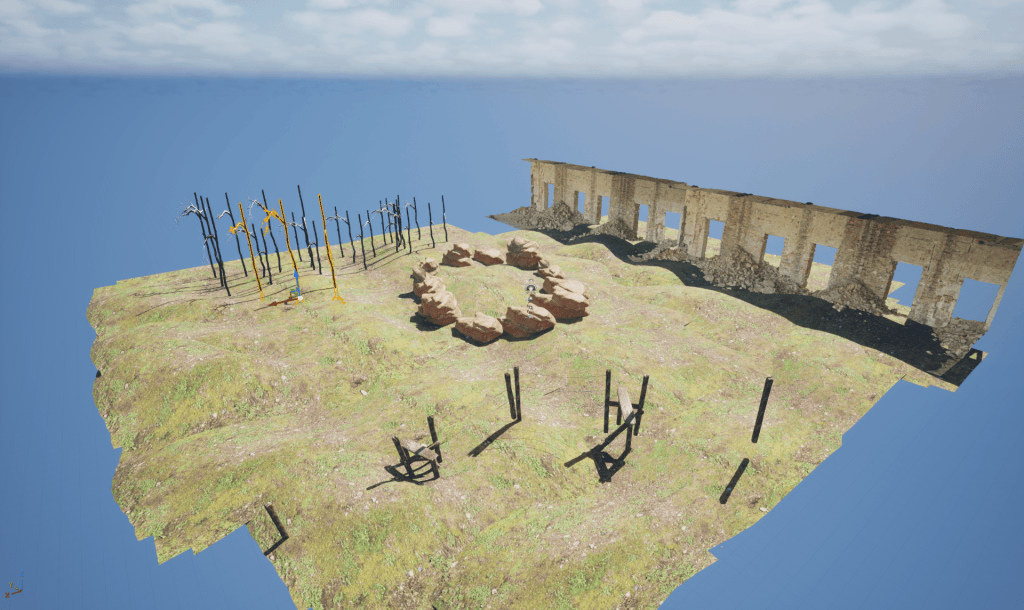
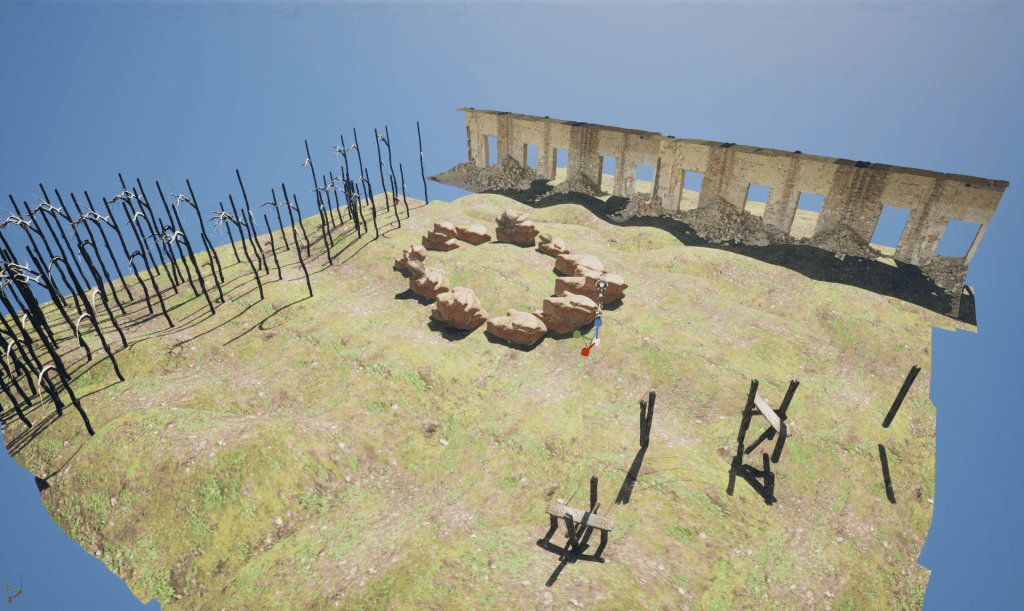
With this exercise I attempted to familiarise myself with unreal by creating an environment.
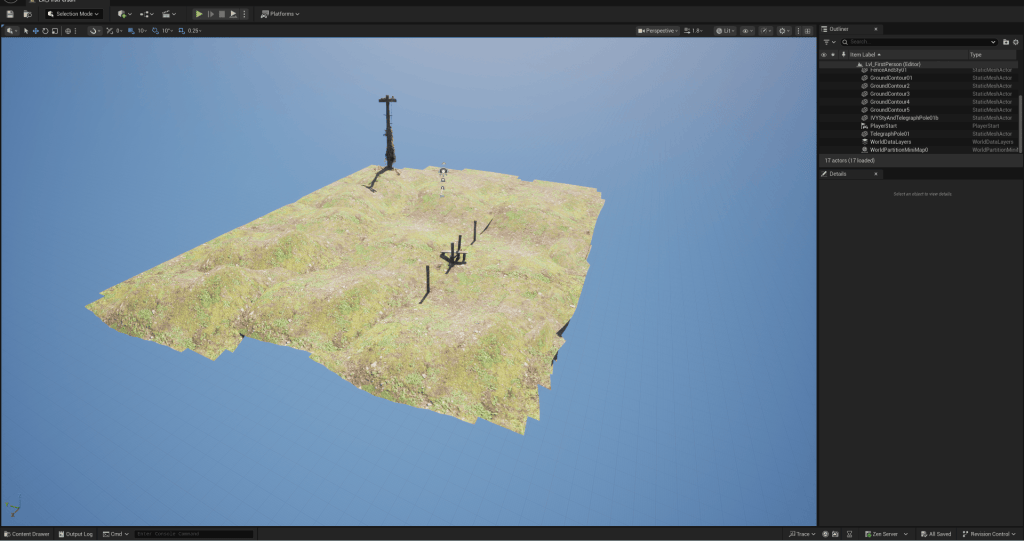
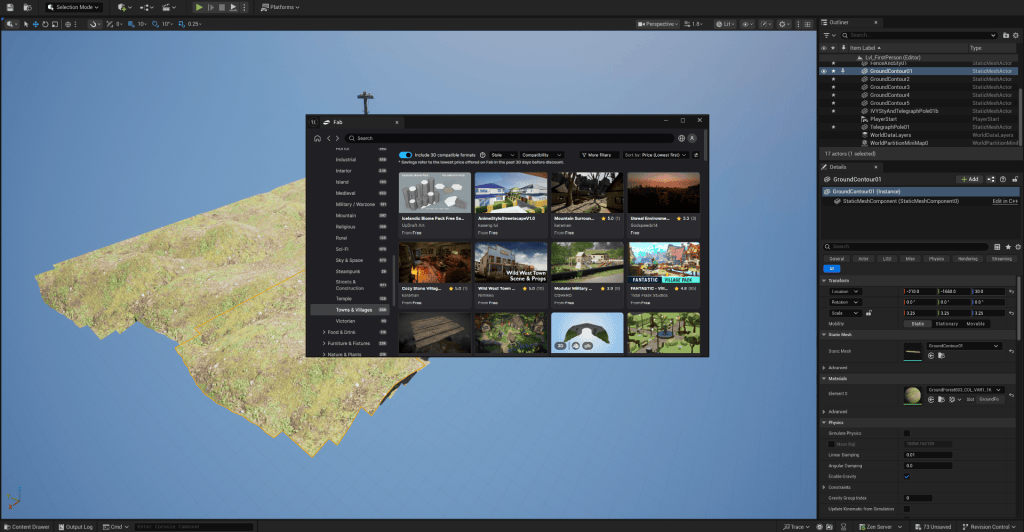
- For this process I used pre made assets provided by Fab. After adding the feature to the scene, I played around with the scale and position of it to ensure that it fits the world I am creating.
WEEK 4
Introduction to Blueprints
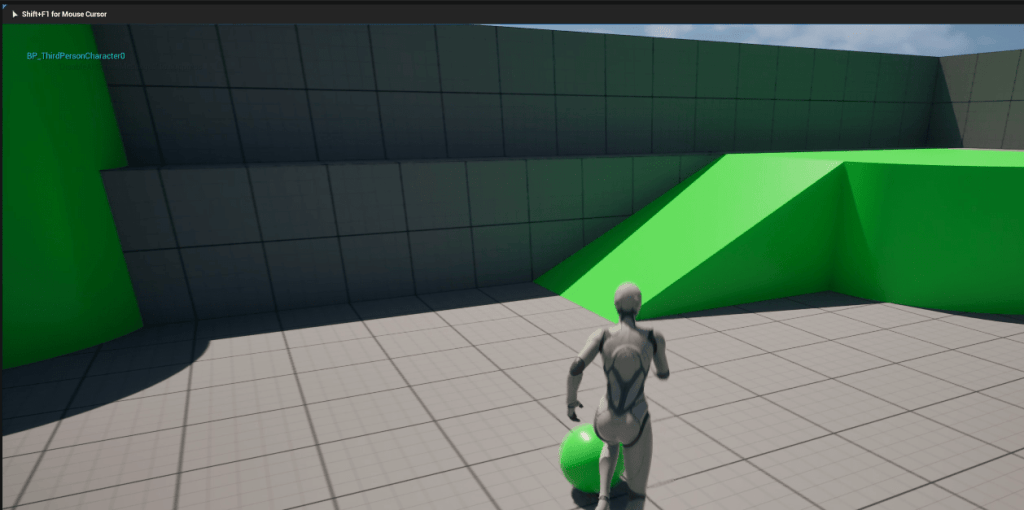
With this lesson I learnt how to create a change in setting using blue prints in unreal engine.
Blueprints a feature in unreal engine that allows developers to create gaming functions or interactions without the need for any advanced code.
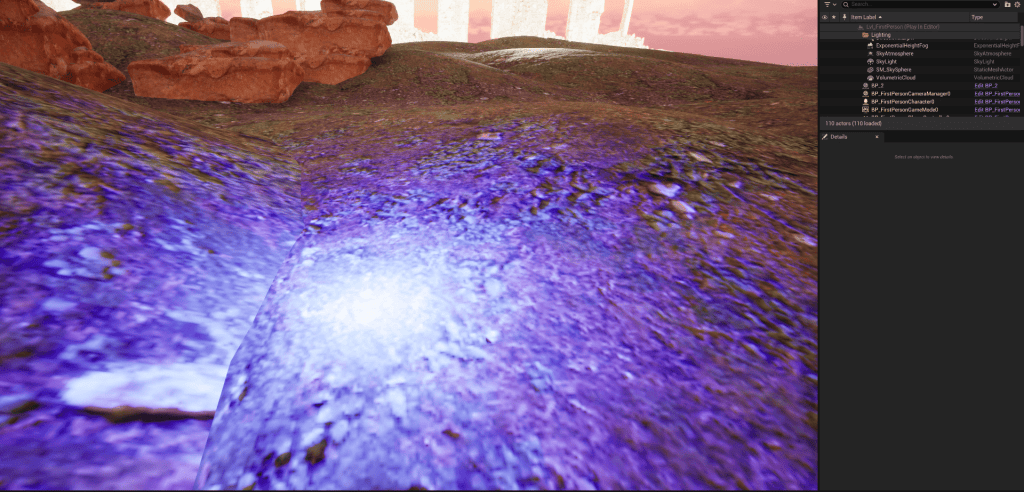
1. Using blueprints to change point light colour upon collision: I first inserted a node to allow a change in setting upon contact with the actor/object (on component begin overlap). I then connected it to the point light actor node.
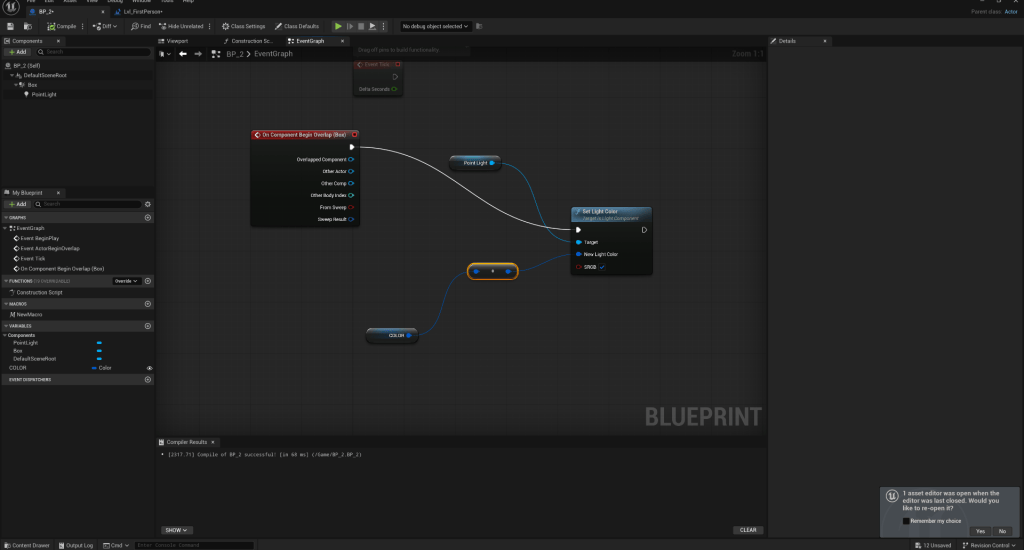
This is how the point light appeared after collision.
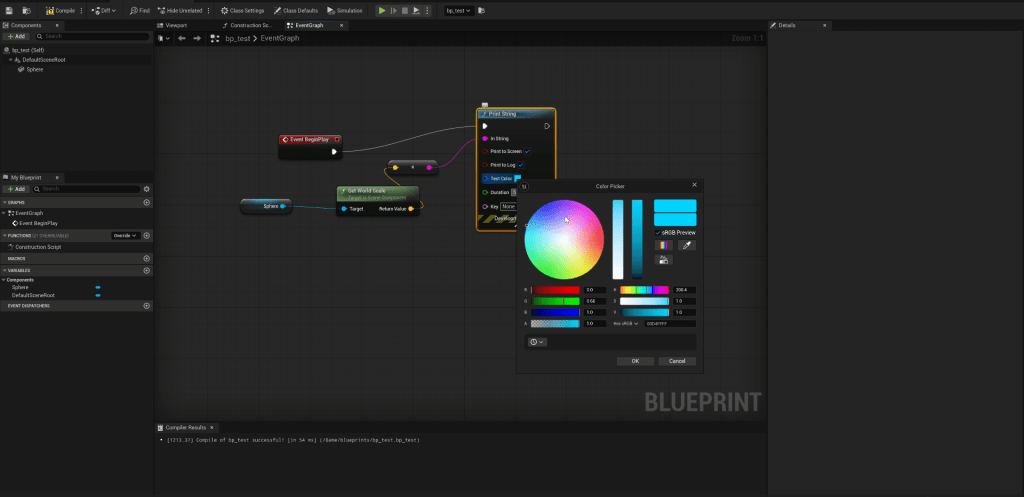
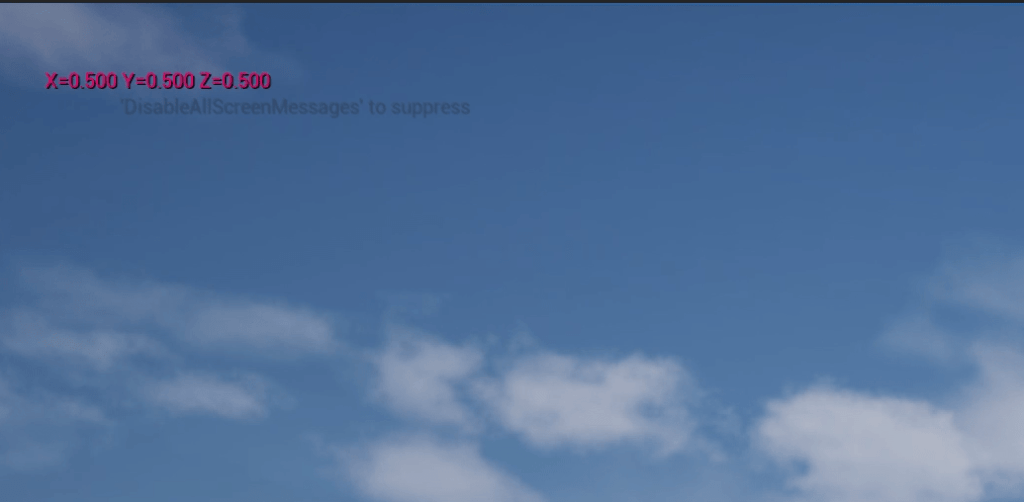
2. Using blueprints to display world scale:
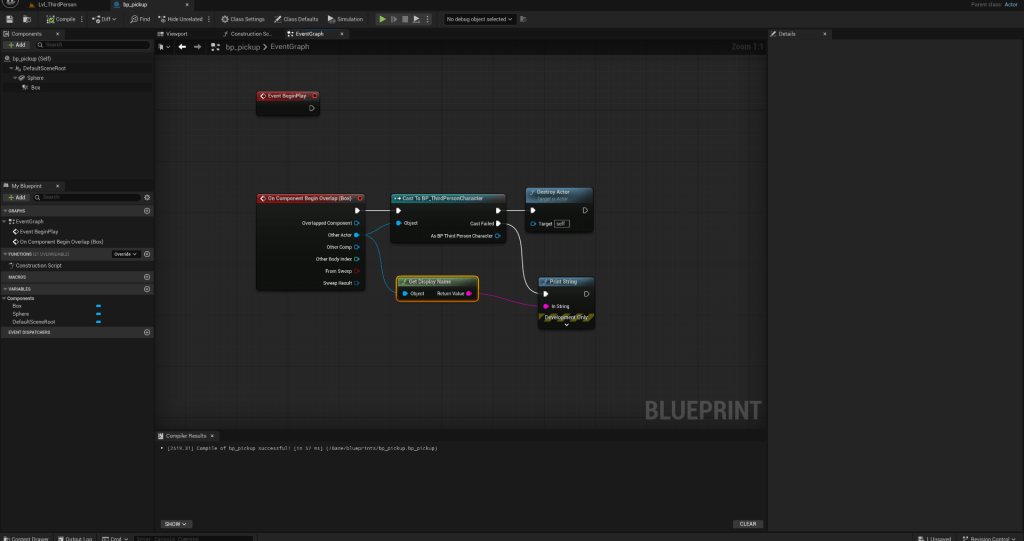
3. Trigger object name upon collision
WEEK 5
Materials
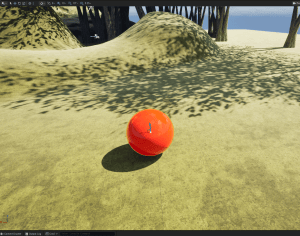
This session was an introduction to the application of materials in unreal engine. Materials are important assets that help determine the appearance of an object; its colour, transparency, roughness, etc.
Creating a material component
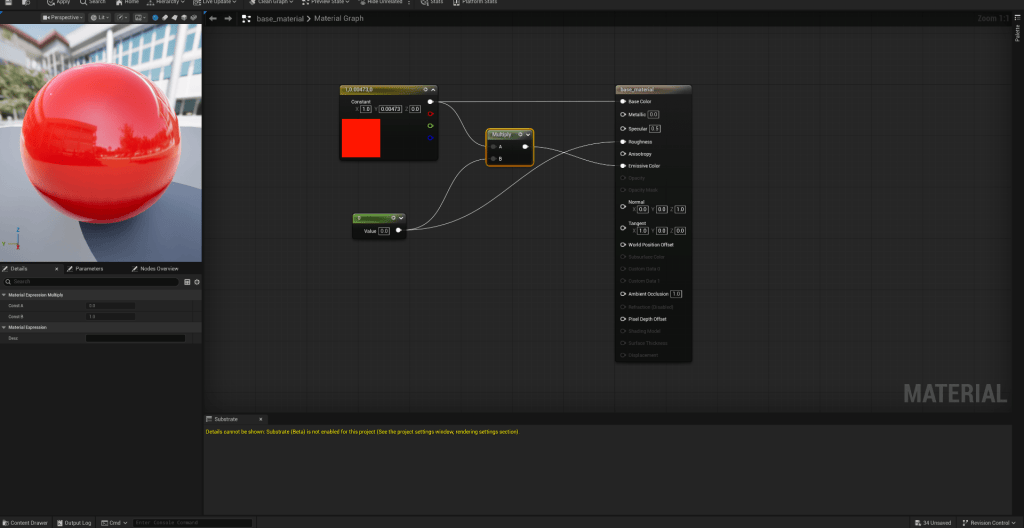
Creating a material component allows for an easier method of applying materials onto objects, as the blue prints are pre made and easily accessible.
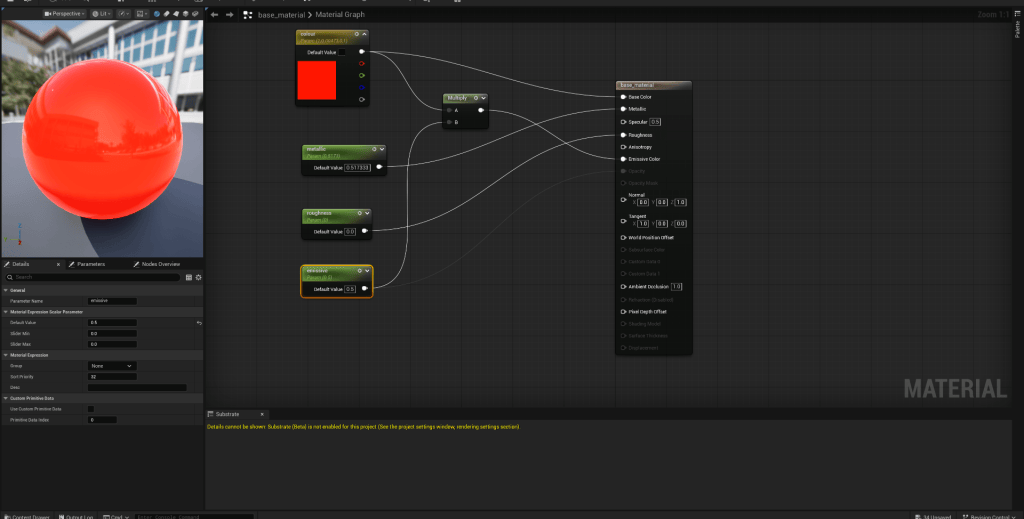
To create the material, I used the “base material” node, which has settings such as colour, roughness, and shininess. Adding and connecting nodes such as multiply, variable nodes allows for these settings to be edited.
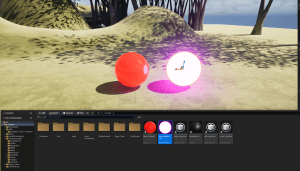
Creating an object with high emissive light
WEEK 6
Landscapes & Foliage
This session was an introduction to sculpting landscapes and painting with assets such as trees.
Landscapes
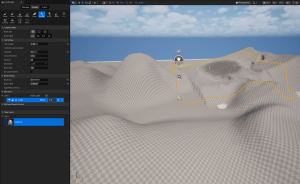
The landscape mode is a useful feature that allows users to create mountains, hills and terrains with the tools it has to offer.
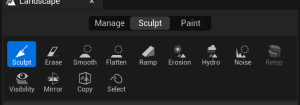
1. Sculpt tool: used to gather thickness and create stokes. Useful for the making of uneven landscapes.
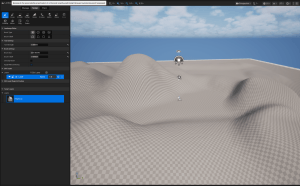
2. Ramp tool: allows for the creation of elevated ramped surfaces.
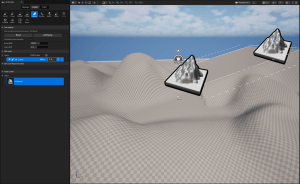
3. Erosion tool: used to create rough flatter landscapes that mimic the effects of erosion.
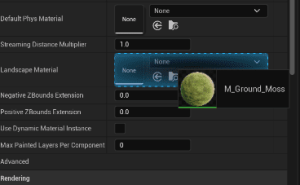
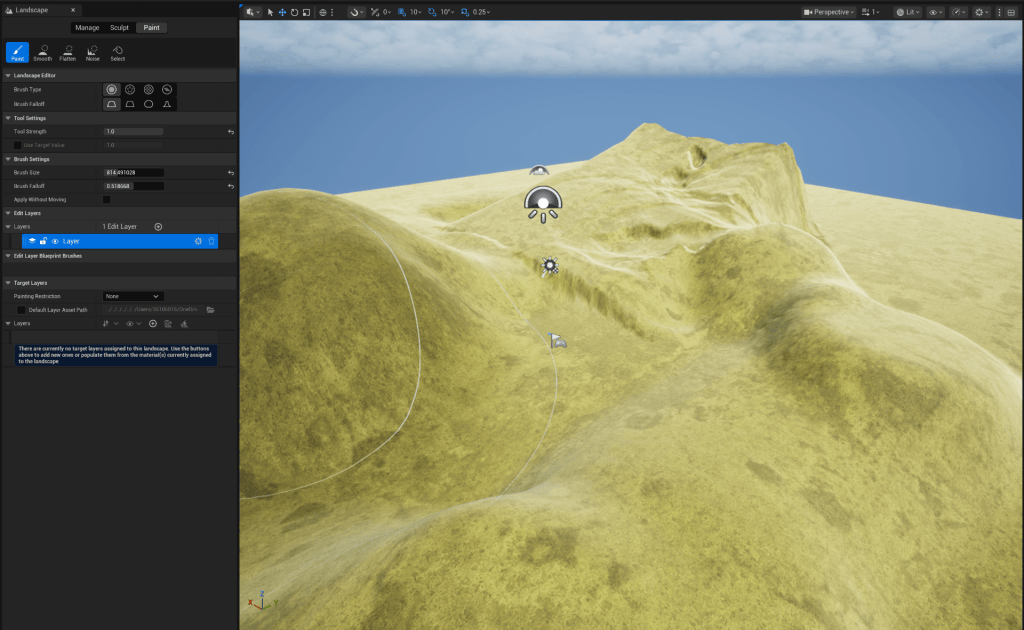
Applying material onto a landscape
To apply a material onto a landscape, I simply dragged and dropped the material file onto the ‘landscape material’ attribute section.
Foliage tool
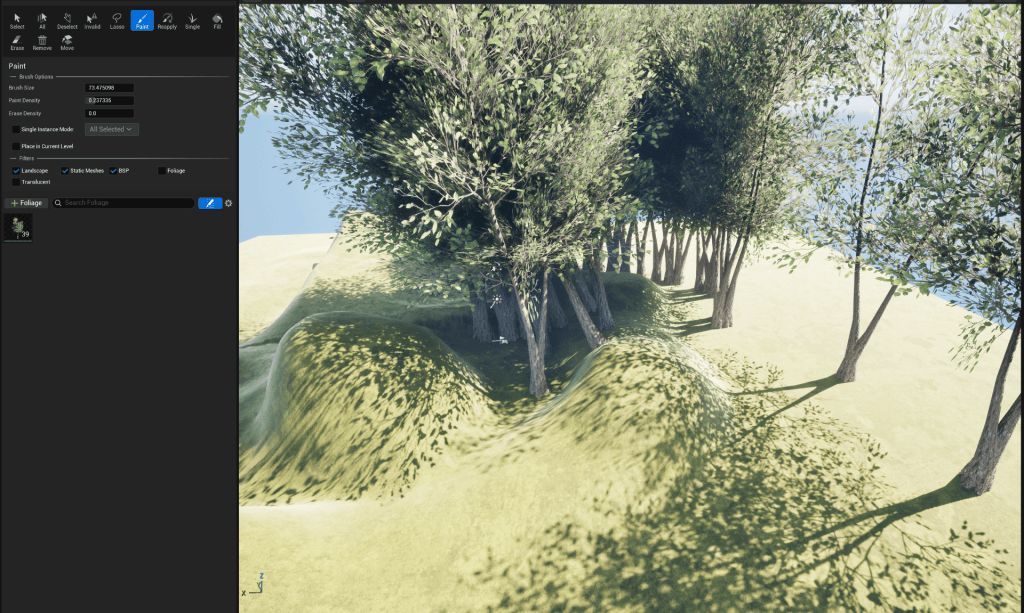
This tool allows me to create clusters of trees using a single asset. To use this, I first changed the setting to foliage mode, added a tree asset to my project.
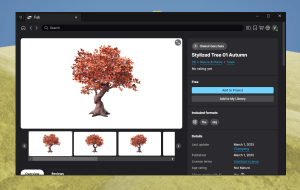
Applying the tree to the foliage tool
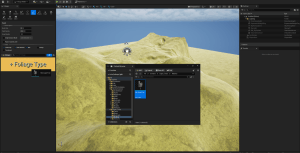
This is how the tree cluster appear when using the foliage tool.
WEEK 7
Painting on Landscapes
This session was an introduction to painting on landscapes using materials.
1. Creating a blueprint system to add materials and their properties.
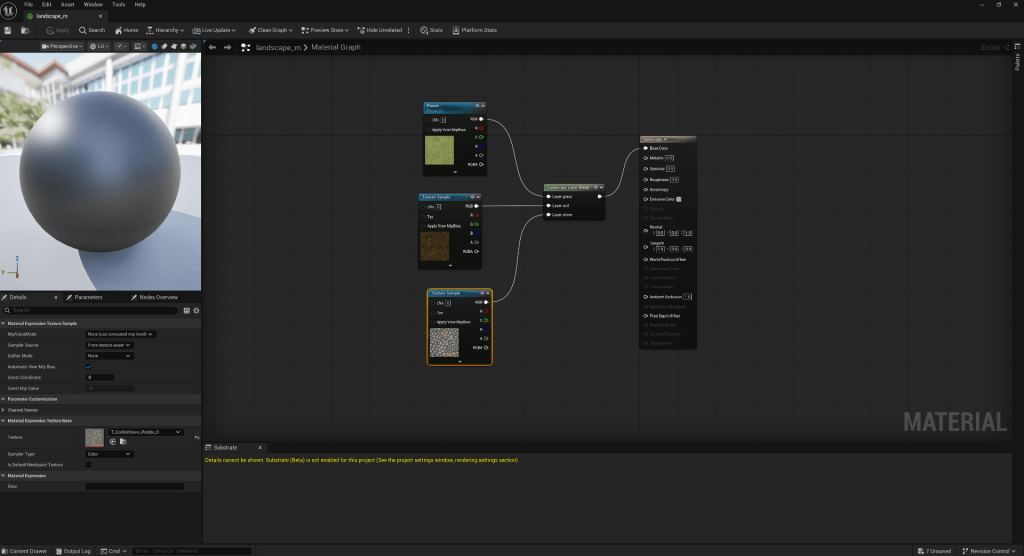
2. Creating a painting layer and adding materials to be painted with
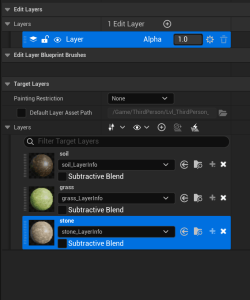
3. Adding a base landscape material
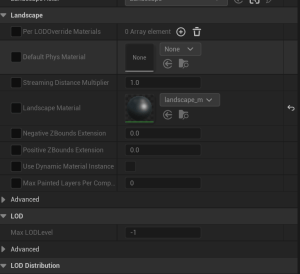
4. Painting with the material
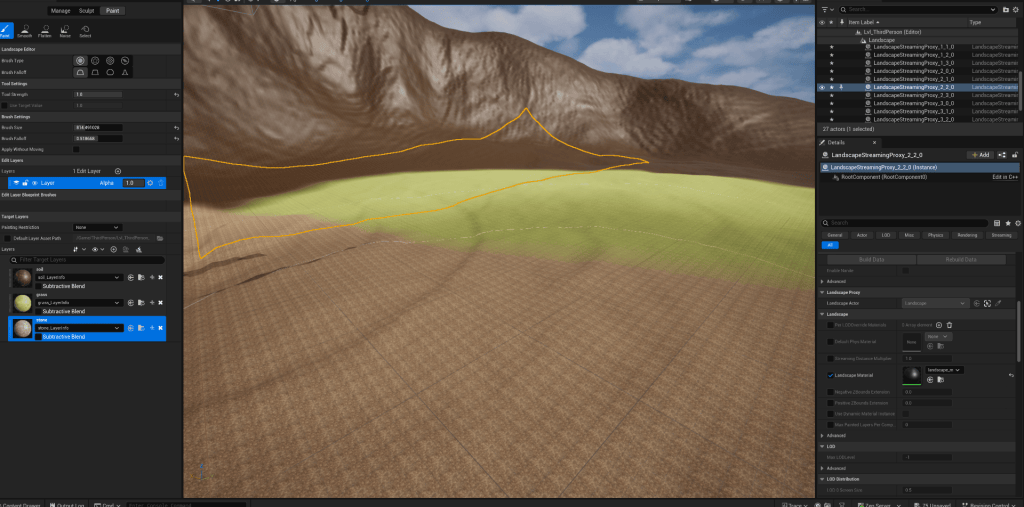
WEEK 8
Sequencer, Cameras & Post processing
This session was an introduction to crating a video sequence in an unreal project. This very useful for show casing the assets within a project.
The unreal engine level sequencer allows users to create cinematic of their projects.
Class exercise
To create a sequence using unreal engine.
To do this, I first created a level sequence. I was then able to create movement by keying in each shot using right click + WASD navigation feature. I attempted to experiment with a range of shots and camera movement. In the future I hope to carry out this process on a more visually appealing world, so as to create a more interesting sequence. Additionally, I intend to experiment with camera quality and filters to make more cinematic sequences.
I attempted to experiment with a range of shots and camera movement. In the future I hope to carry out this process on a more visually appealing world, so as to create a more interesting sequence. Additionally, I intend to experiment with camera quality and filters to make more cinematic sequences.
WEEK 9
Advanced Blueprints and Widgets
The aim of this session is to explore more ways blueprints can be applied to computer based visual effects and game development.
Blueprints is a useful game editing system that allows developer to generate functions or trigger interactions without the need for any code. It’s makes the game development process much more efficient and provides a wide range of approaches that can be used to create a variety of actions. By using blueprints, developers can have premade settings that can be applied to different assets within a project. For example, a premade collision system can be applied to different objects, while the blue prints remain the same. This can take place for other functions such as a change in colour upon interaction, or the appearance of in-game labels such as actor name, map location or life bar. Additionally, due to the functions being linked to a single blueprint systems, trouble shooting becomes easier for developers as a clear origin can often be located in the blueprint system.
WEEK 10
Advanced Material and Particle Effects
Particle effects are systems often used in visual effects to stimulate the movement of materials such as dust, water, smoke or fire. Unreal engine provides 2 different particle systems, Niagara and cascade systems. This session will be an introduction to the application of Niagara effects to an unreal project.
Class Exercise
To explore different Niagara systems in unreal engine
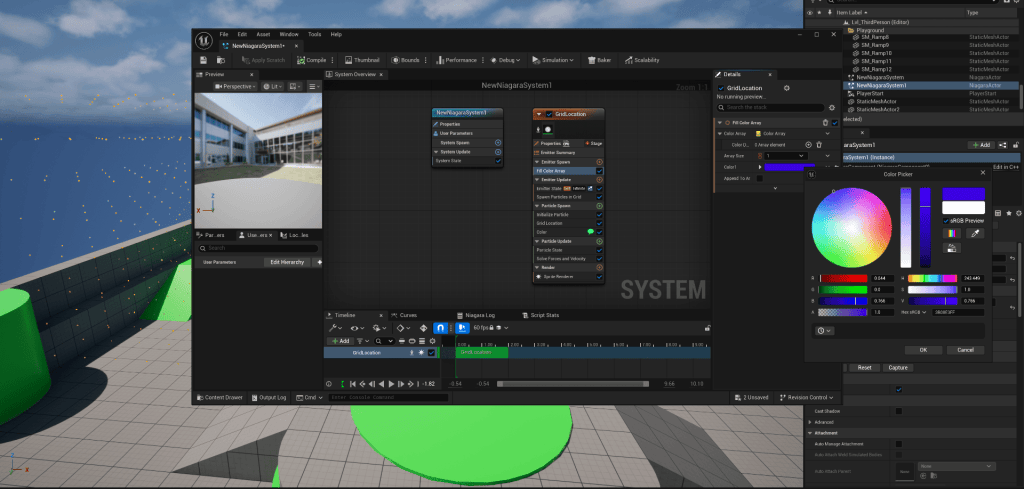
1. Adding the Particle system to my content drawer: unreal contains already pre made effects that can be drag and dropped onto the project. I chose the “grid location” and “hanging particles” effects.
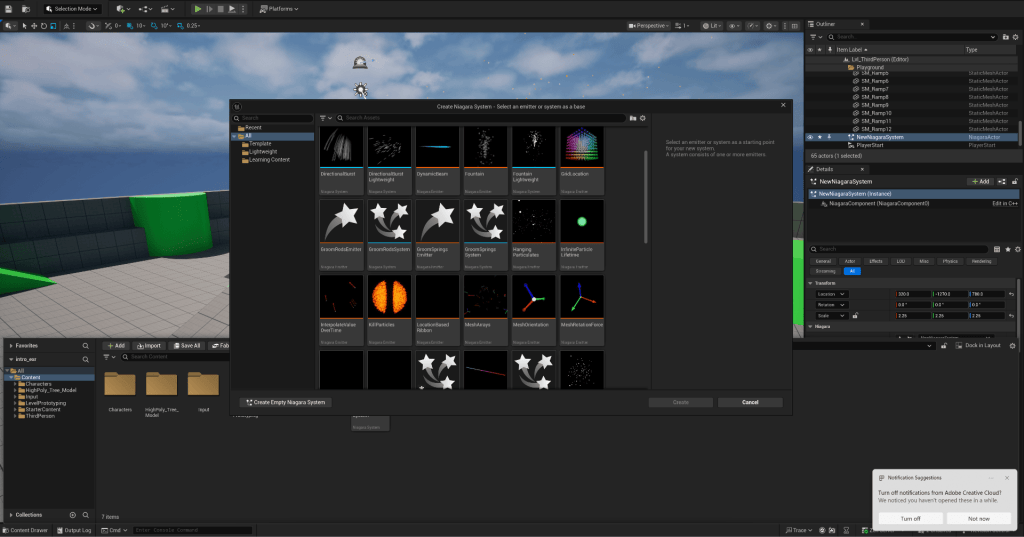
This is how the effects appear on project
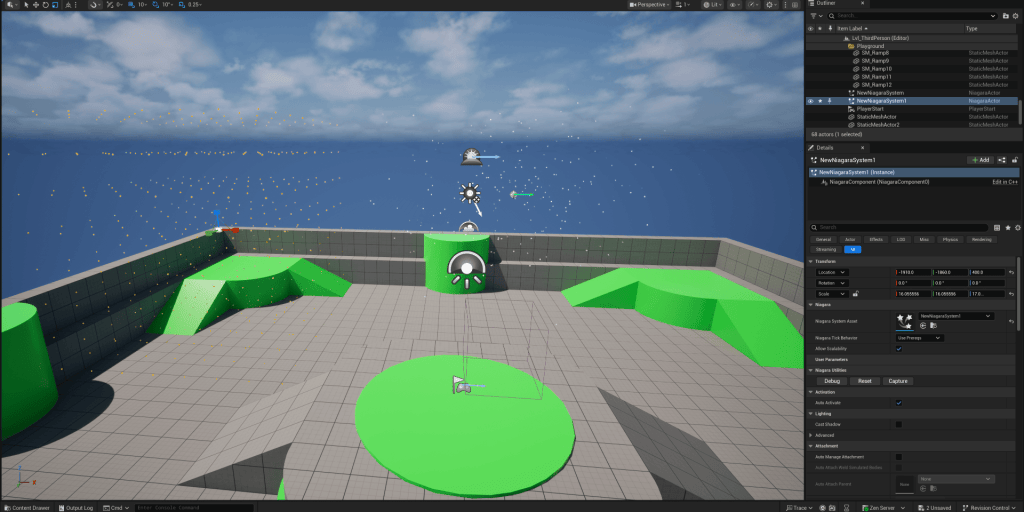
2. Editing the properties of the effects: to do this I double clicked the effects in the content drawer, this opens up the particle system blue prints. By clicking initial particle under particle spawn, I’m able edit aspects such as the colour and scale.
Assignment 1: Unreal Engine Environment
The aim of this assignment is to create an environment using unreal engine. To create the environment I imported assets from Fab marketplace, a site that offers free 3d actors and objects.
Creation process
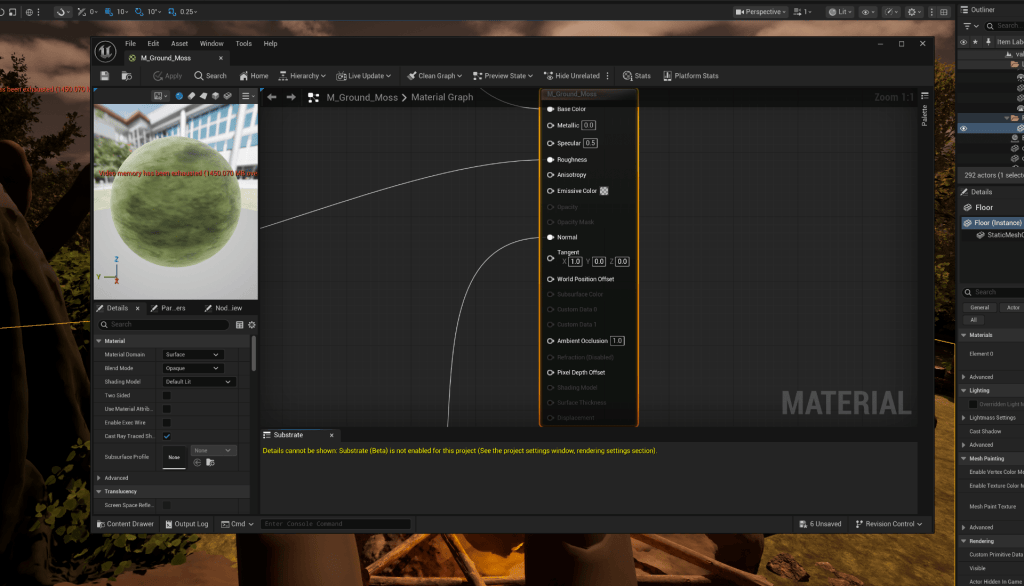
1. Applying a material to the floor object: to create the ground for the environment, I simply changed the default material of the floor object. I chose a rough grass material with pre made texture.
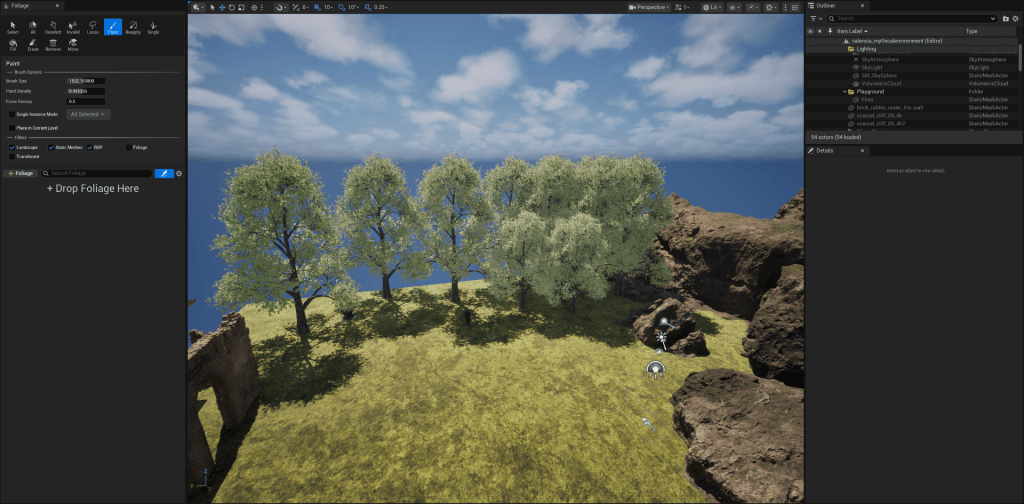
2. Adding rocks, hills and foliage: using a selection of tress and shrubs from fab market place, I was able to create tree clusters with the foliage tool. This made the project much more interesting and realistic. I ensured to place clusters around the edge of the project, in order to disguise the game like structure as a wider landscape.
4. Adding man made structures: the aim of this step was to create features that give more context to the subject of the project. These include the following:
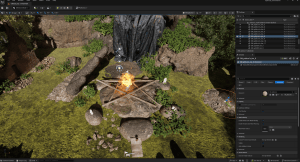
Ritual altar
Sketched design reference
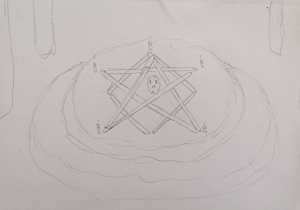
I made this altar by placing a selection of assets in the layout displayed above. The rocks and candles were duplicated, edited or combined to create the stand. The sticks were also arranged to create a pentagram.
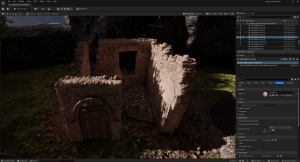
Worn down houses
To create the houses I placed a selection for worn down house models gotten from fab. I played around with the scale and positions to create more variety in each structure.
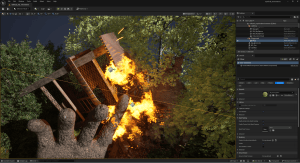
Watch tower
This structure was imported from fab and positioned in a way that suggests it destruction.
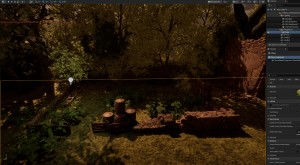
Worn down outdoor farm
To create this I arranged a selection of wood and stone fences into the layout below.
5. Adding mythical assets to further represent the theme: the aim of this process was to enhance the theme of dark fantasy in the project.
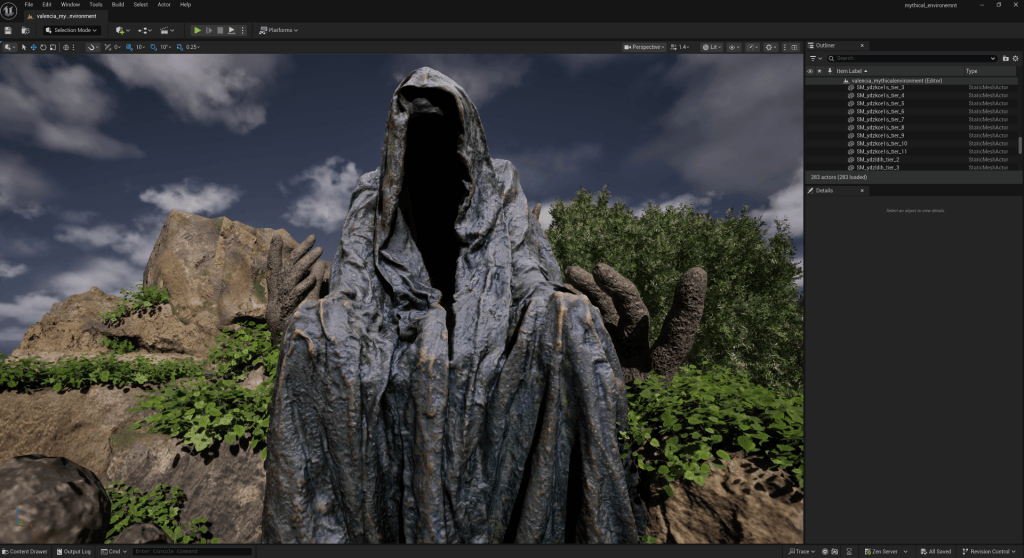
Ancient Giant
This was Imported from fab and placed on the mountain. I chose this position and scale because I intended for it to be a dominating figure in the scene and a key aspect of its story.
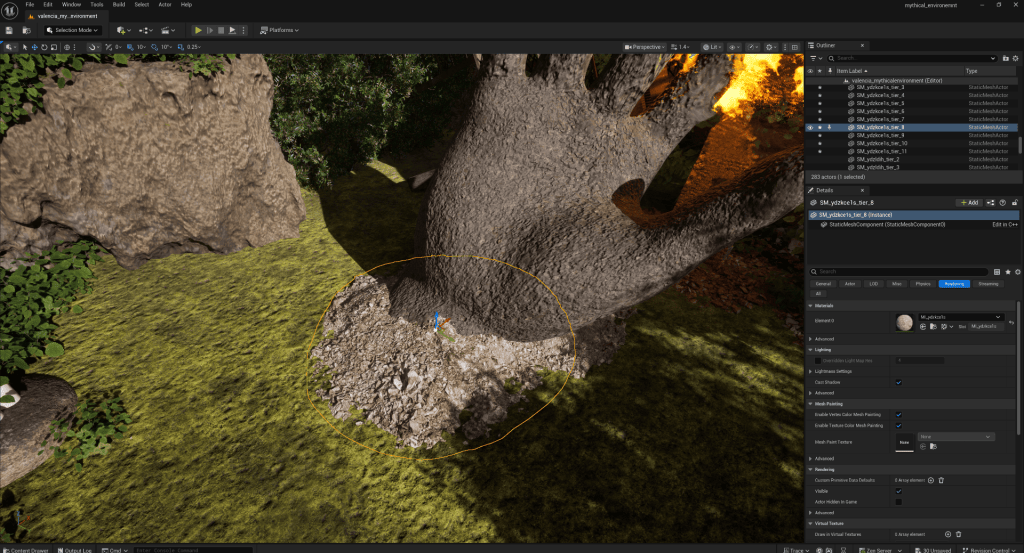
Giant hands
The original fab model was adjusted to blend with the environment. I changed its material to a terrain like appearance, then scaled and repositioned them to elevate the grunge aesthetic of the scene.
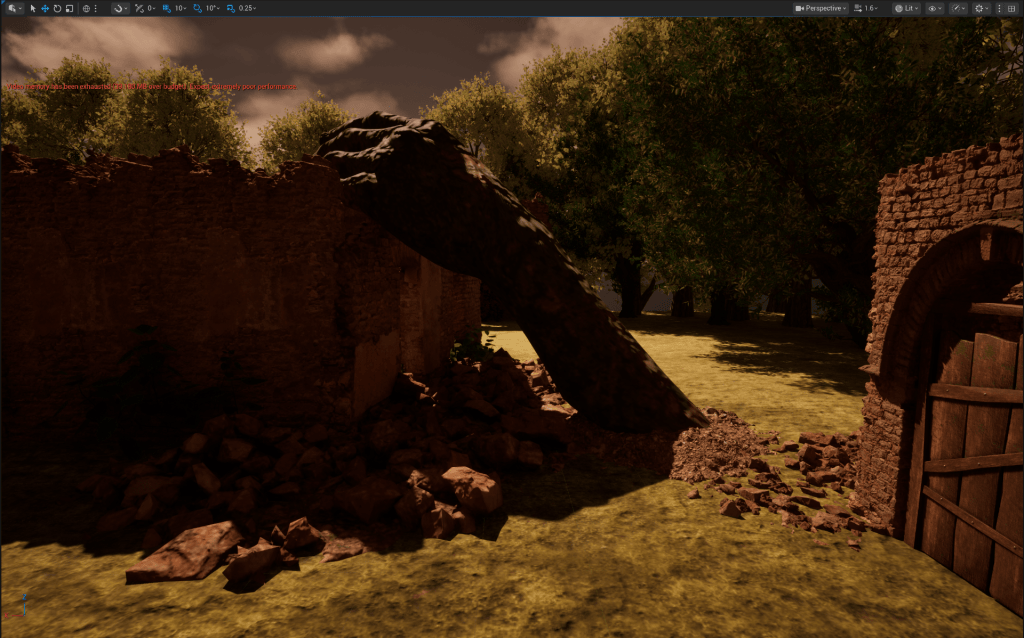
6. Adding signs of destruction: to round up the making of the environment, I added more signs of abandonment and destruction to the scene. This helped to increase the realism of the scene and ties all the assets together by providing more context to the situation.
Dirt piles – suggests the emergence of the arms from the ground. For this feature, I duplicated and played around with the scale and positions of the dirt piles. This was done to make the piles less uniform and more realistic.
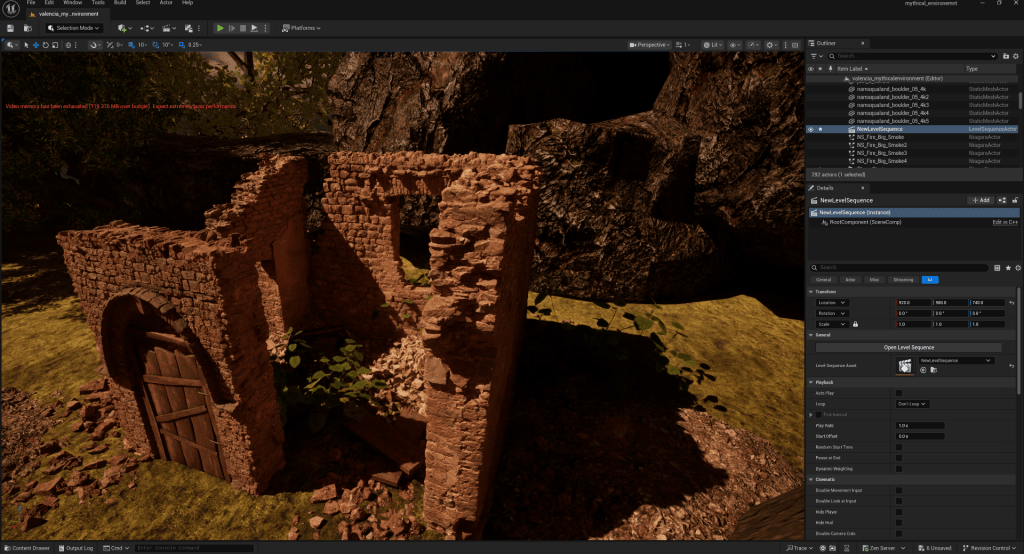
Rubble and Debris – the same techniques used for the dirt piles were applied to the rubble.
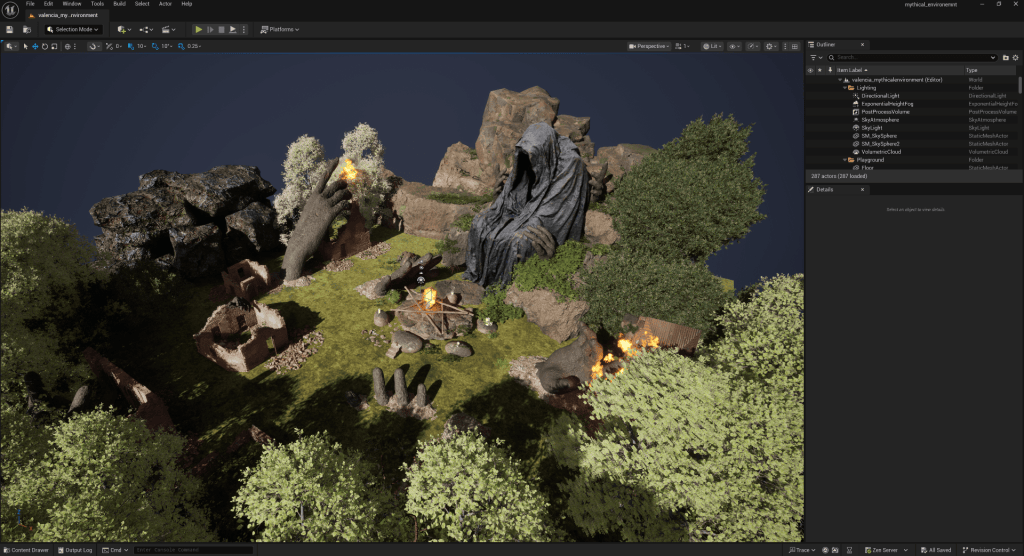
Final scene image (top view)
Final Sequence
Player interaction
Analysis & Reflection
For this project I chose to create a scene depicting the aftermath of a failed religious ritual. The story revolves around a small village/commune who attempted to spawn a deity without true knowledge of its nature. This is represented by the large ominous figure sat on the mountain and the emerged hands shown destroying the village. Additionally, the detailed altar displayed in the centre of the scene helps to communicate the story.
Through the course of this project I have been introduced to a range of approaches towards using the functions unreal has to offer. The aim of this project was to create a sequence of an environment made using assets from Fab marketplace. This is along with other features that display a general understanding of the tools Unreal engine has to offer. I aimed to show my understanding of necessary unreal engine techniques through the final result of this project. Processes including the use of materials instances, blueprints, sequencing, lighting and the foliage tool were used for the making of this project.
I’m proud of how the final project came out, as I believe that I was able to achieve the expectations I had from myself and the brief. I admire the combination of separate 3d models to create unique features that make the scene interesting to view. On the other hand, I feel that I could’ve applied a collision box to each of the assets. This would’ve allowed me to focus on the interactive aspects of the project along with the aesthetics. I also would be able to create a more detailed sequence of the player’s interaction with the world. In the future, I aim to experiment with creating 3d assets with modelling software such as ZBrush or Maya, and importing them into my scene. This would make my projects much more dynamic and original.

