WEEK 1
Anatomy – Proportions/Skull
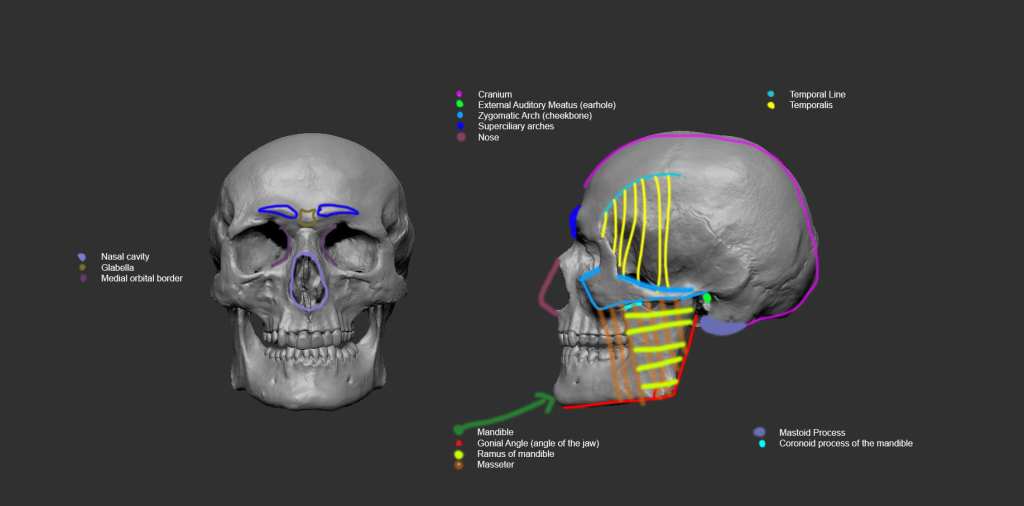
This lesson provided me with key information I will need to learn and understand in order to construct humans and creatures of all kinds. Additionally, knowing all these components will allow me to accurately depict the ways in which the face and body contorts in response to different movements and facial expressions. I labelled the following images using adobe photoshop.
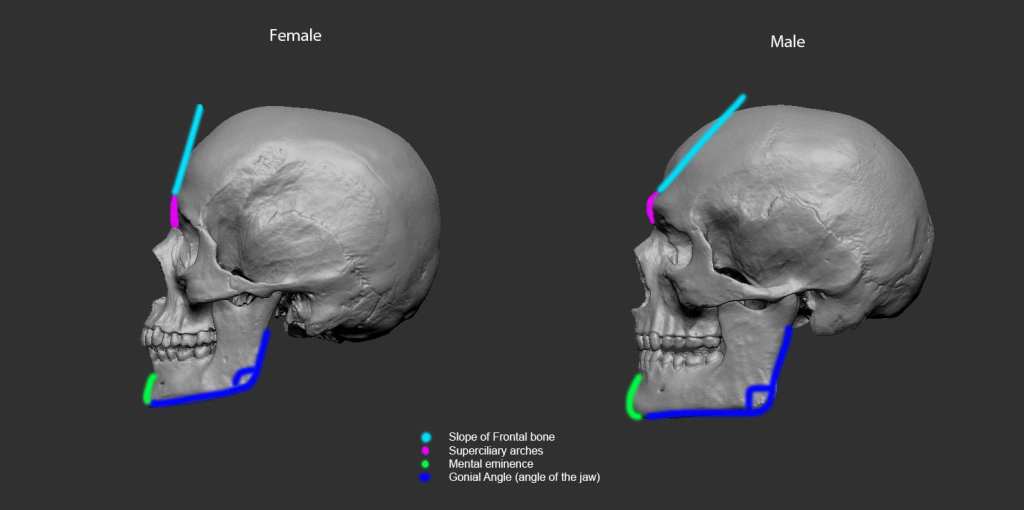
This image shows parts of the human skull along with how they may differ between sexes.
- The male skull has a more steep slope of the frontal bone whereas, the Female’s is more flat.
- On the other hand, the male’s gonial angle is slightly less than than of the females, demonstrating that males often have jaws more square than females.
- Moreover, the mental eminence of the male jaw is more prominent than that of the female.
This image goes into much more detail on the parts of the skull.
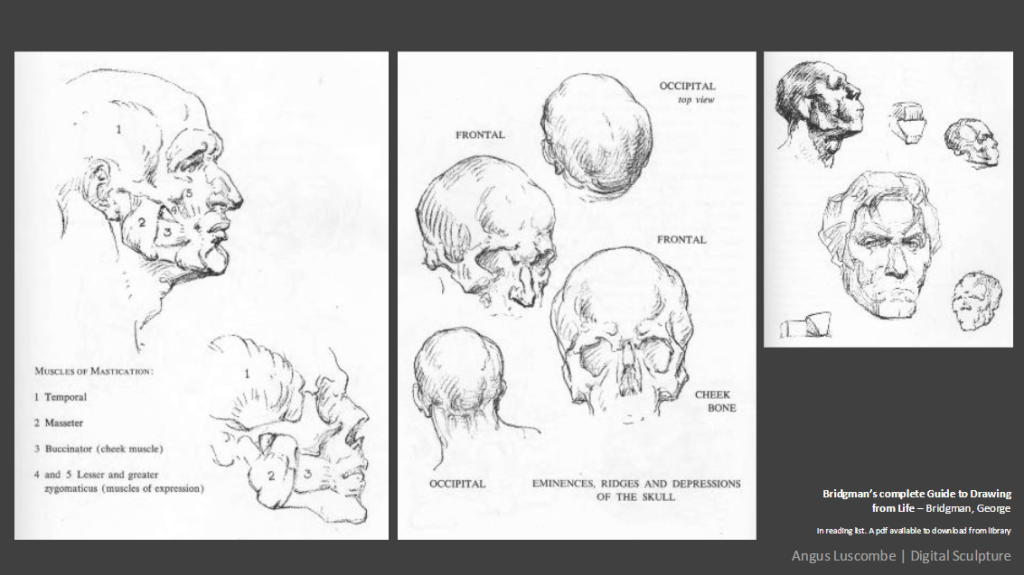
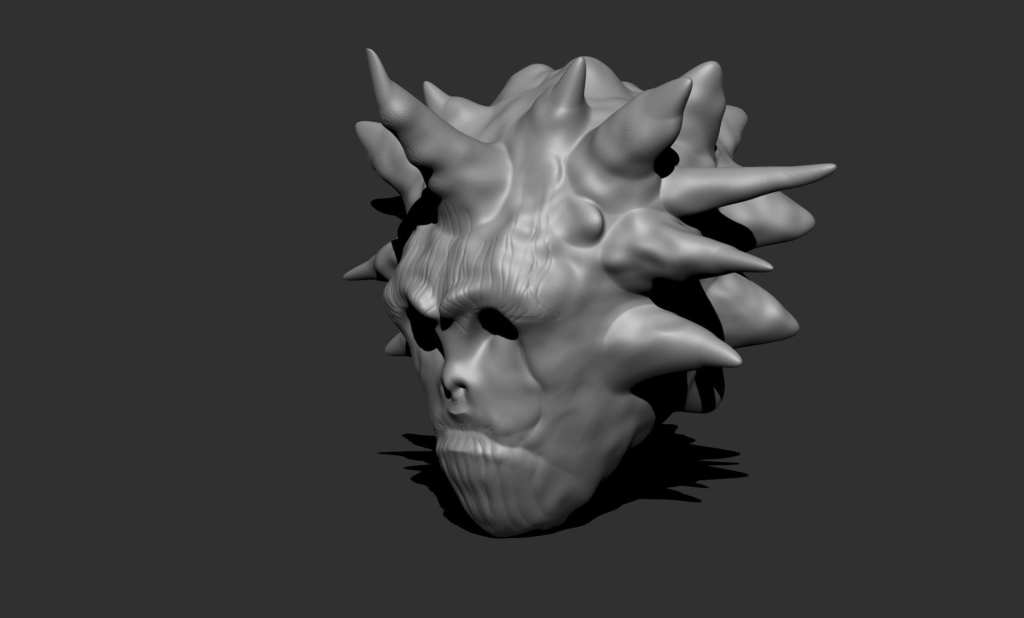
Sculpting a monster head
For this task, I intend to apply all that I’ve learnt so far regarding the human skull.
The following are the tools I was introduced to and how they were used to create the image:
- standard tool – used to create the superciliary
- Inverted standard tool – used to create the eye sockets and nostrils
- Move tool – used to create the spikes and adjust the general size of the head during initial stages of modelling
- dam standard – used to sculpt the crease of the lips and create other details such as, the textures on the head
WEEK 2
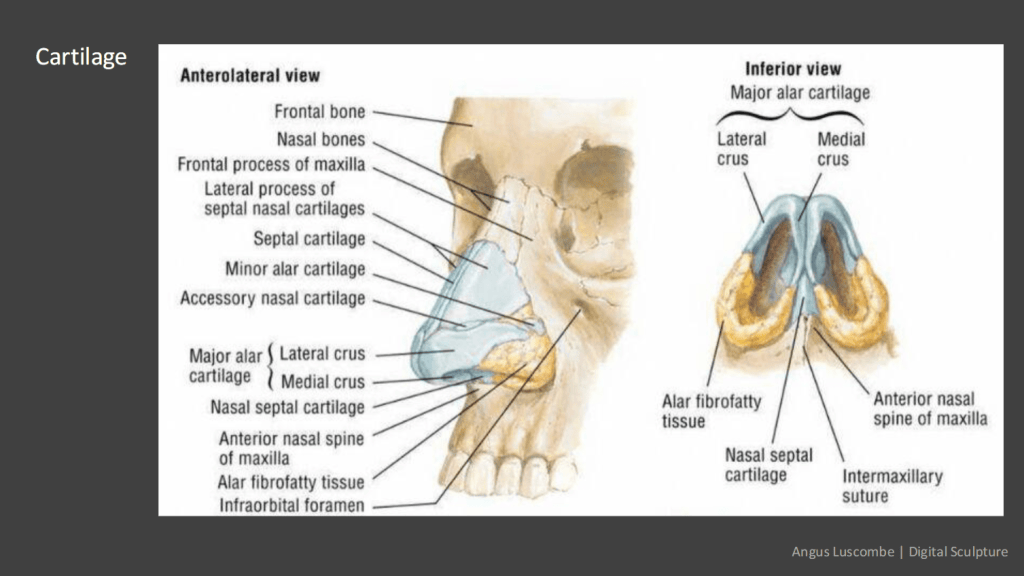
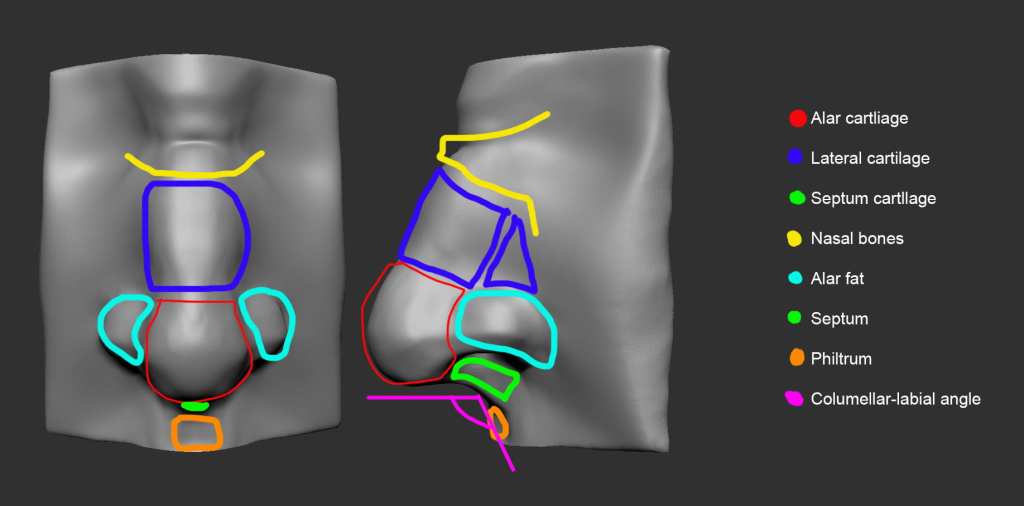
Anatomy: Studying the human nose structure
With this lesson I explored the different types of bones, fats and cartilage that make up the nose. Knowing these components will allow me to understand how these parts may appear differently with unique nose shapes.

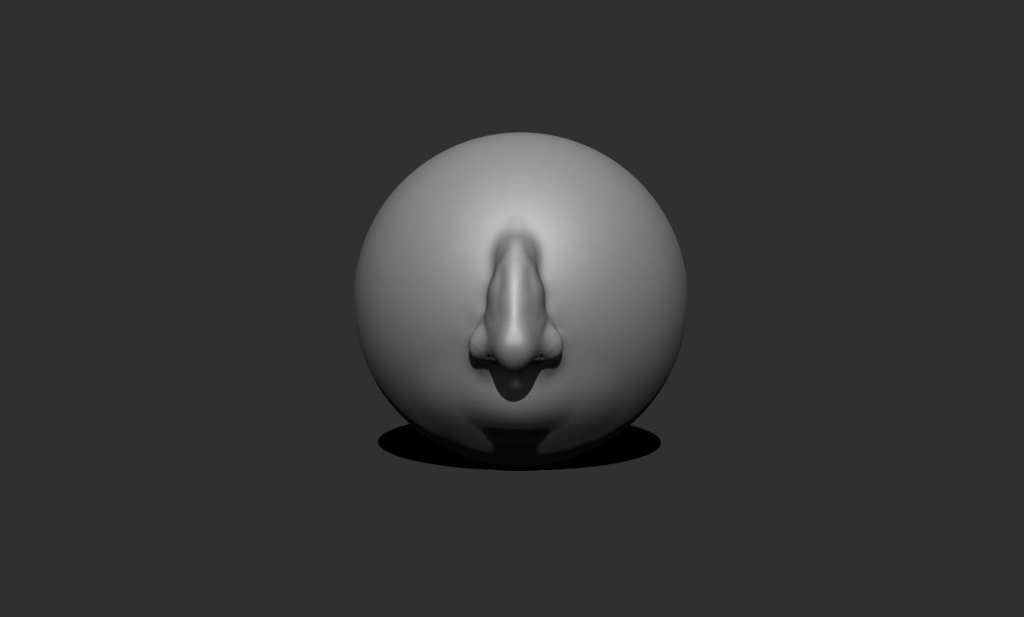
Task: Creating a nose on Zbrush
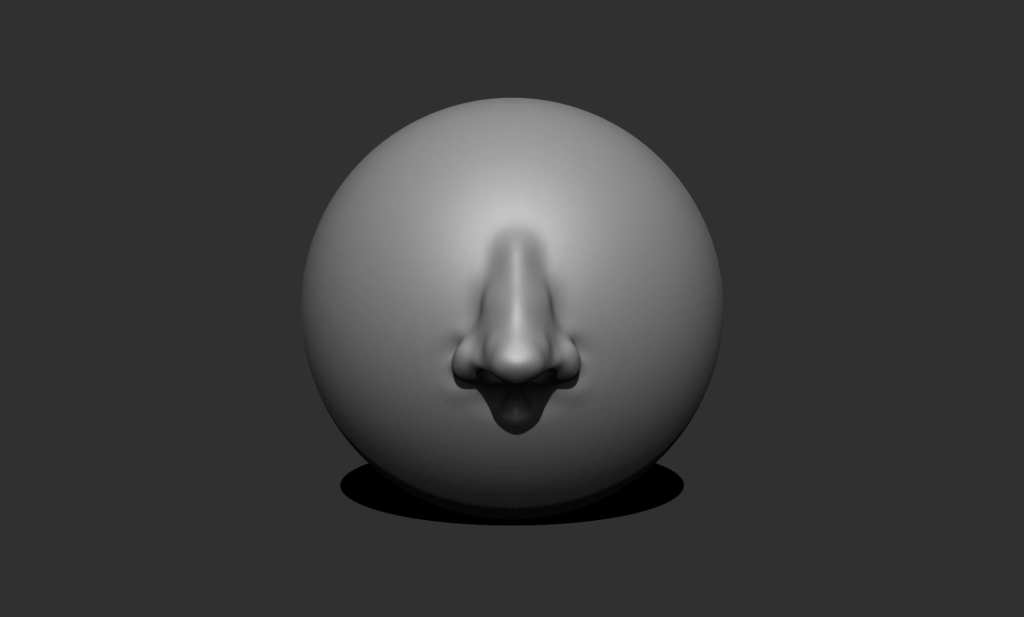
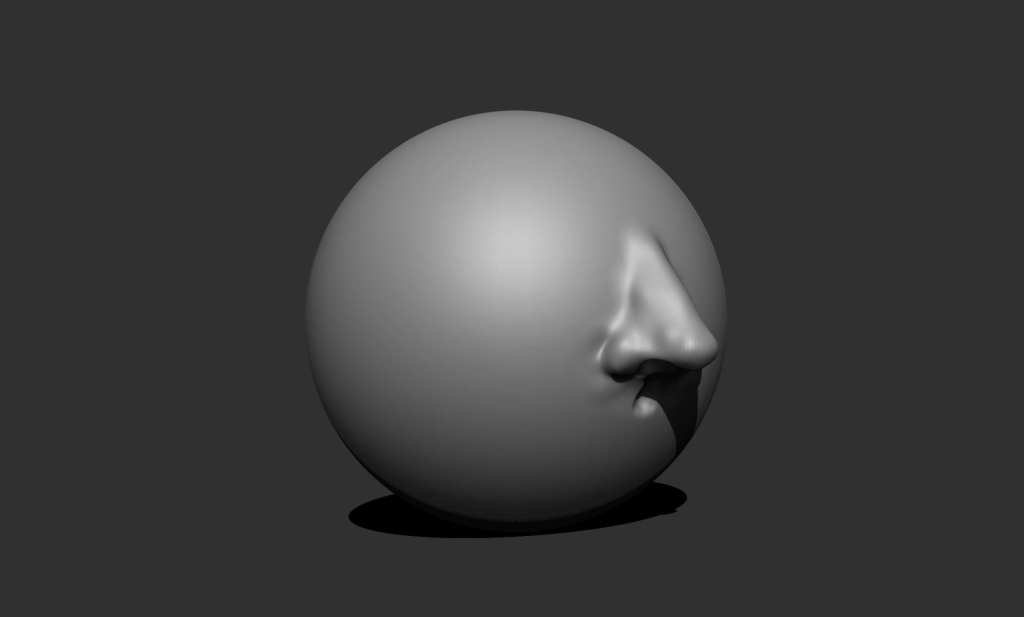
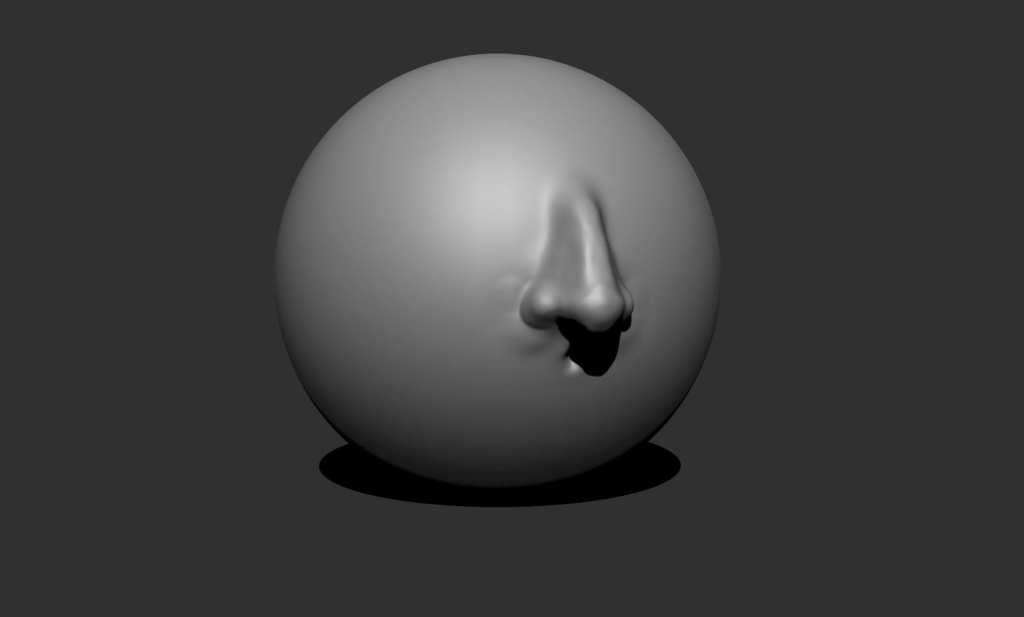
The making of this nose mainly required the use of four sculpting tools, the “standard tool”, “Dam standard”, “move tool”, and the “flatten tool”.
- By continuously creating strokes using the standard tool, I was able to create build up that formed the general shape of the nose.
- To create dents on the nose such as the nostrils and where the alar cartilage meets the fat, I held the “alt” button to invert the standard brush strokes.
1.
2.
3.
WEEK 3
Anatomy: The Mouth
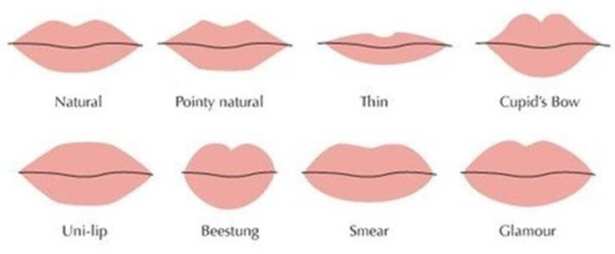
While the general structures of the the inner mouth remain the same across all types of people, the lips are one of the many features that can come in a variety of shapes depending on gender, age, ethnicity, cosmetic alterations or even medical conditions.
For example the, when comparing the shape of lips between sexes; females tend to have fuller and round lips, whereas males often have thicker and narrow lips.
How the mouth changes with age:
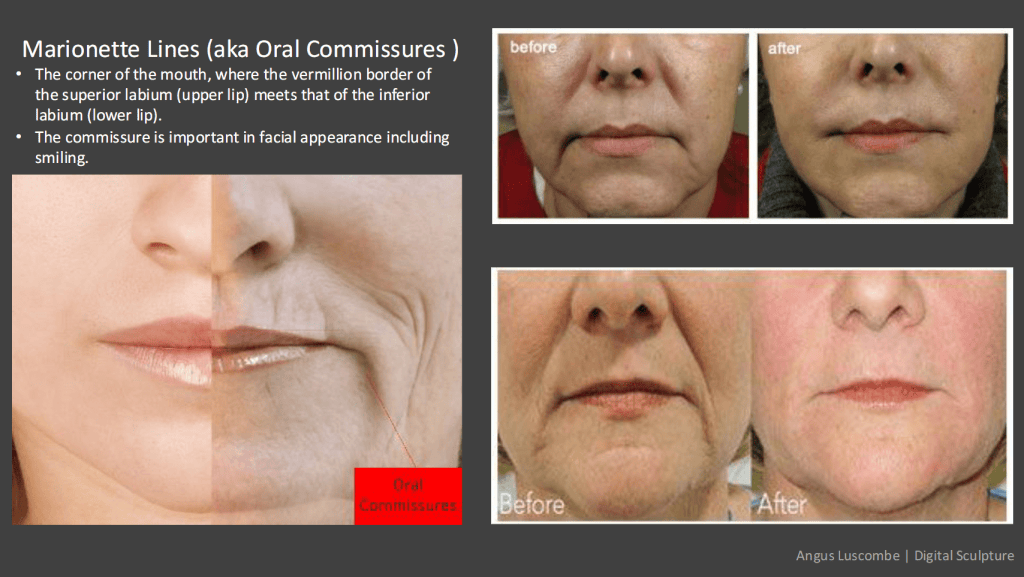
- Due to factors of gravity, as one ages, the Marionette lines of the mouth tends to be more pronounced as it deepens. This could lead to a downward arch where the vermillion border of the superior labium meets the inferior labium.
- other symptoms such as lower bone density can be observed with the ways the mouth changes with age.
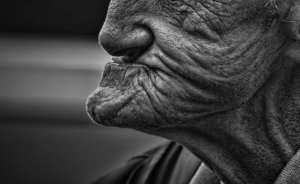
- Additionally, the teeth health depreciates with age, this therefore leads to a a slight curvature in the mouth.
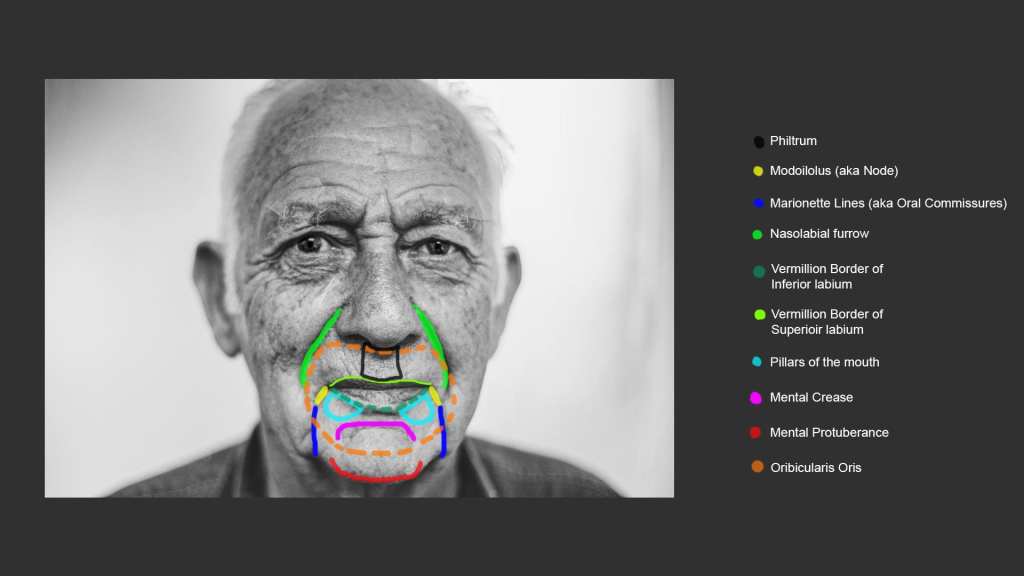
Sculpting 3 Mouths with Zbrush
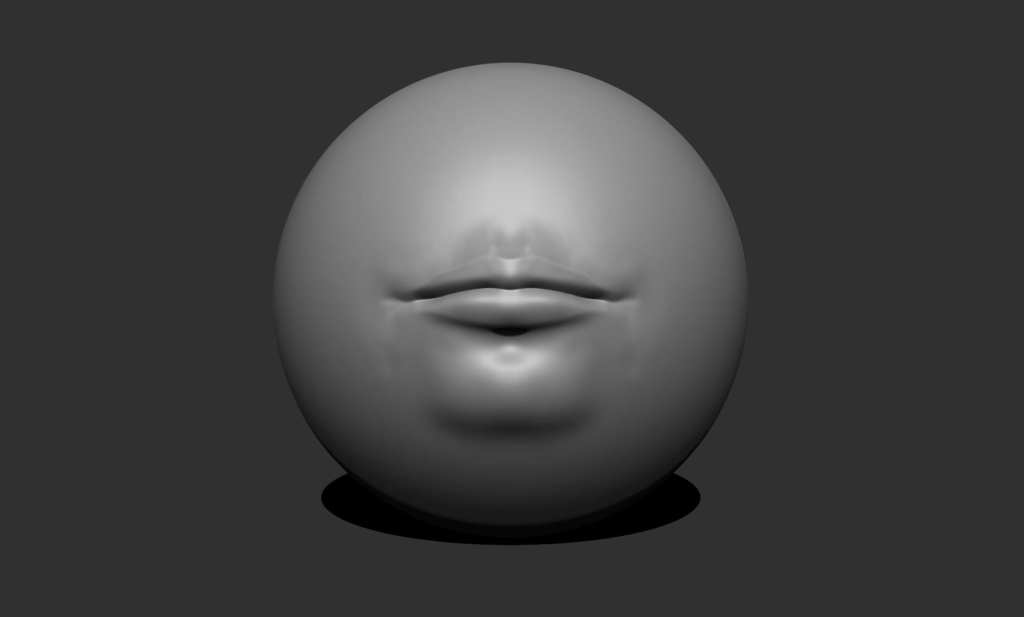
The entire process involved the use of three main tools, the standard tool, the move tool and the Dam standard tool. Additionally, when inverted, the dam standard tool was used to create further detail on the object.
- Standard tool: Used to create protruding parts of the mouth such as the lips, pillars of the mouth, the mental crease and protuberance.
- Inverse standard tool: Used to create the Philturm, the mental crease, and the curves before the Vermillion borders.
- Dam standard tool: Used to create the Vermillion borders of the superior and inferior labium. Additionally, it was used to define the philtrum.
- Inverse Dam standard tool: used to create the opening of the mouth and the Modiolus.
- Move tool: Used to change the general size/shape of the mouth’s components.
1.
WEEK 4
Anatomy – The Ear
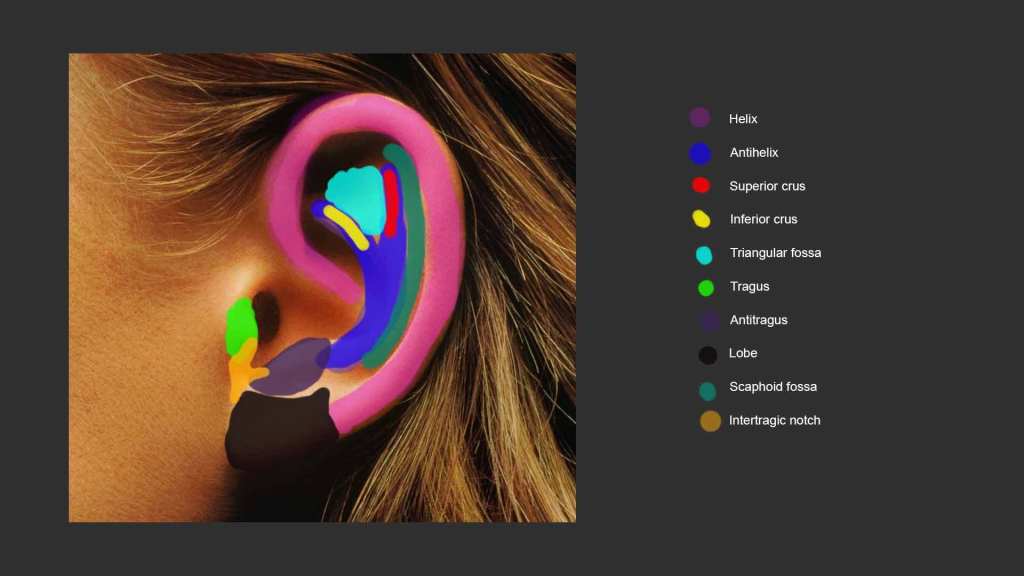
With this lesson, I was introduced to the parts of the ear and their purposes, particularly the Pinna, which classifies the outer part of the ear. To have this clearly laid out, I labelled the image using photoshop.
How the shape of the ear changes with age
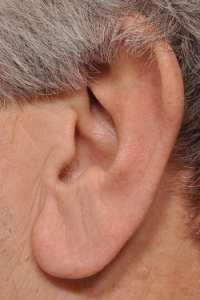
Due to the effects of gravity that comes with old age, the ears of a senior individual tends to become less defined with age.
- Child’s ear: much smaller and defined, with thinner and softer cartilage.
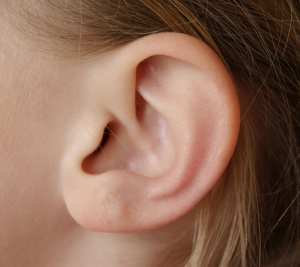
- Young adult: Harder cartilage with defined components.
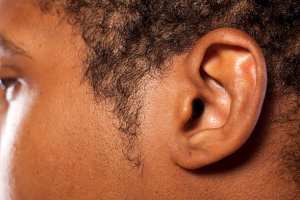
- Old person’s ear: much longer as it tends to droop more with age. More hair growth on the tragus and lower helix.
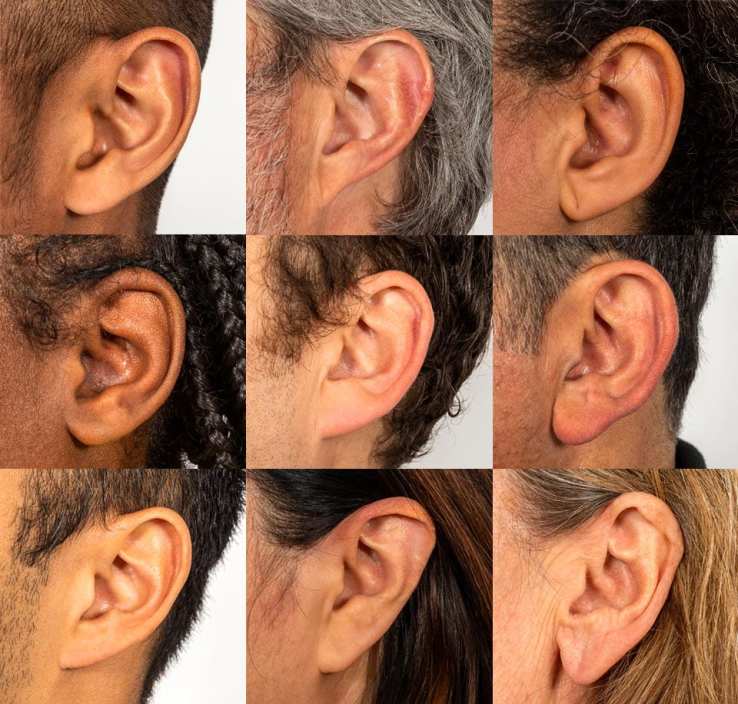
Different types of ears
The previously mentioned components can come in very different sizes and shapes that make up unique ear types. For example, the earlobe can be attached or or free hanging, the helix can be thick or thin. Knowing the components of the ear and how they differ is very beneficial for sculpting not only accurate human anatomy, but real or imaginary creatures.
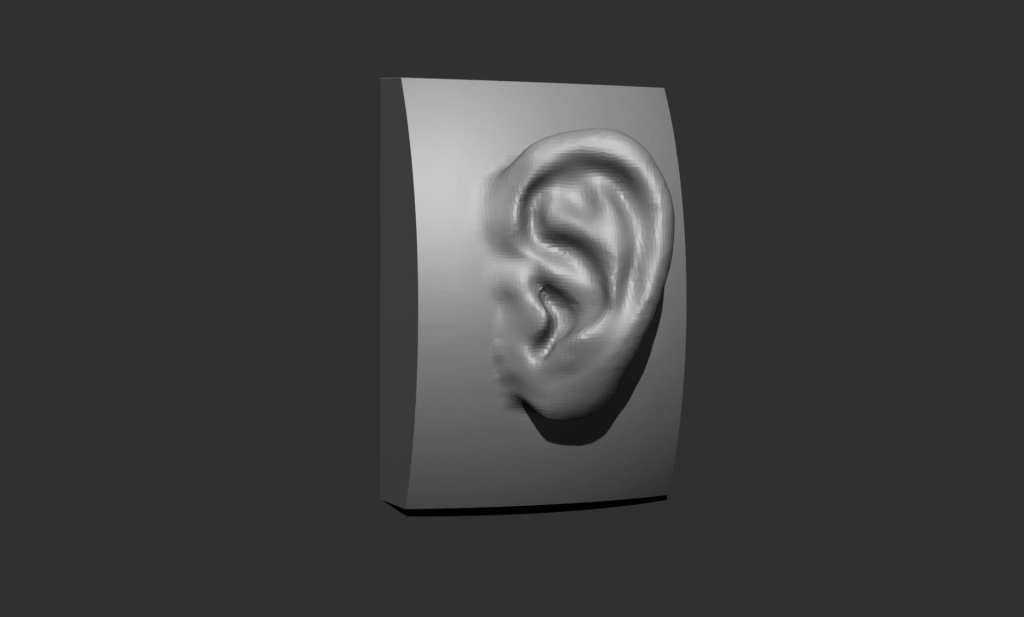
Sculpting 3 ears with Zbrush
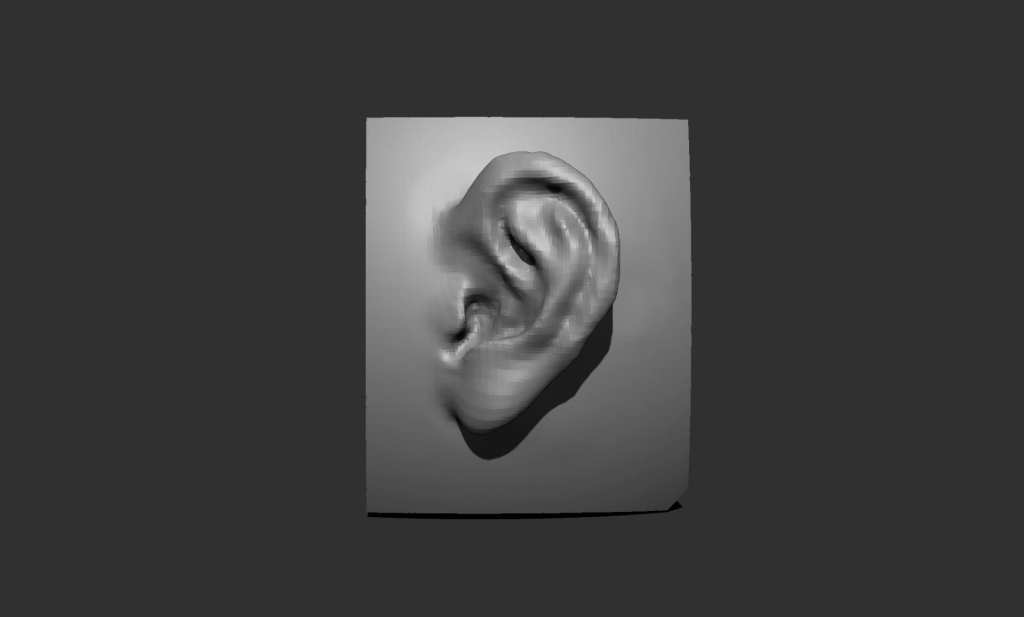
The entire process required the use of two main tools, the move tool and the standard tool. Further details used for sculpting were achieved by inverting the standard tool effect, creating dents on the sphere rather than 3d relief strokes. This was achieved by holding “Alt” while using the tool.
- Standard tool: used to create parts of the ear that rise above the general surface, for example the Helix, Antihelix, Tragus, etc.
- Inverted standard tool: Used to create dents and holes such as the Scaphoid and Triangular fossa.
- Move tool: used to create the pinna and change the ear and parts within it.
1.
2.
WEEK 5
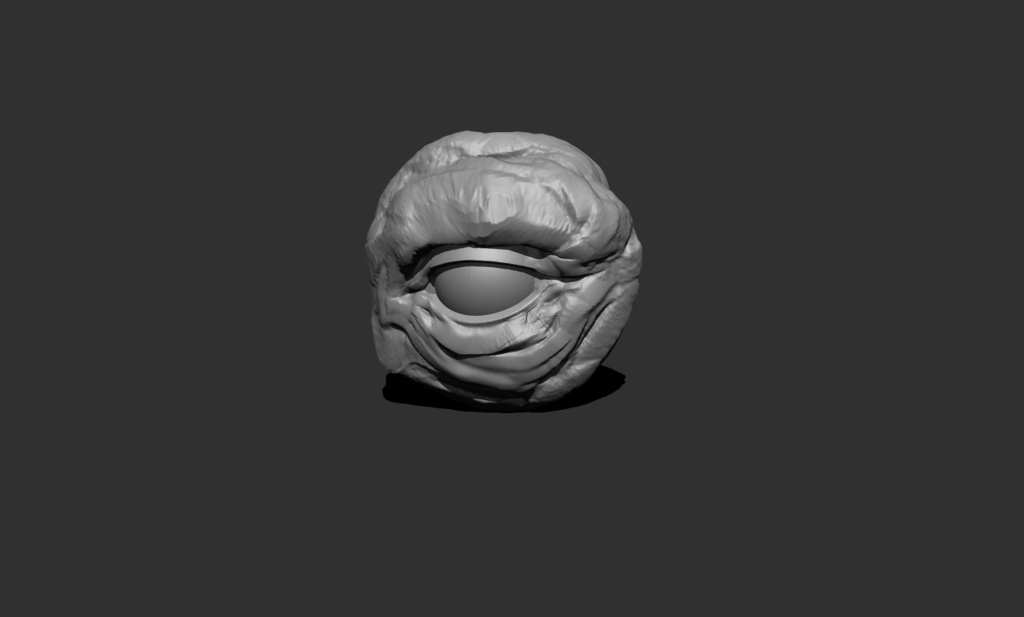
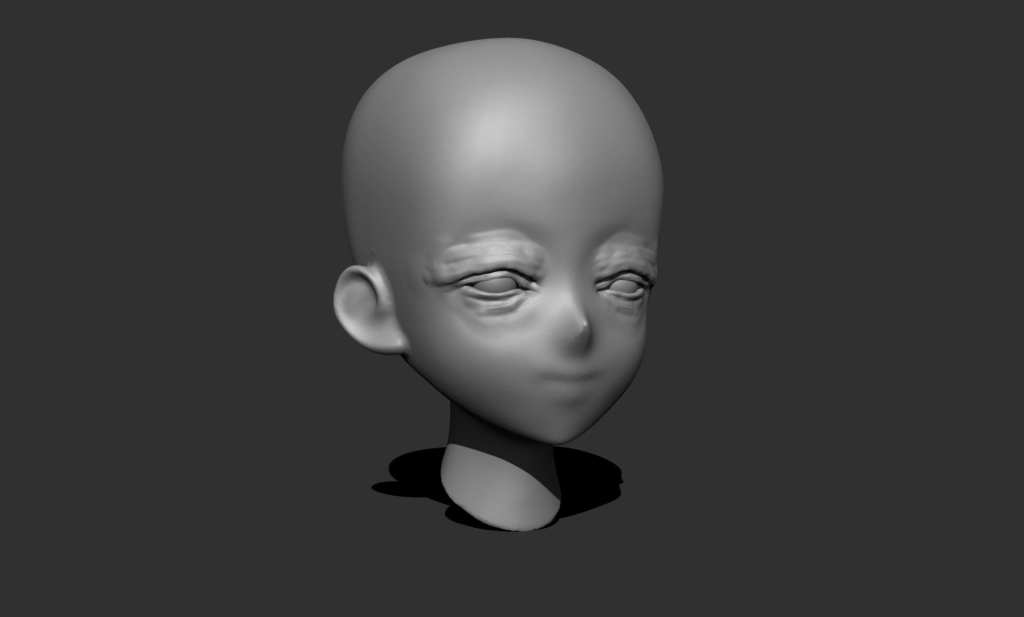
Anatomy – The Eye
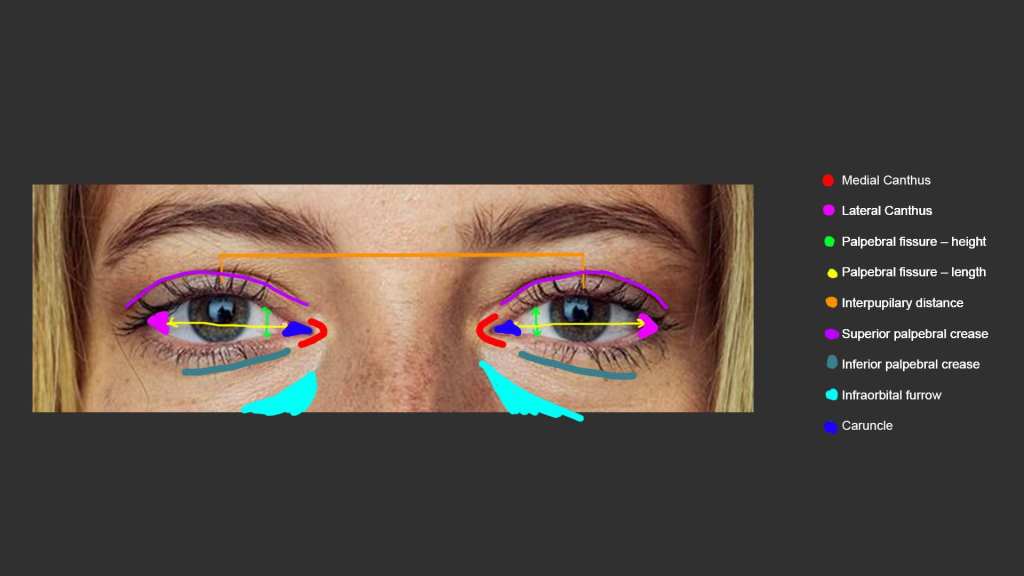
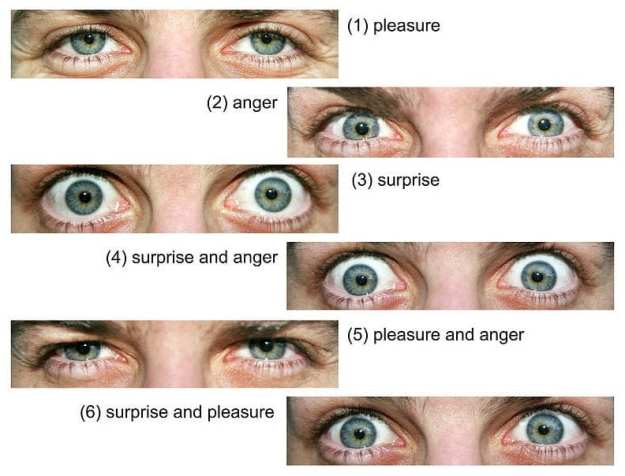
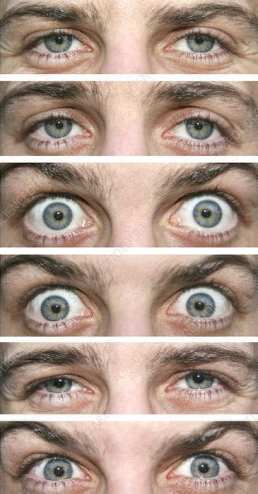
When carrying research on the structure of the eye, I believe that it is important to understand how the parts of the eyes morph in response to expressions.
1.
2.
WEEK 6
Anatomy – The Eye 2 – Sculpting an eye with Maya
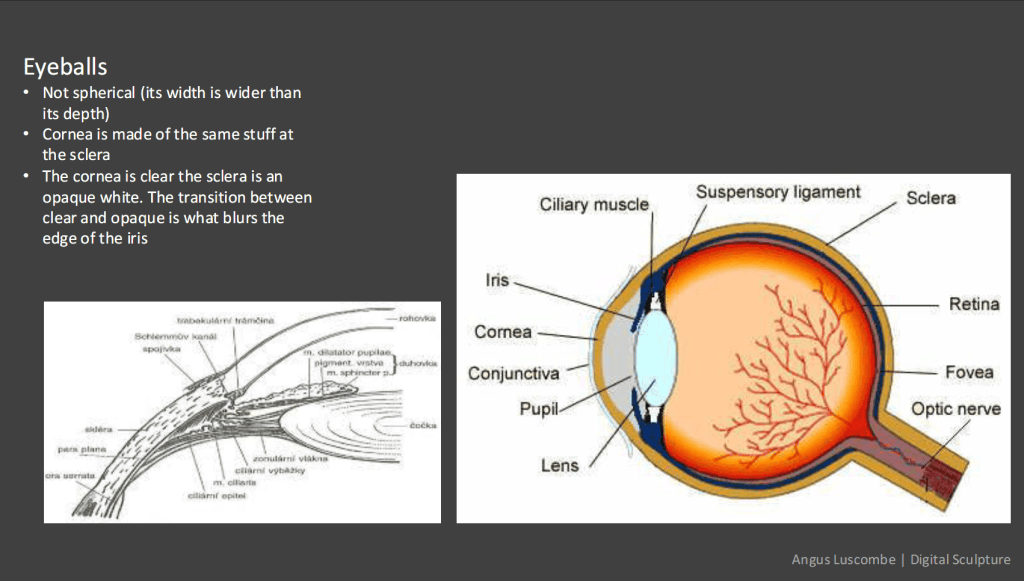
Cornea: the smooth transparent part covering the iris and pupil.
Making an eye with Maya
1. Modelling and texturizing the Iris and Pupil
For the first step I selected a majority of the sphere’s faces and deleted it, this was done to create the general shape of the Cornea. I was hen introduced to a process called “soft selection”. This allowed me too select the middle area of the hemisphere and push within. This was done to prepare the are for the Pupil.
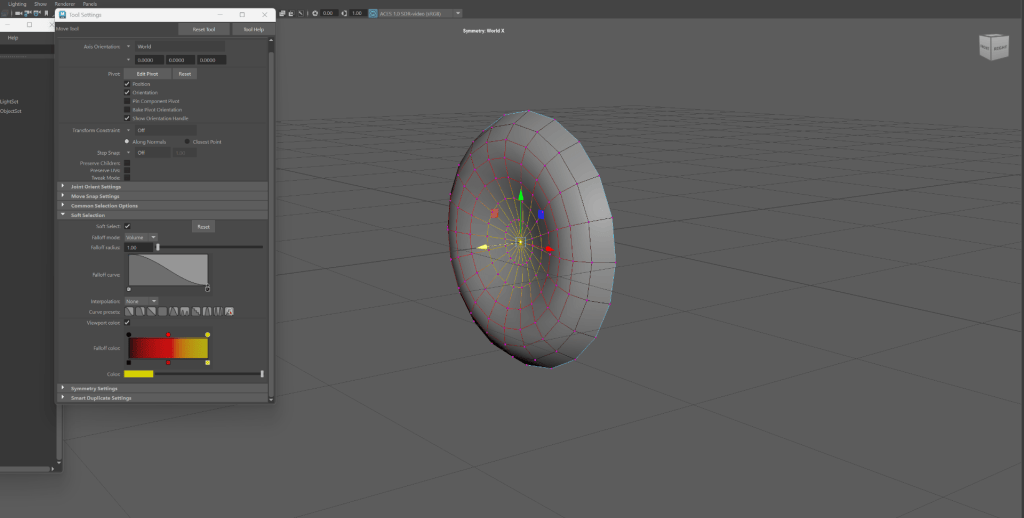
- To create the Pupil, I extruded the middle face of the curved surface. This was done to create a hole for the Iris.
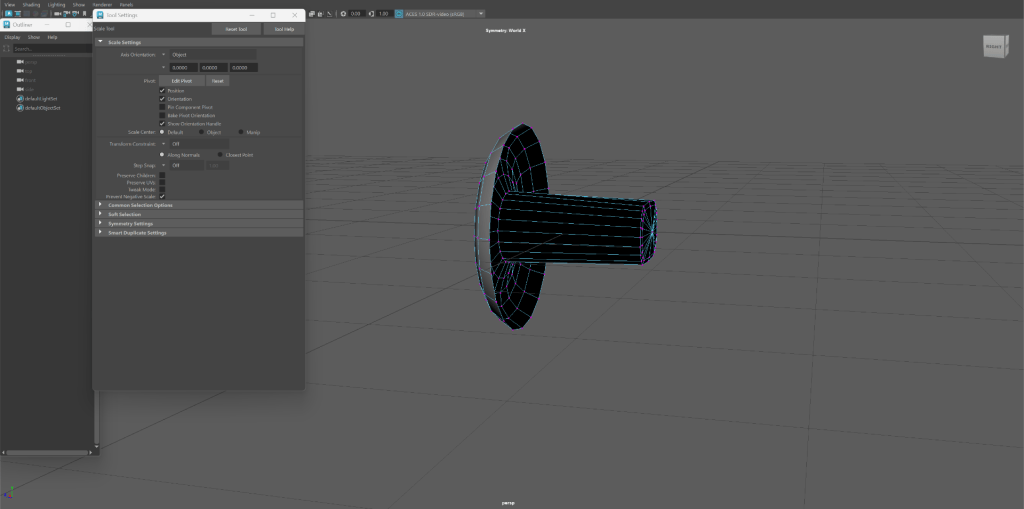
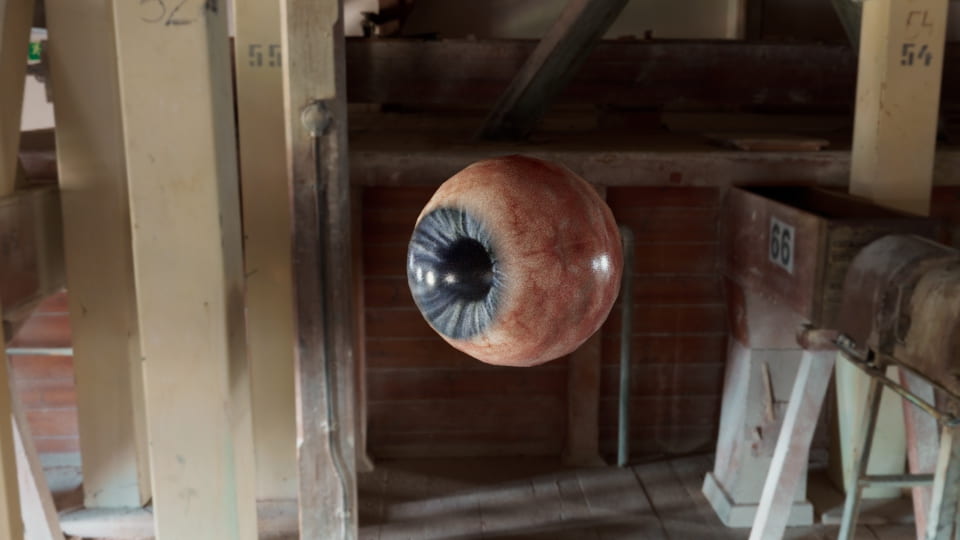
- For this step I was introduced to the “Arnold” function in Maya. This contains sub-features that allowed me to add textures to the model. By using a downloaded image of an Iris, I was able to place this image over the 3D shape, and move it around to fit the surface.
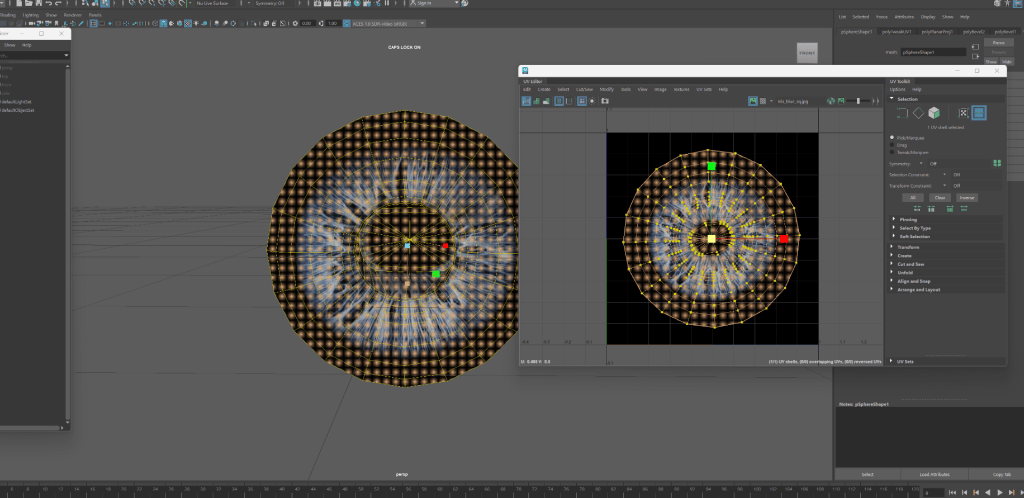
2. Modelling and texturizing the Sclera
- Making this part of the eye involved using the soft selection tool on a sphere. This was done to create the slightly protruding part of the eye that displays the pupil.
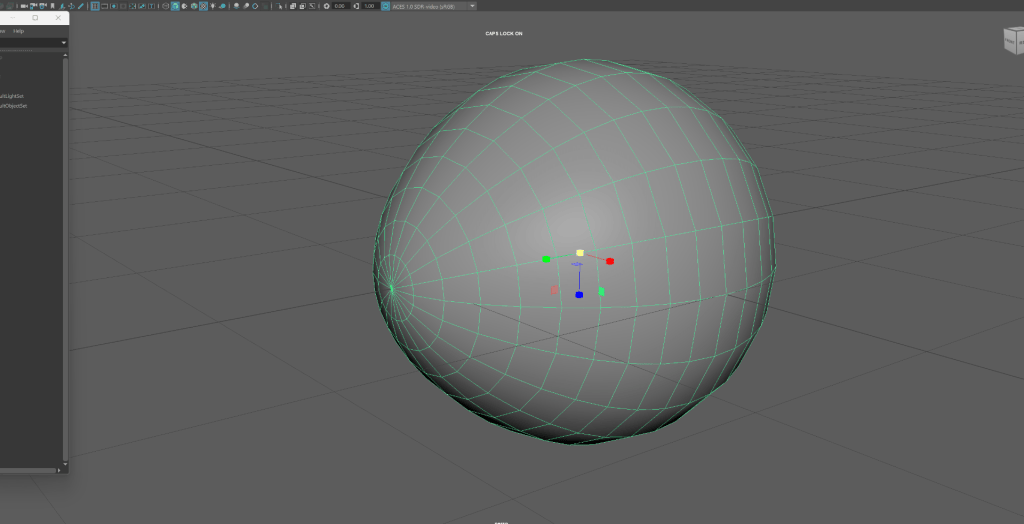
- I then proceeded to add texture to the Sclera, much like the previous step, I used the Arnold feature to add a picture of a Sclera. After this, I proceeded to slightly reduce the size of the Pupil to make the model more realistic. I reduced the opacity of the Sclera to make the pupil more visible.
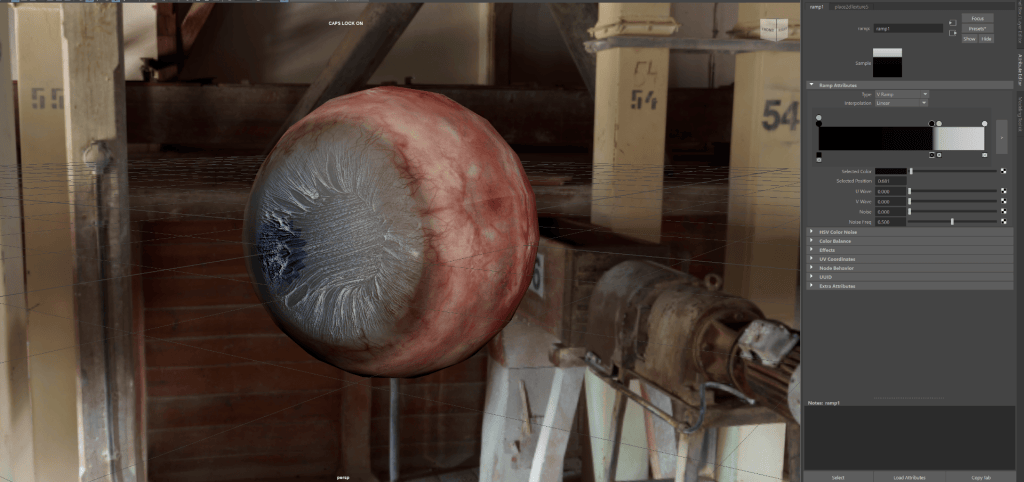
This is the final result from the exercise.
WEEK 7
Villain Study: Fat & Comparative Anatomy
This lesson will begin the next stage of the course which is the villain model. This will involve applying all the features practiced in previous lessons to the sculpture of a villain head of my design.
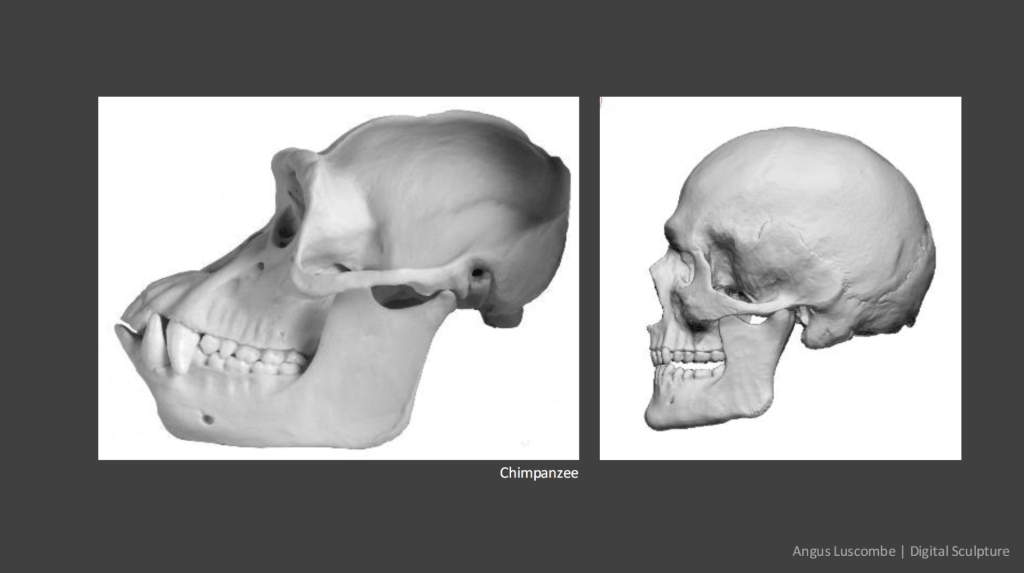
Comparing Skull Anatomy
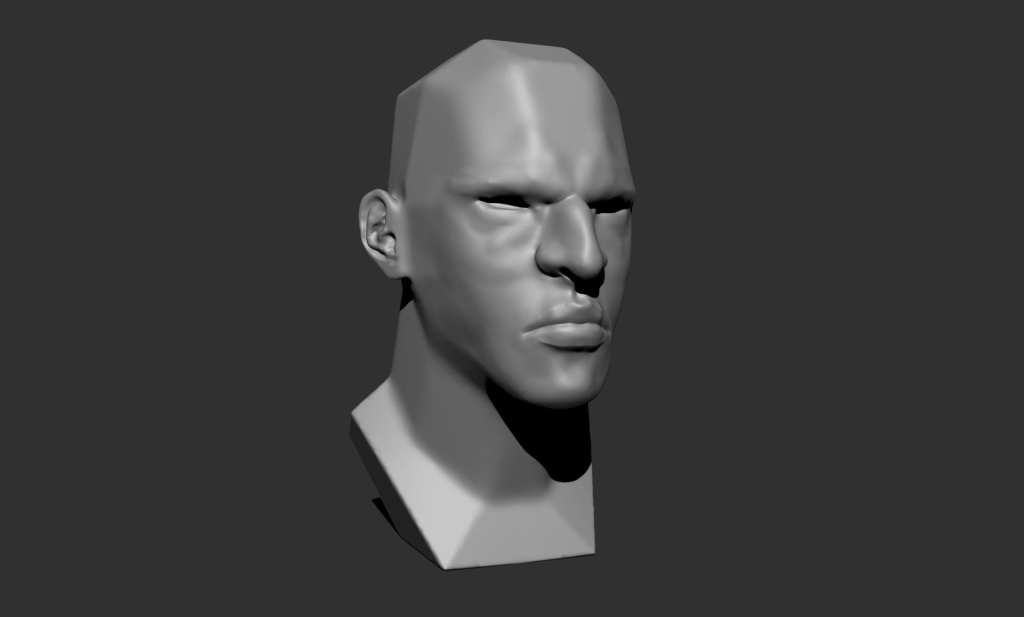
Villain Planning and Exercise
For this process I made use of the following tools:
- Standard tool
- Inverted standard tool
- Dam Standard
- Inverted Dam Standard
- Clay build-up
- Move tool
WEEK 8
Villain – Fat
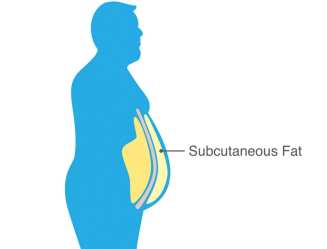
Researching different types of fat, their functions and where they can be found. Fat in the body can be divided into two, Subcutaneous fat and Structural fat.
- Subcutaneous fat: fat stored beneath the skin all around the body. It is unevenly distributed and is found in pockets within the superficial layer of skin.#
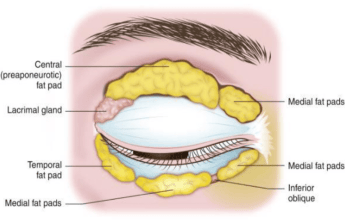
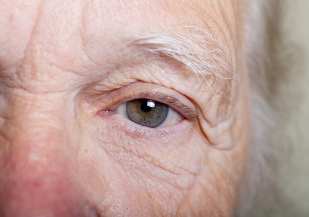
- Structural fat: fat stored as pads around the bone and helps with bone sliding and movement. Such fat stored round the eyes can be classified as Orbital fat. Humans, when young, have parts of this fat blending onto each other, however, with aging the elasticity of the orbital septum weakens, creating a sagging effect around the eyes.
WEEK 9
Villain – Neck
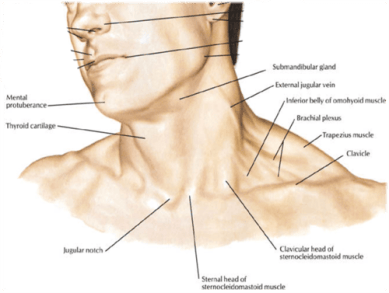
An introduction to the neck muscles and how they are sculpted. Muscles that need to be majorly considered when modelling a neck:
Back Muscles

Neck Sculpting Exercise
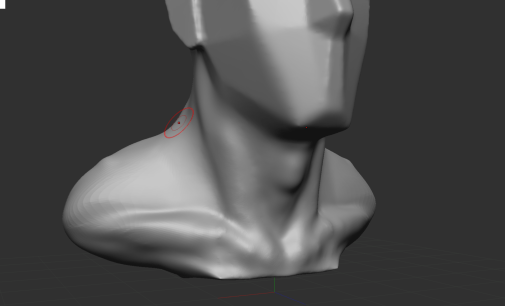
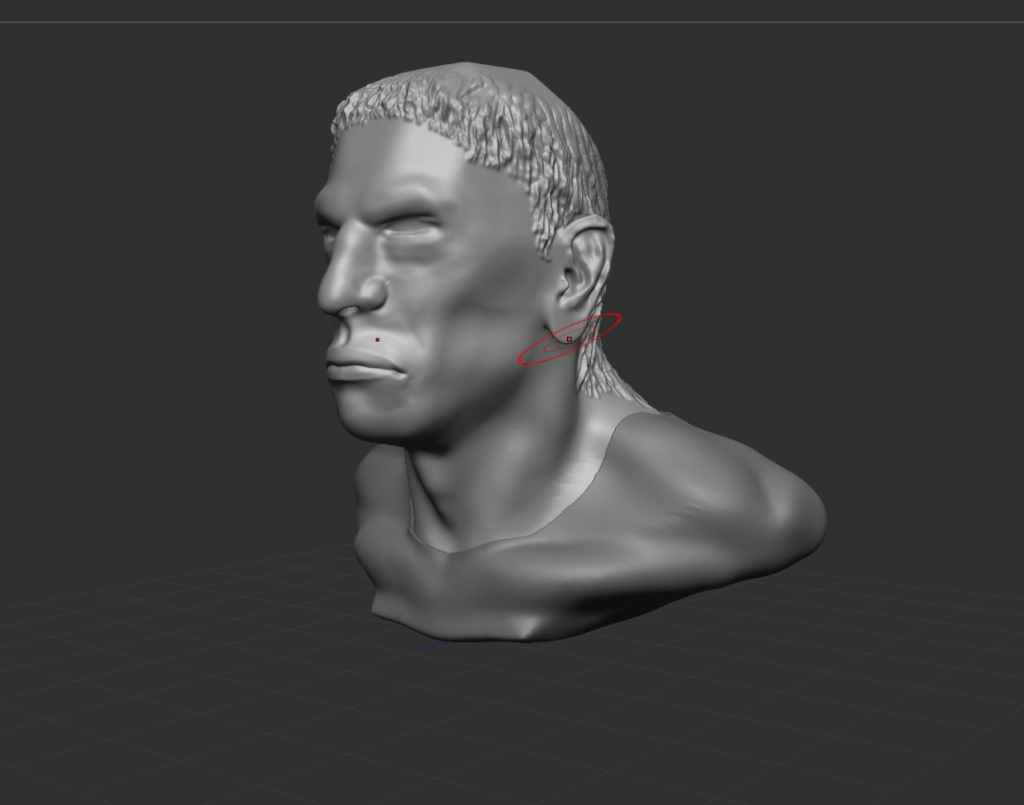
Villain Demo Sculpting: Neck, Hair and Extraction Tool Modelling Exercise
- Extract tool: used to increase the thickness of a selected area, can be used to create textures such as clothing and other body accessories.
- To create hair, I used the clay build up tool and added further detail using the dam standard brush tool.
WEEK 10
Maya pipeline – Displacement Mapping
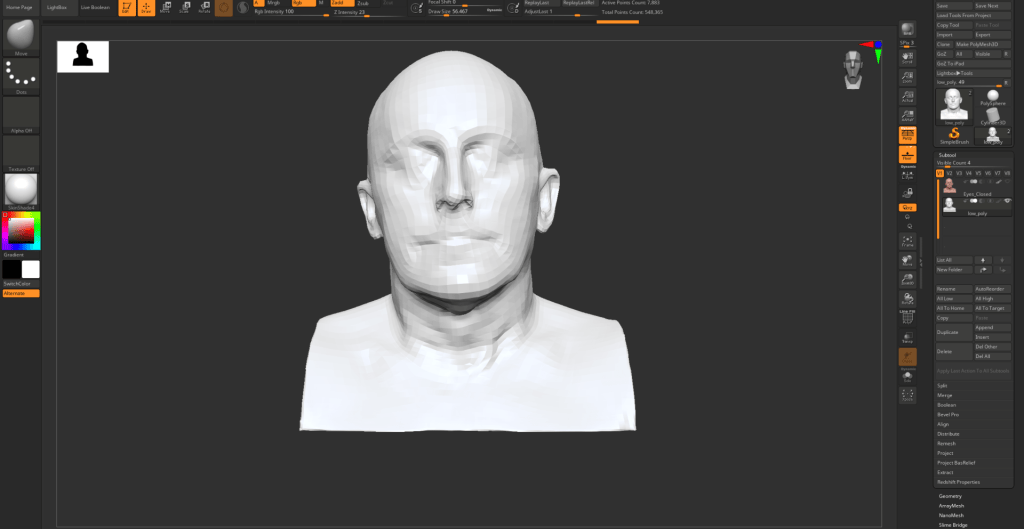
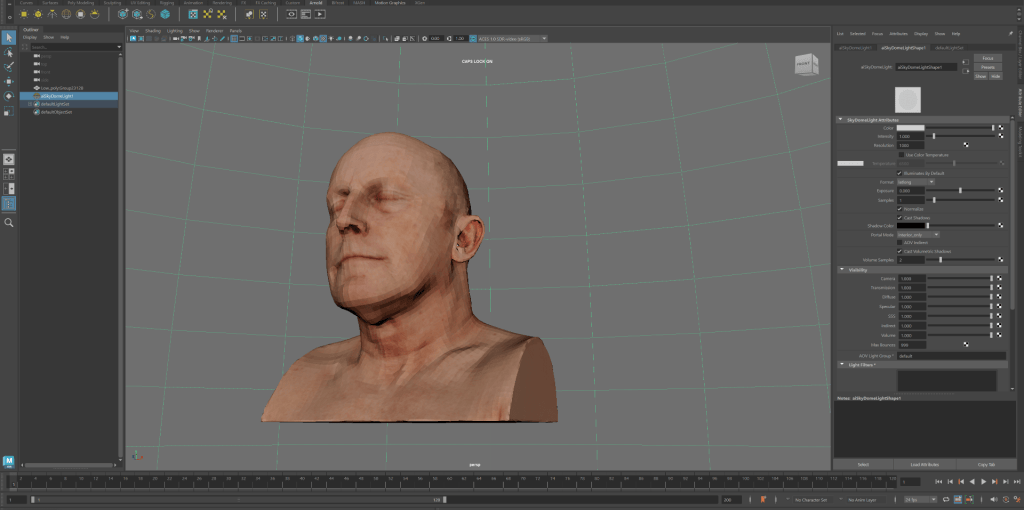
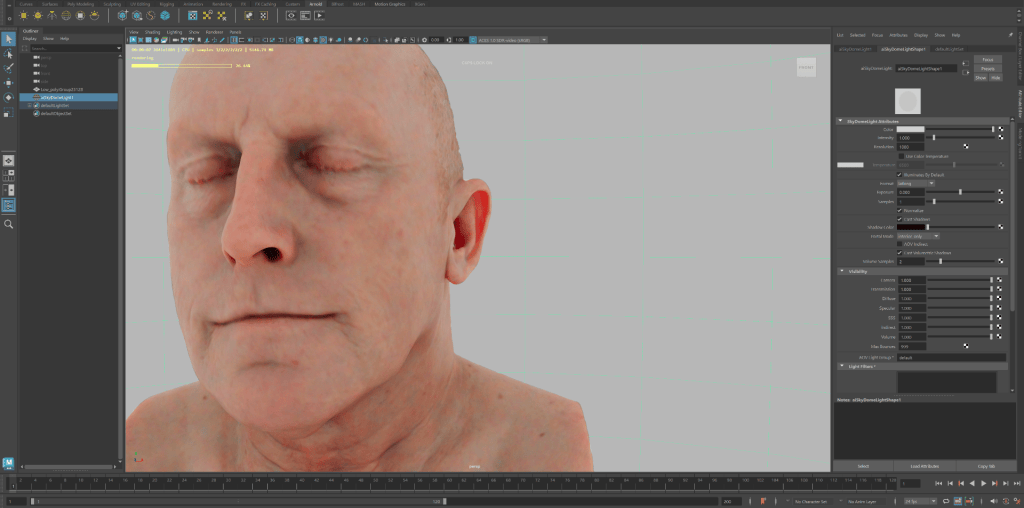
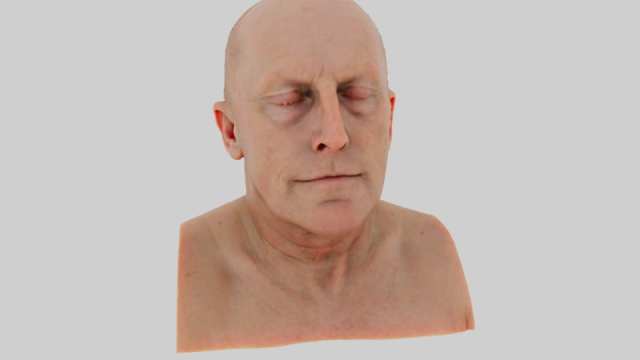
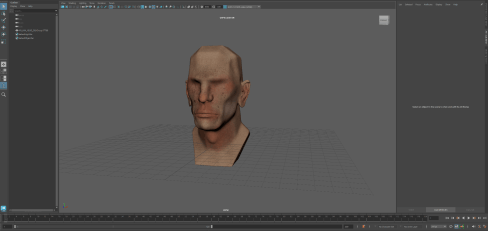
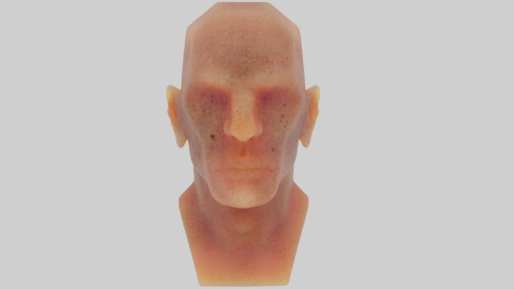
With this lesson I was introduced to the process of moving a high resolution model from Zbrush to Maya. The aim of this process is to apply a realistic lighting and texture to a model, achieving better advanced renders.
1. Saving the model and its UV map.
2. Opening the model on Maya and applying its texture
Final Render
Displacement mapping on an object with less detail and resolution

Final Render
WEEK 11
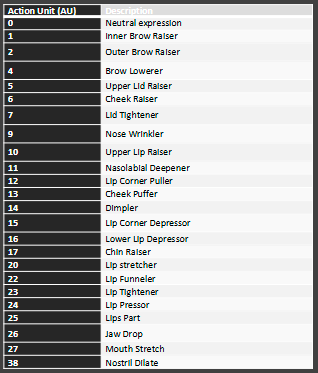
Villain: Expressions using FACS (Facial Animation Coding System)
The system used to estimate facial movements displayed in response to an expression. Important to consider when modelling convincing expressions. A combination of a certain group of action units can be used to achieve a certain expression.

Villain Project
Planning
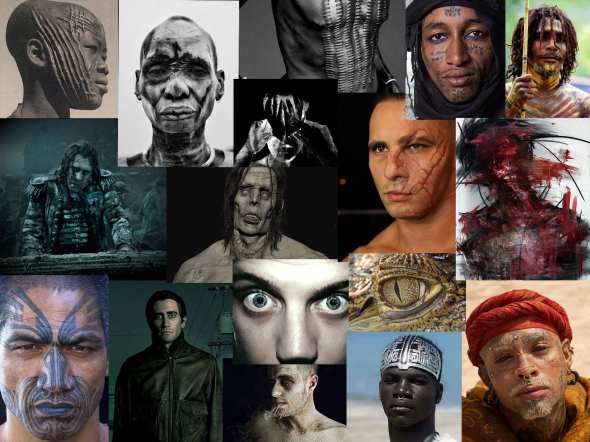
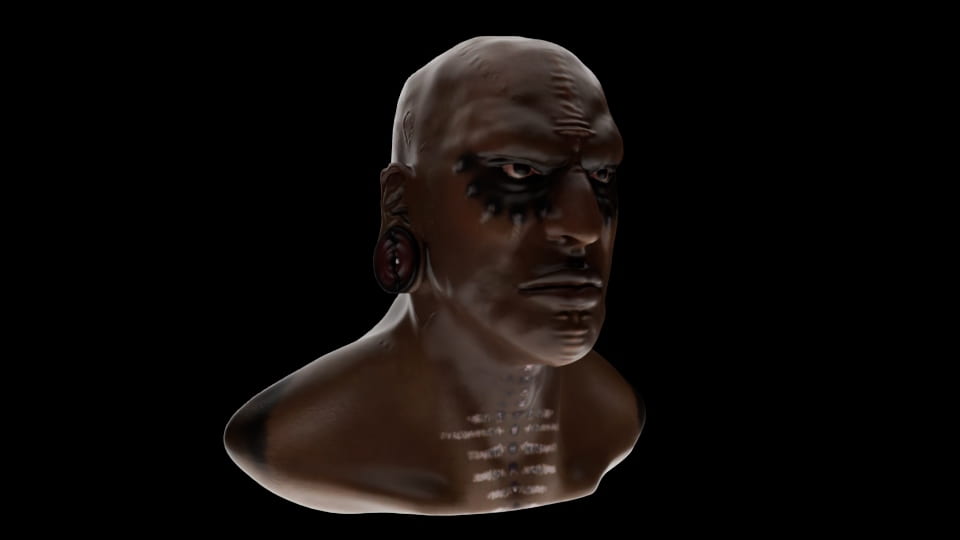
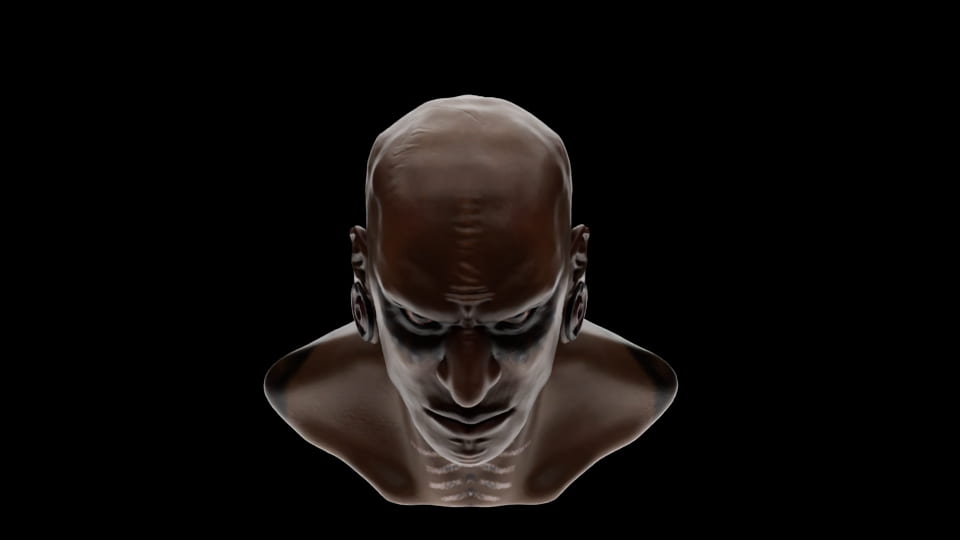
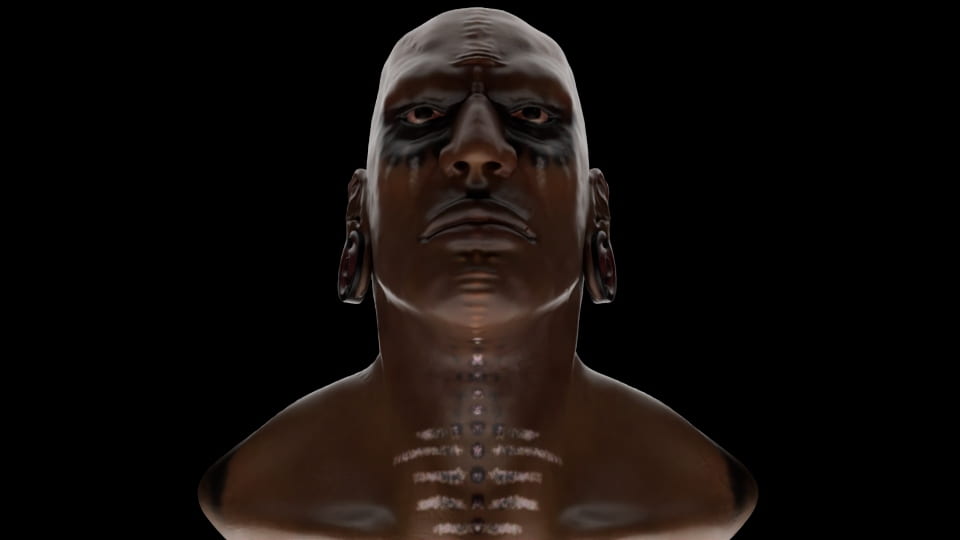
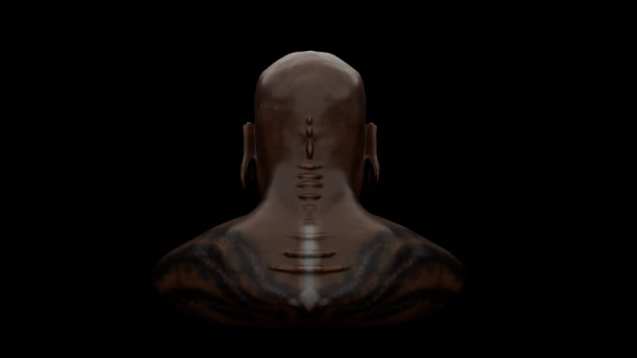
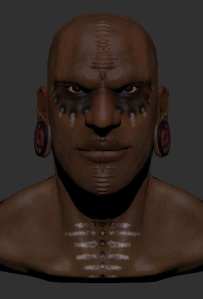
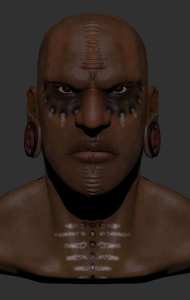
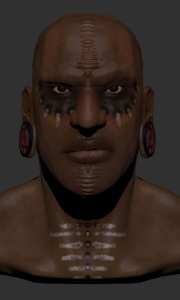
For my villain sculpture, I intend to create a human male with features or accessories based on Melanesian and African culture. I aim to include features such as fairly high cheekbones, deep pores (caused from sun damage) and facial characteristics often observed on east African men ranging between late 30s and early 40s. scarification, and markings made with powder, ash and clay.
Character background
- The character’s name will be K’uban Kahl. He will be depicted as a person with high resolve through a stoic facial impression. I will design him as a man with experience as a warrior chief betrayed by the people of his tribe. His head and bust will display body scarification, and markings made with powder, ash and clay. In his culture these are used as a mark on people in powerful positions.
Mood board
Design ideas
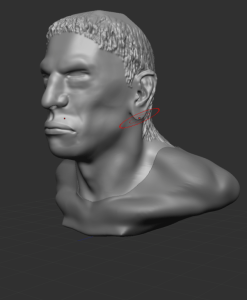
Sculpting process
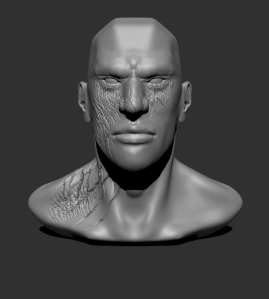
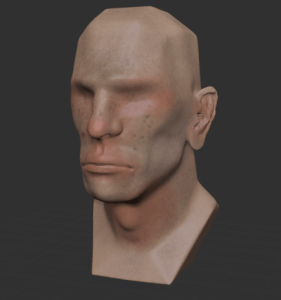
- For the modelling stage I used a range of useful tools such as the clay build-up, standard, dam standard, inflate, and move; also including their inverted version.
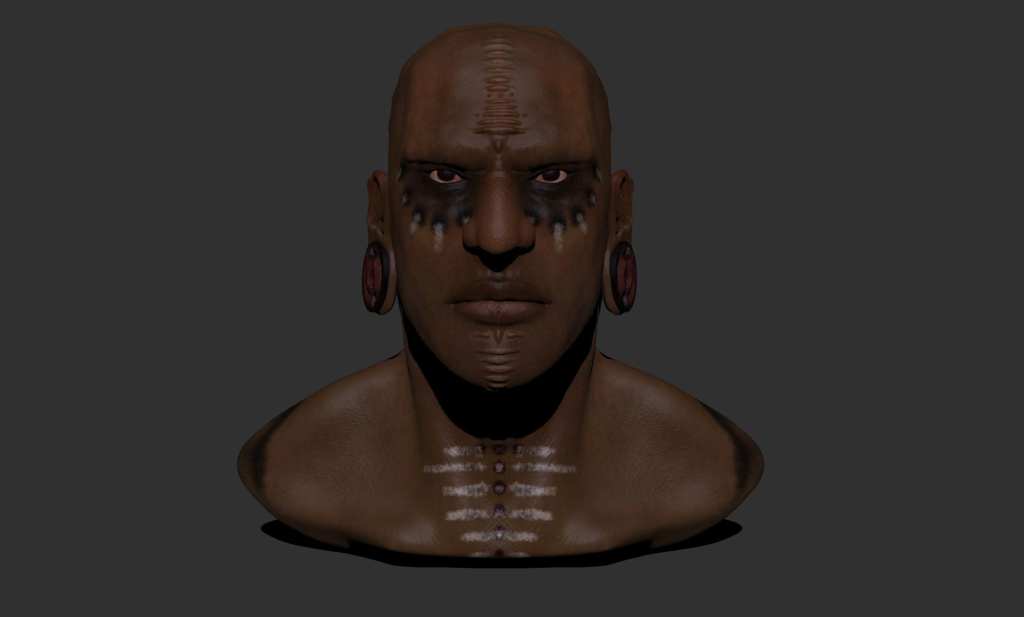
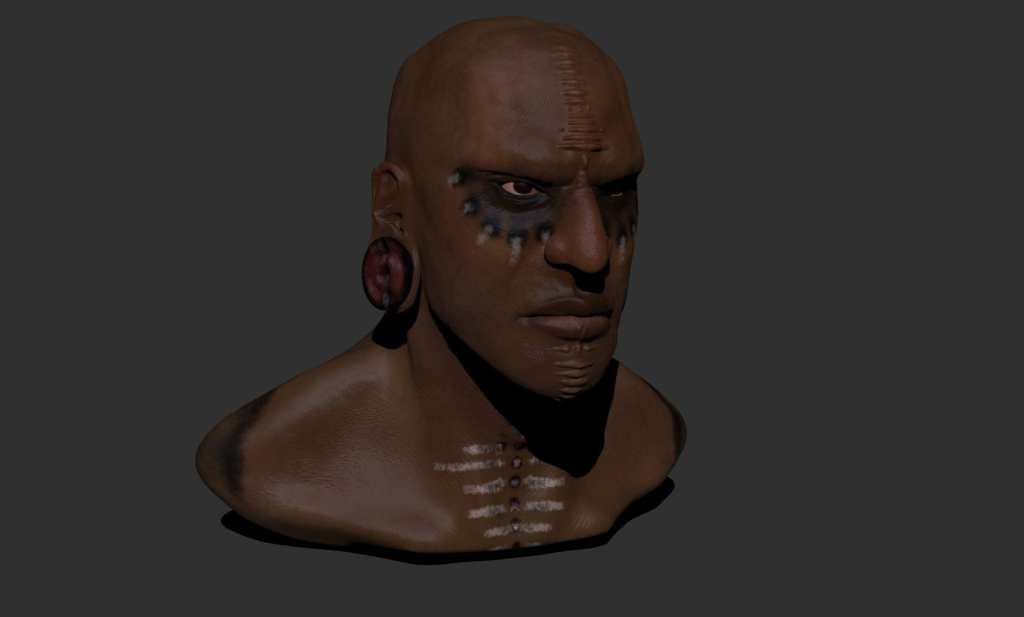
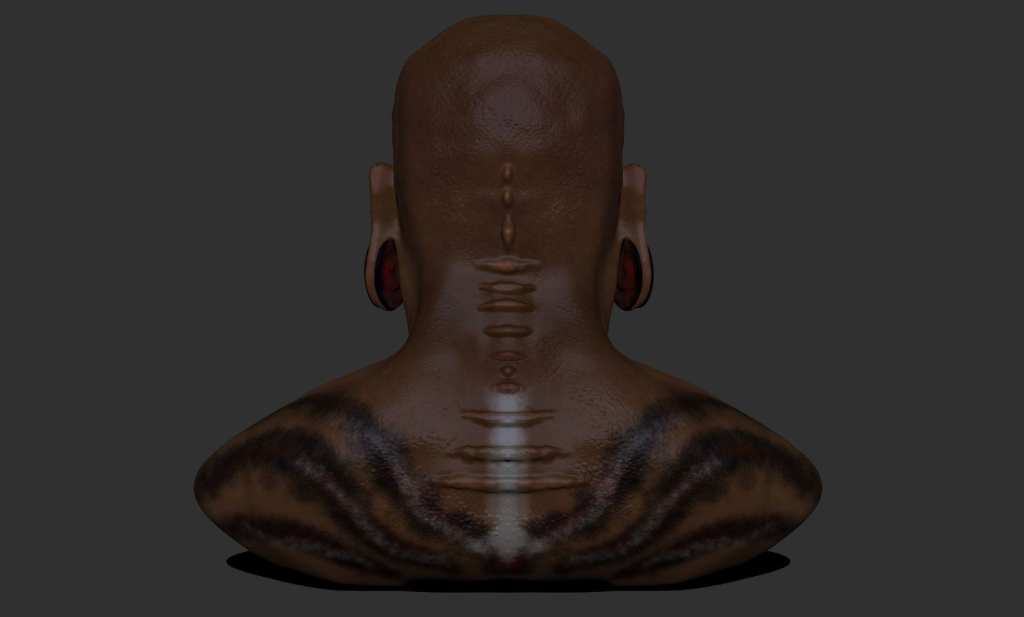
1. Making the Scars: this was done using the standard and inflate tool.
2. Skin pores: to further display realism on the model, I added skin pore textures. To do this I downloaded a skin alpha texture, set the brush setting to spray and used the standard tool. This created realistic textures and bumps on the skin.
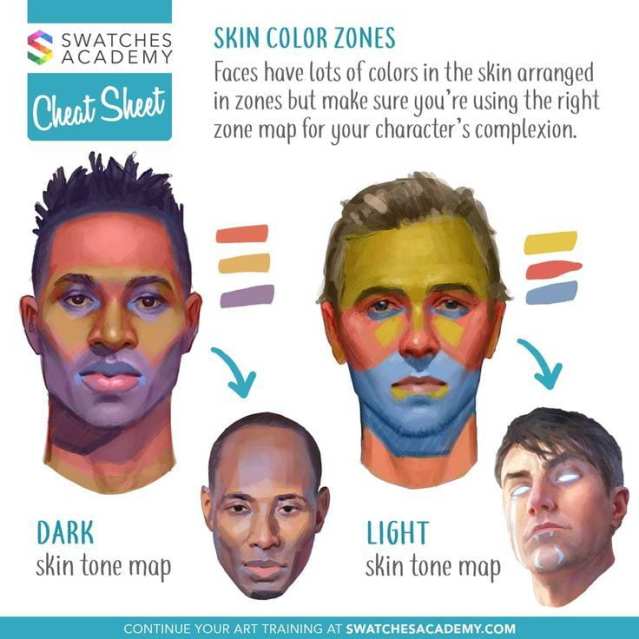
3. Adding colour and texture: for this stage is chose brown as the base and added other colours such as red, yellow, purple, grey an d blue. This was done to give more life to the model. The eyes were coloured separately. I used a mix of red and light grey as the base for the sclera. Along with brown, red and black for the pupils.
Final Renders
1. ZBrush:
2. Maya Renders:
3. Facial Expressions using Facial Animation Coding System:
5. Sketch fab
Feedback & Evaluation
I am truly content with the final results of the model as I believe that I was able to successfully apply all that I’ve learnt with this module. I feel that I achieved a good balance between realism and creativity while sculpting the character in response to its background. On the other hand, aspects of the character that could be developed would be the its physical features. I feel that I could’ve further refined the techniques I learnt in this course by making more unique attributes such as facial deformities, elf ears, or a crooked nose. This would most likely make the character appear more interesting.
WEEK 13
Maya Xgen Hair – Part 1
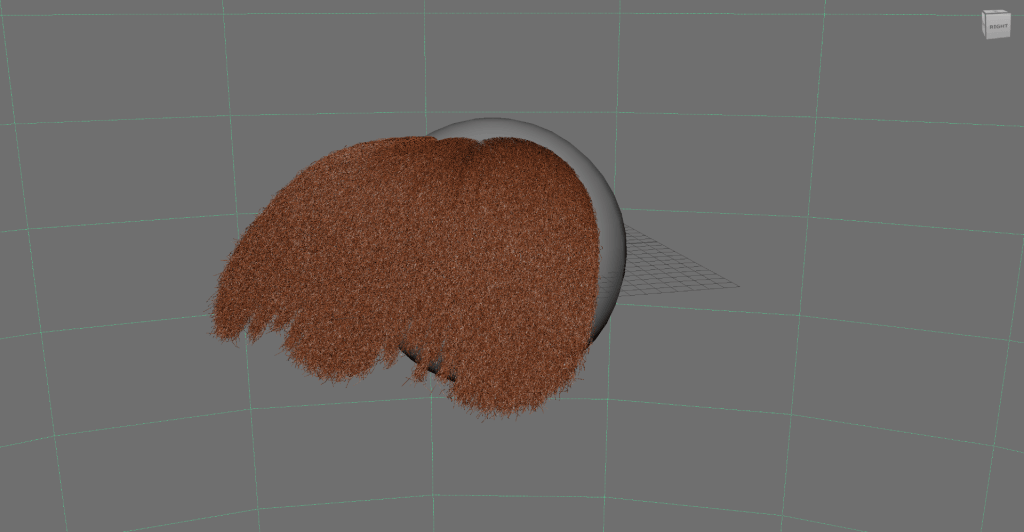
Learning how to generate hair fibres using Maya.