WEEK 1
Editing with Photoshop
Task 1: Editing a greenscreen image
The following images were combined and edited using adobe photoshop.
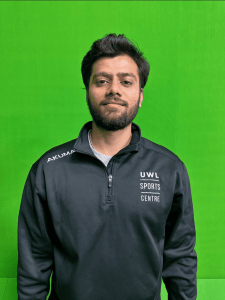
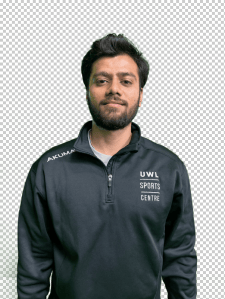
- First, by using the colour range tool, I was able to select the green area around the main model (increasing its fuzziness to ensure all tones are covered). Then I delete it, leaving him as a separate image.
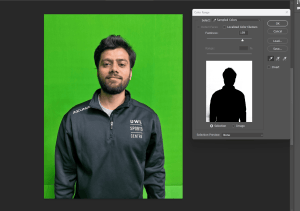
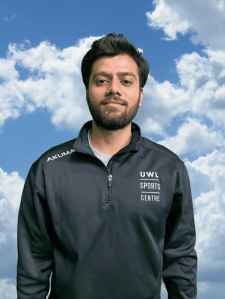
- Although the main goal of the task was achieved, the original model still displayed traces of green, particularly around the edges.
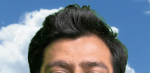
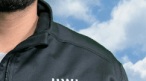
- To combat this I used a technique called ‘colour grading’. This involved editing the colour themes of the image by adjusting its saturation, brightness and colour balance.
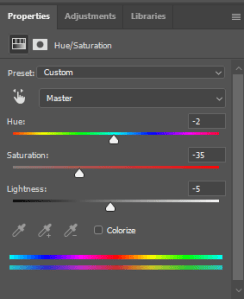
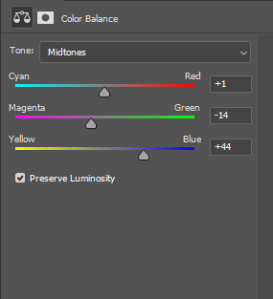
Final Image:
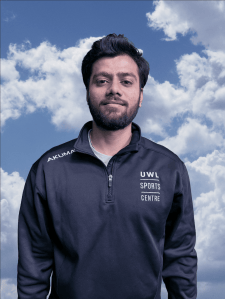
Although, I was able to remove most of the green tint displayed, the image still contains traces of green as I was unable to adequately editing it without maintaining its realism. In the future I intend to experiment with more techniques that can help me treat this.
Task 2: Creating an apocalyptic setting using multiple images and tools.
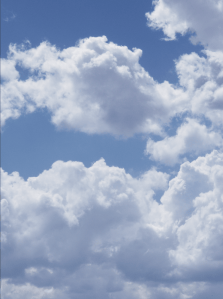
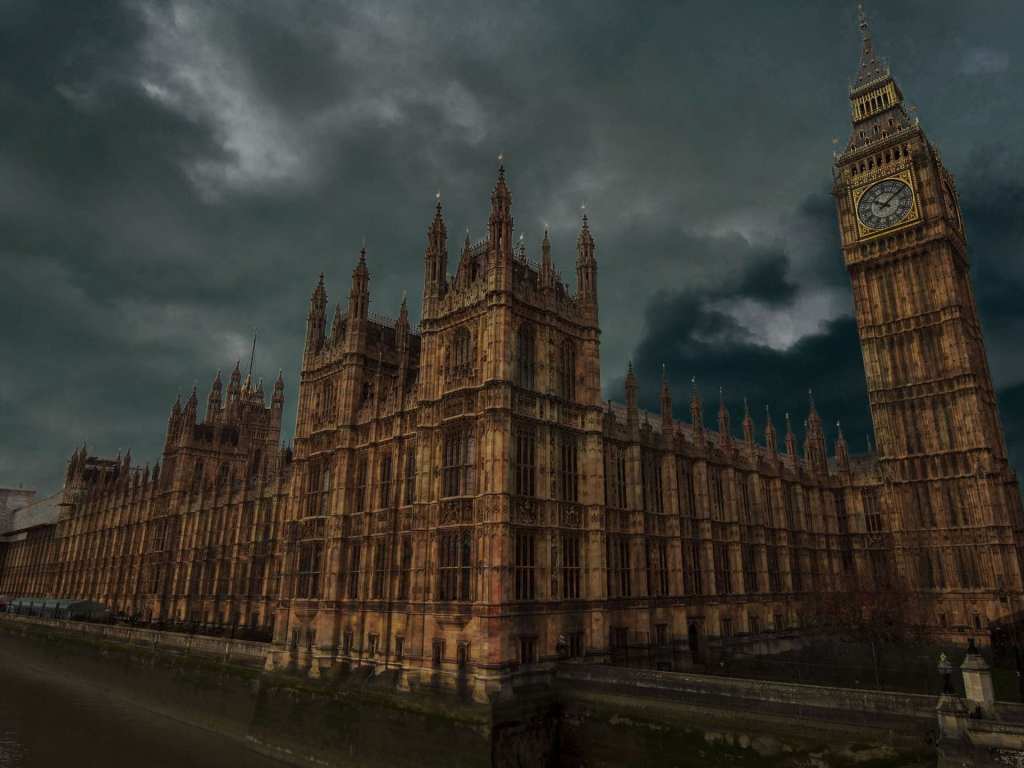
The following are the images provided for the edit:
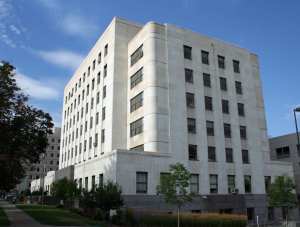
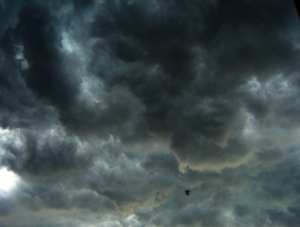
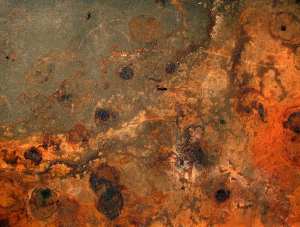
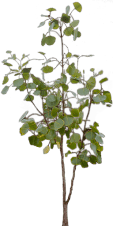
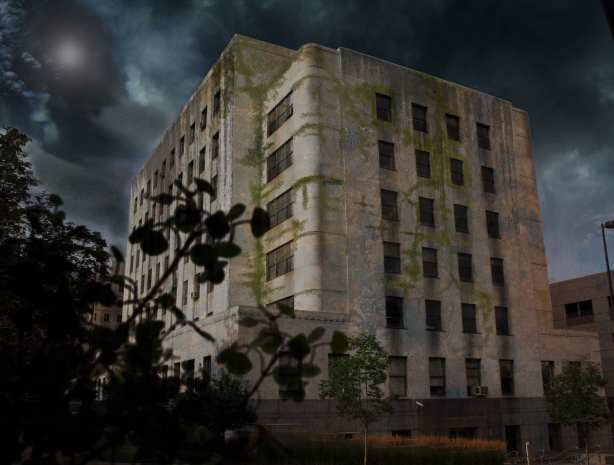
The process of editing the apocalyptic scene required tools and techniques such as selection and masking, freehand colouring, layering, and colour grading.
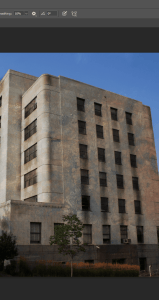
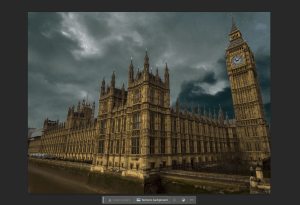
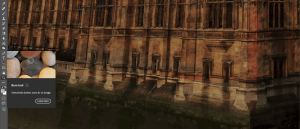
- First I selected the area around building using the colour range tool. Then I inverted it to create a selection around the background instead; this allowed me to delete the blue sky, leaving the building as an image on its own. Then the image was copied and pasted onto the grey sky image.
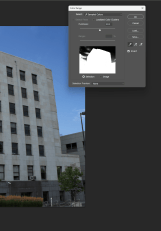

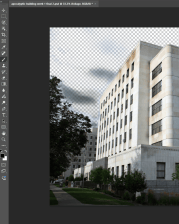
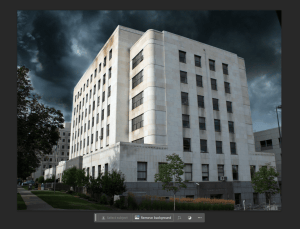
- Unfortunately, the colour range tool was unable to select all parts of the sky, due to its many tonal differences. To make it more realistic I lightly coloured the grey using the brush tool. Then made it blend more with the clouds using the blur and colour mixer tool.

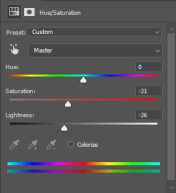
- To make the theme of the building match the grey sky, I colour graded the image by adjusting the hue/saturation and brightness.
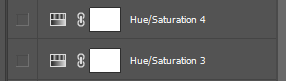
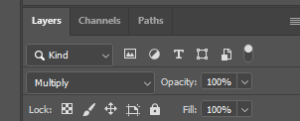
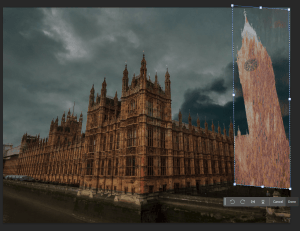
- Images displaying leaves, rust and leakage stains were layered above the image to make it appear more derelict. To do this I simply applied the image to a new layer and the layering setting along with increasing it transparency.
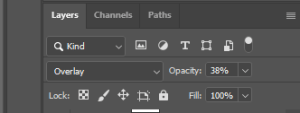
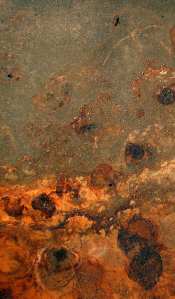
- Although the same was done for the leakage, the opacity setting was at ‘multiply’ rather than ‘overlay’ because it made it appear more realistic.
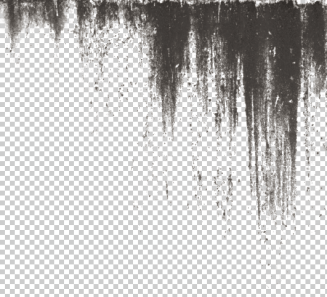
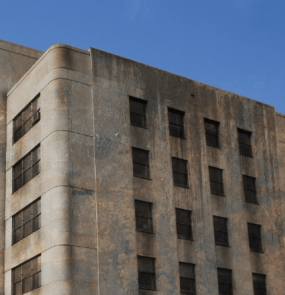
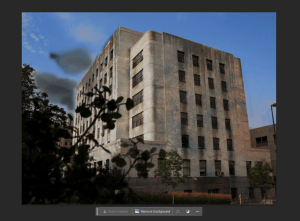
- Using tools such as the ‘foliage shaped’ brush tool, I drew growing moss on the crevices of the building. Additionally, I used the burn tool to create darker shadows around the windows and corners of the building. Both techniques were used to make the image appear more desolate and unattended.
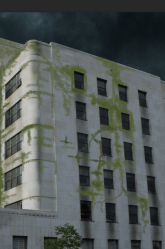
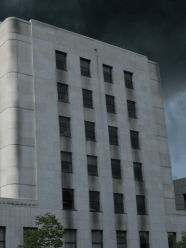
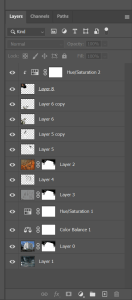
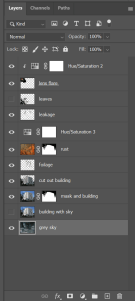
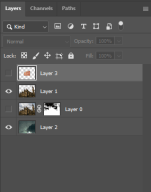
- These are the final layers displayed in the image.
Further Photoshop Practice
Assignment 1: Creating a Fantasy Landscape
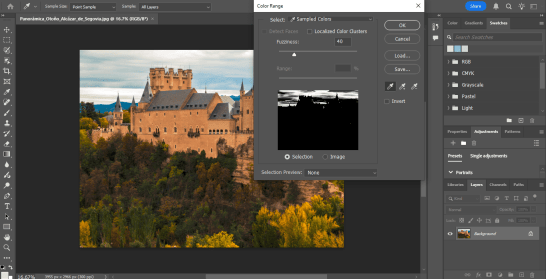
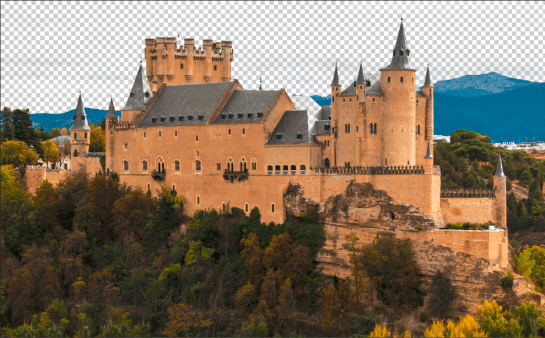
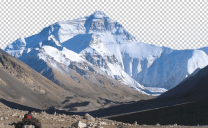
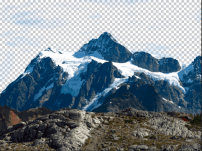
The following images are what will be used for the edit.

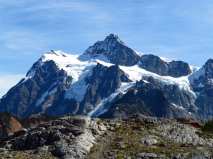
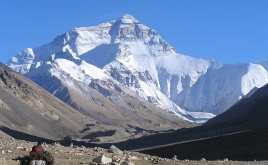
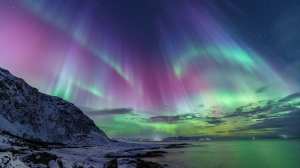
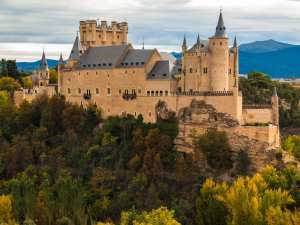
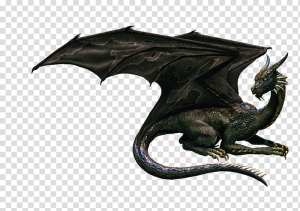
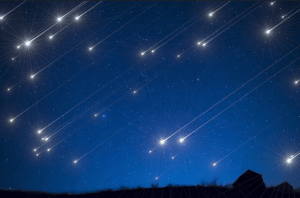
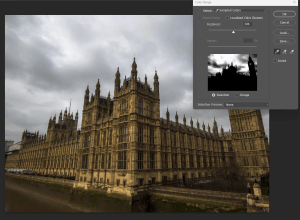
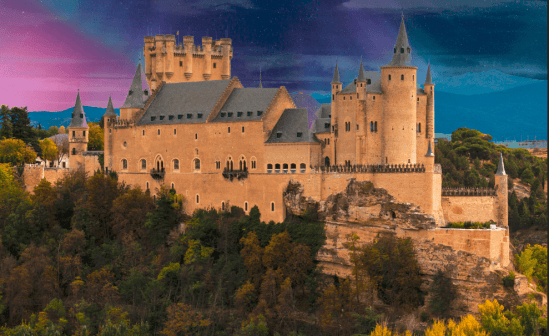
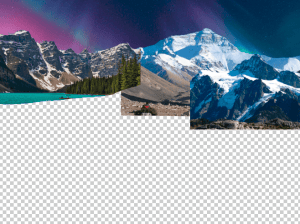
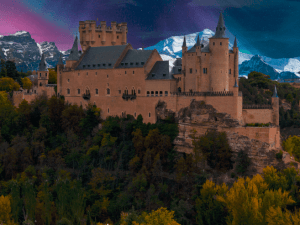
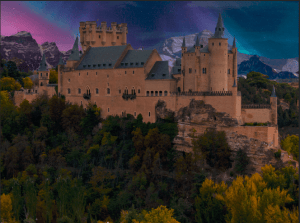
- For this process I used tools such as the (colour range) selection tool, colour adjustment tools, clone stamp and brush tools. I attempted to achieve realism with this edit by adjusting the brightness and contrast, saturation, colour balance and levels.
1. Creating the background (night sky and mountains):
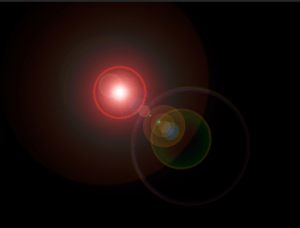
2. Creating a lens flare for the fantastical moon:
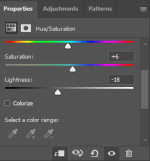
3. Colour grading the castle:
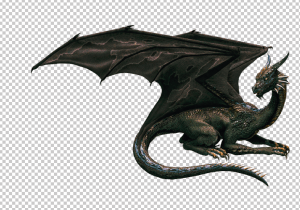
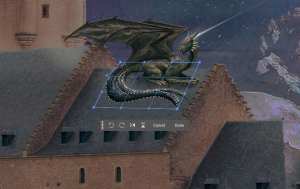
4. Adding a mythical dragon:
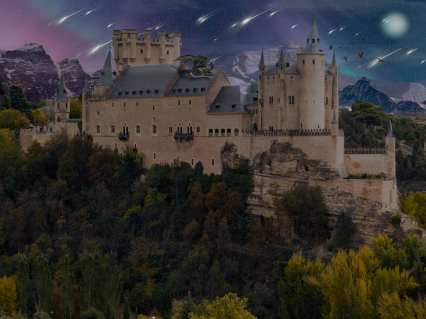
Final Image
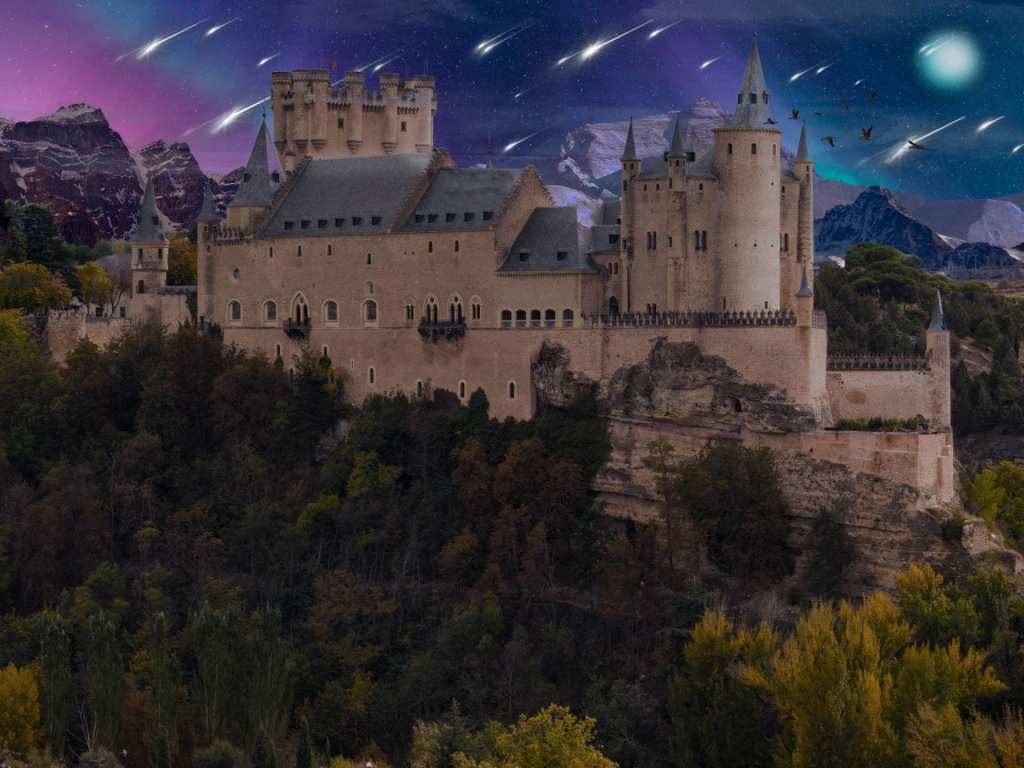
Feedback & Evaluation
I believe the level of realism displayed in the final image could be more refined by adjusting the way light is reflected on the castle image. Although I was able to colour correct it to a point where its theme somewhat matches the background, using tools such as the burn and dodge tool would help to adjust the way light is displayed on the image, allowing it to blend more with elements on the background. While I was able to depict a subtle level of fantasy through the edit, using a more close up castle image would possibly make it easier to achieve this.
WEEK 3
Creating an animal hybrid
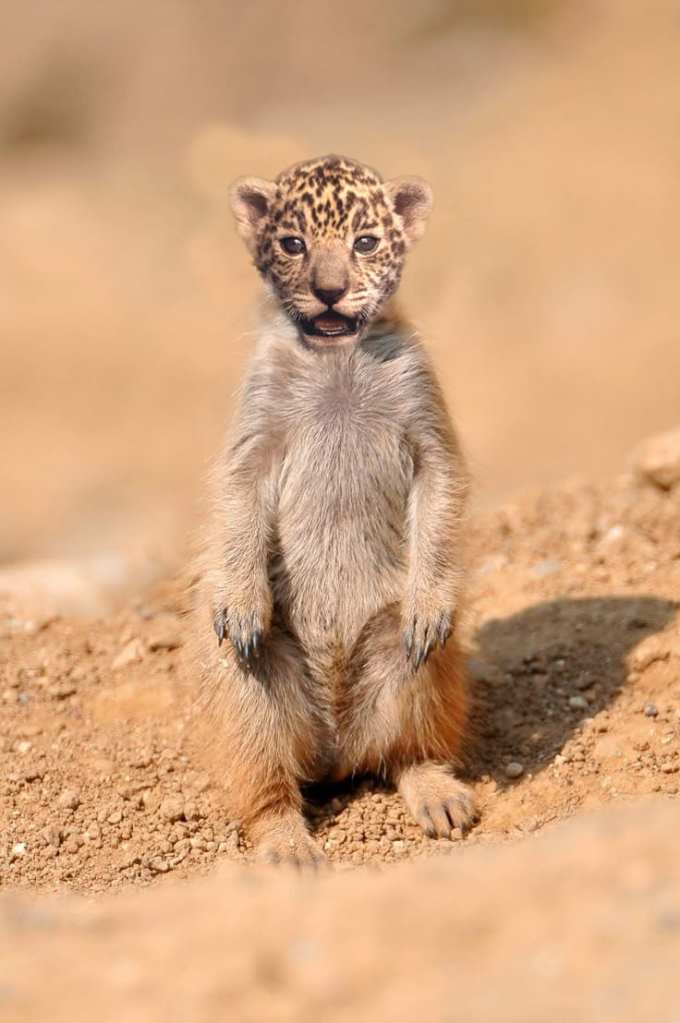
Using the following images, I was given the task to create an animal hybrid with adobe photoshop.
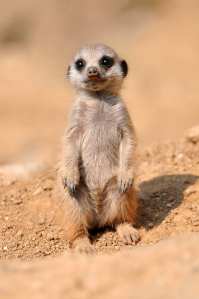
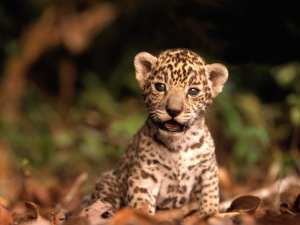
- The goal is to have the Meerkat display the head of the leopard, to do this, I first copied and pasted the leopard onto the Meerkat image. Then I reduced the opacity of the image so I can accurately line up the head of the leopard with the Meerkat’s.
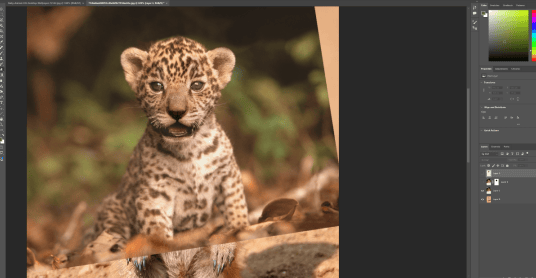
- Then, by using the pen tool, I outlined and selected the head of the leopard, inverted the selection, then deleted the surrounding area.
- Although I was able to select the head and leave it as a single image, the selection wasn’t vey accurate as it displayed parts of the original background around the edges. To combat this I simply reduced the opacity of the eraser tool and used it along the edges, this made the image blend mire with the background and meerkat image.
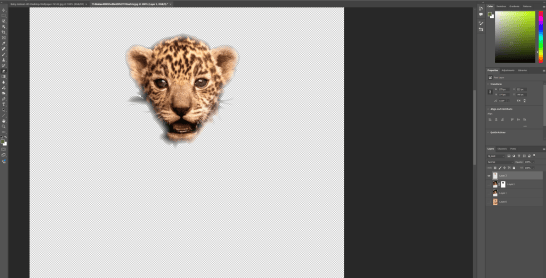
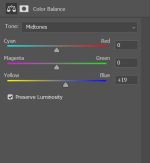
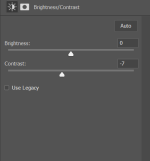
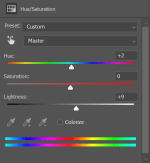
- I then proceeded to colour grade the lion cub image to make it blend more with the body of the meerkat. I adjusted features such as the colour balance, brightness/contrast and saturation.
Assignment 2/Further Practice: Making an Animal Hybrid Using 3 Images
For this exercise, I made use of images I found of the web; they include a crow, a cat and a magpie. I chose these images because the animal parts would be easier to blend onto one another as they all mostly share the same colour.
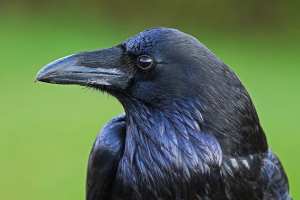
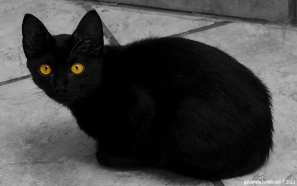
- First, by using the ‘pen tool’ I selected the head of the crow, copied and pasted it onto a layer above the cat image.
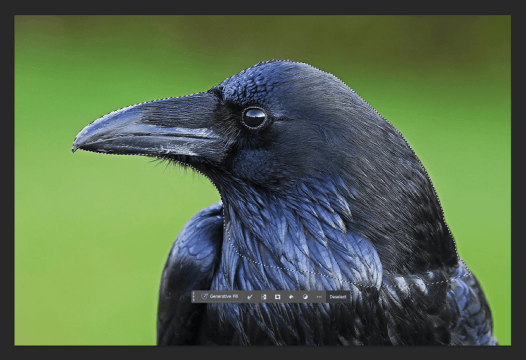
- Then I attempted to erase the edges of the head so it doesn’t peek out when the crow is placed on to it. This was done using the brush tool; the blur tool was used to soften the edges of the brush strokes, making it lend more with the original image.
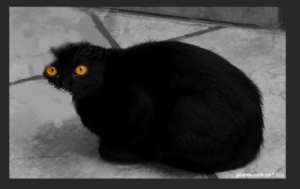
- After pasting the crow onto the cat image. I adjusted the shape and position of the head, ensuring to place it n a way that feels most realistic.
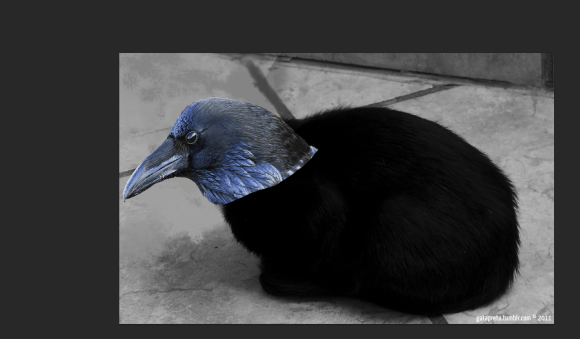
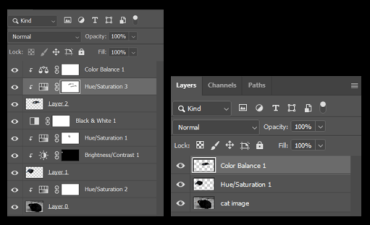
- Then, I proceeded to adjust the colour theme of the crow image to make it blend more with the full picture. My aim for this part of the edit was to reduce the blue hue being depicted on the crow image. To do this I reduced the brightness, adjusted the blues in the ‘black and white’ quality. Moreover, other aspects such as the hue/saturation and the colour balance.
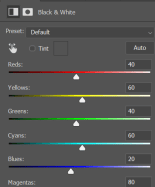
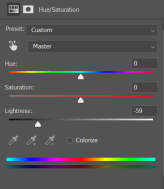
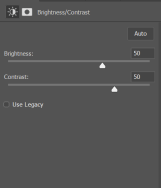
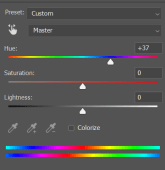
- This is the result of the first phase of the edit. So far the process has proved to be successful as the final image appears fairly realistic.
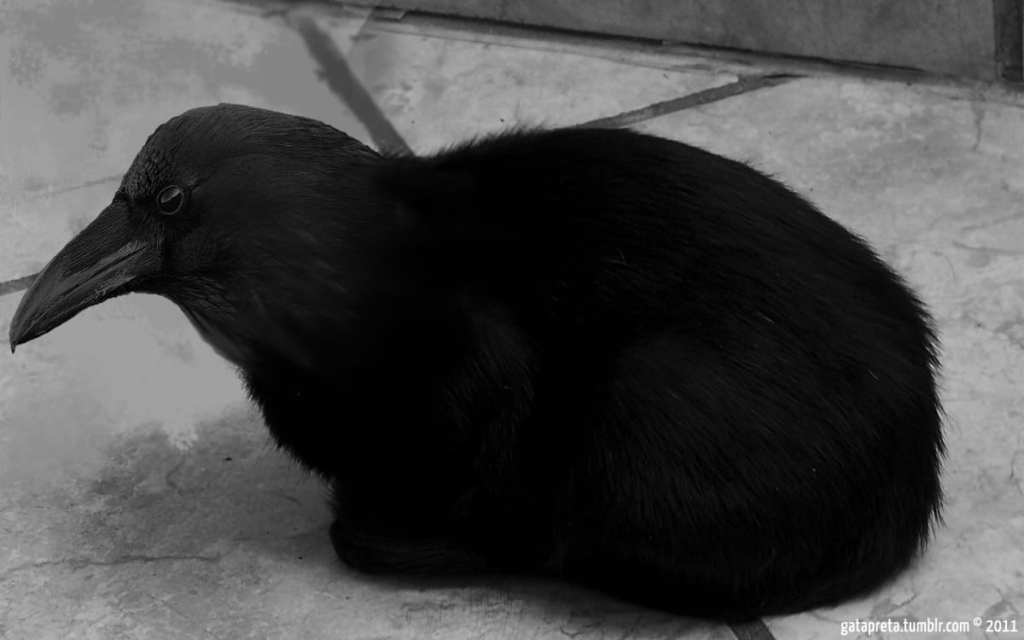
Moving on to the next stage of the process, using an image of a magpie, I intended to add the wing onto the animal hybrid.
- Much like the first step used with the crow photograph, I selected the magpie’s wing then pasted it onto another layer above the “crow cat” image.
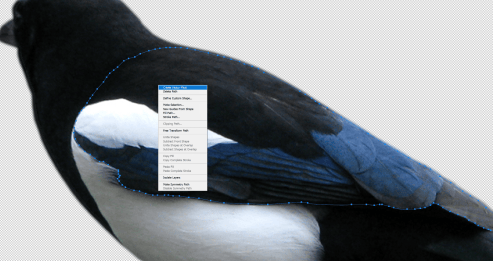
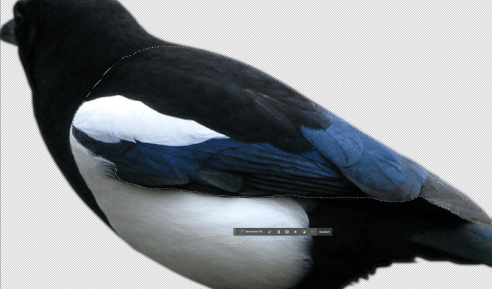
- To make the shape and size of the wing match the curvature of the cat’s body, I proceeded to ‘transform’ the image by using its sub tools that allowed me to scale, distort, and warp the image.
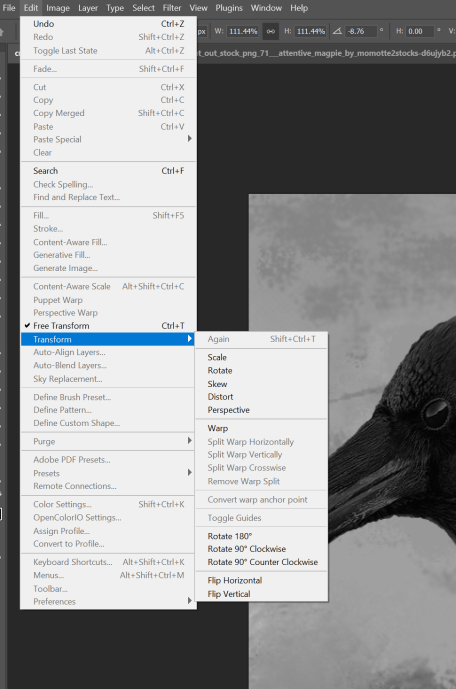
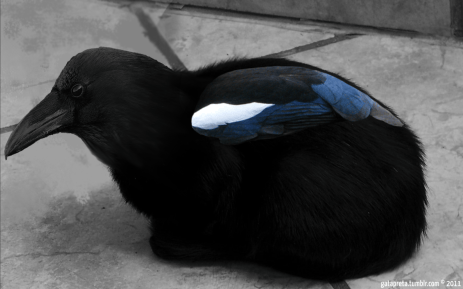
- For the next stage of the process, I proceeded to edit the way in which the wing blends with the image to make it more realistic. This included colour grading the image i.e, by adjusting the hue, saturation, and colour balance. My aim was to make the wing image darker so as to further blend onto the animal hybrid body. Additionally, lightly erasing the edges of the wing made it blend more with the image.
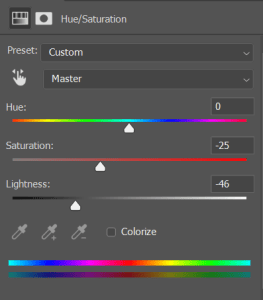
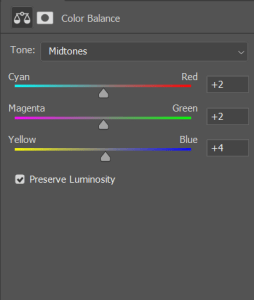
- For the next step of the edit, I attempted to create a seamless transition from the black of the cat’s body to the white part of the magpie’s wing. The aim of this was to further depict realism in the ways these features are attached. To do this I simply used the brush tool to colour into the white. To create a more subtle gradient, I blended the grey onto the white using the “smudge tool”. The result proved to be fairly successful, however, this process affected the level of realism presented in the image. Through further practice I intend to discover better methods of editing in the future.
- For the final stage of the editing process, I decided to use the “clone stamp tool” to cover the the thumbnail at the bottom right corner of the image.
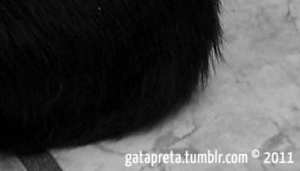
- I also used this tool to widen the background of the image by first enlarging the canvas size, then using it along the transparent borders
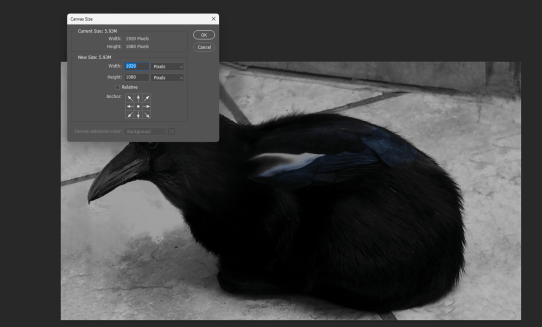
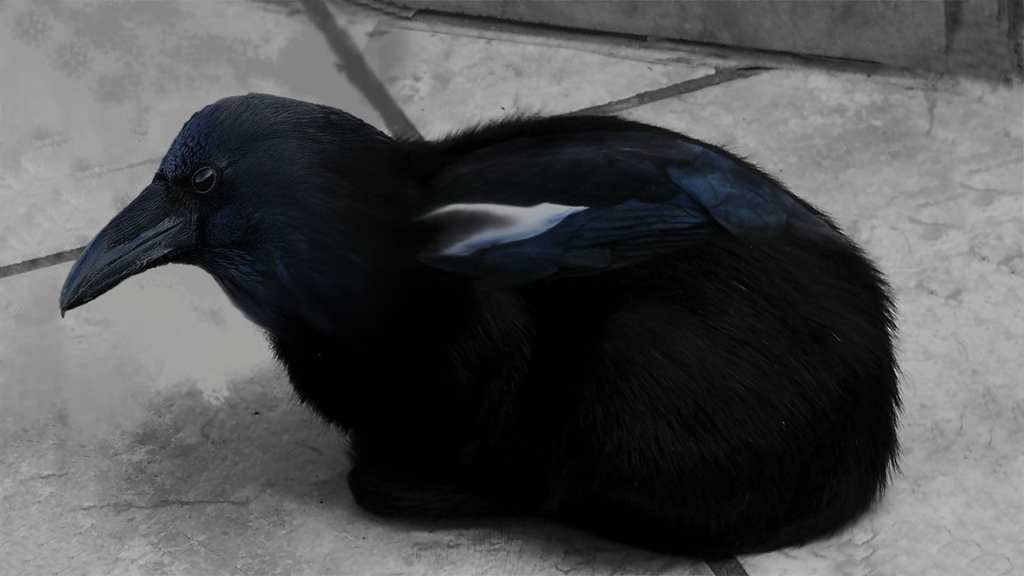
Image show reel
WEEK 4
Introduction to 3D Sculpting with MAYA
For this lesson I was required to practice basic functions in Maya, specifically the ‘move’, ‘scale’ and ‘rotate’ tools.
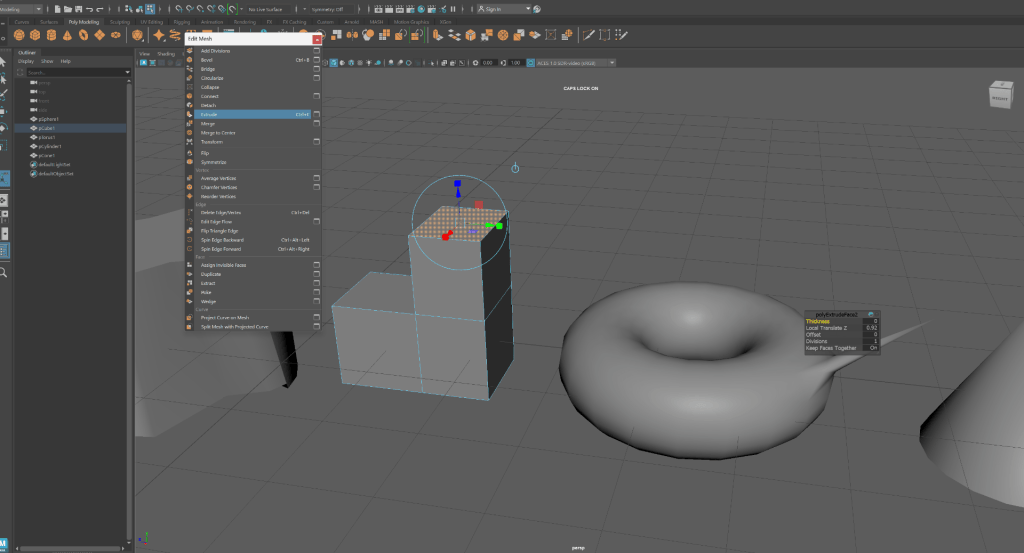
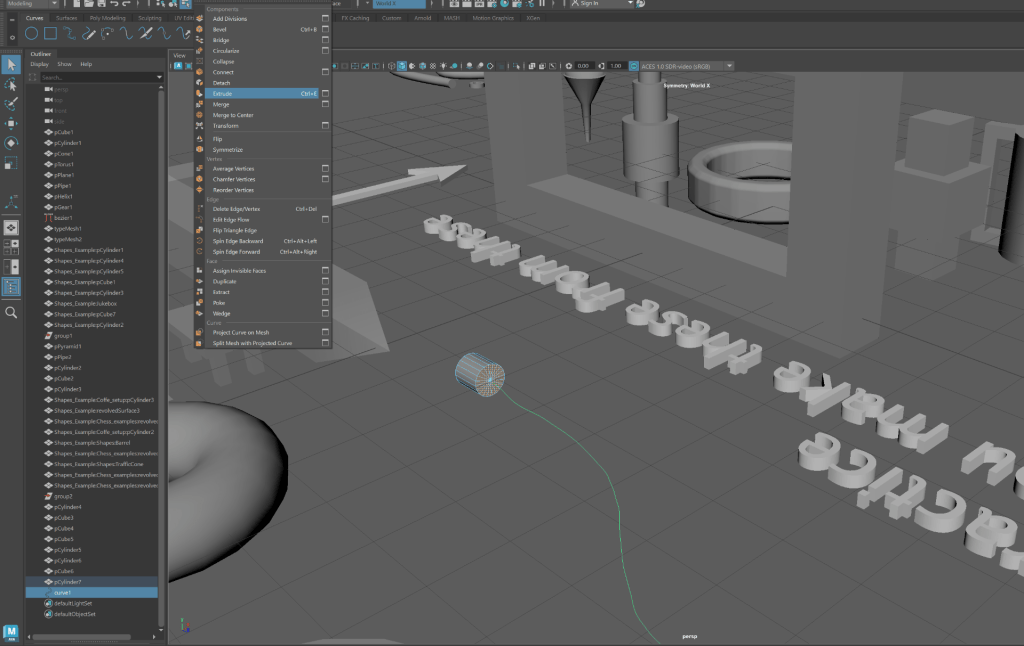
Other useful tools, such as the “extrude tool” (shortcut – ctrl E), was experimented with to understand the range of ways they can be used to create different shapes.
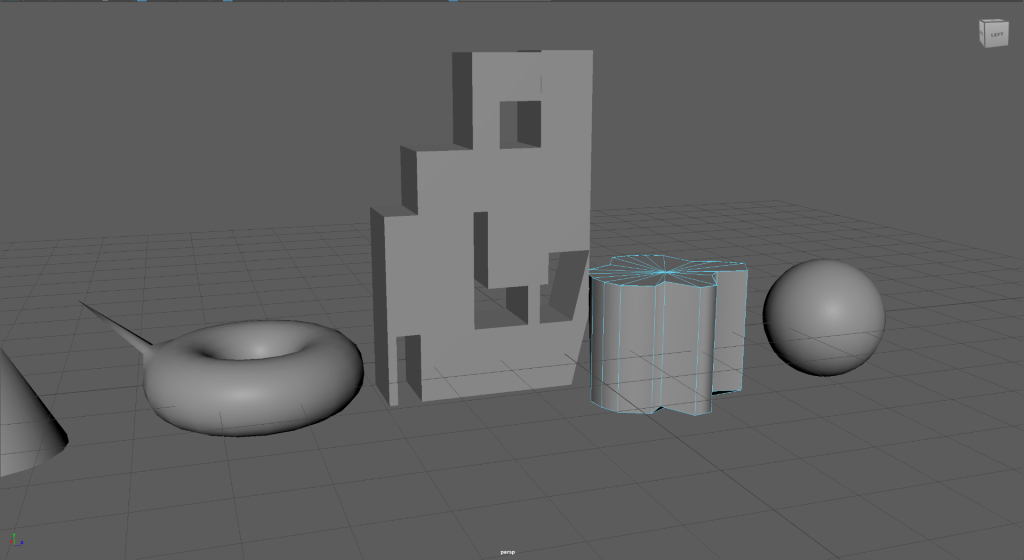
Additionally, I familiarized myself with the features of 3D shapes; faces, vertices, edges, and how they can be manipulated to create new shapes.

Maya Exercise
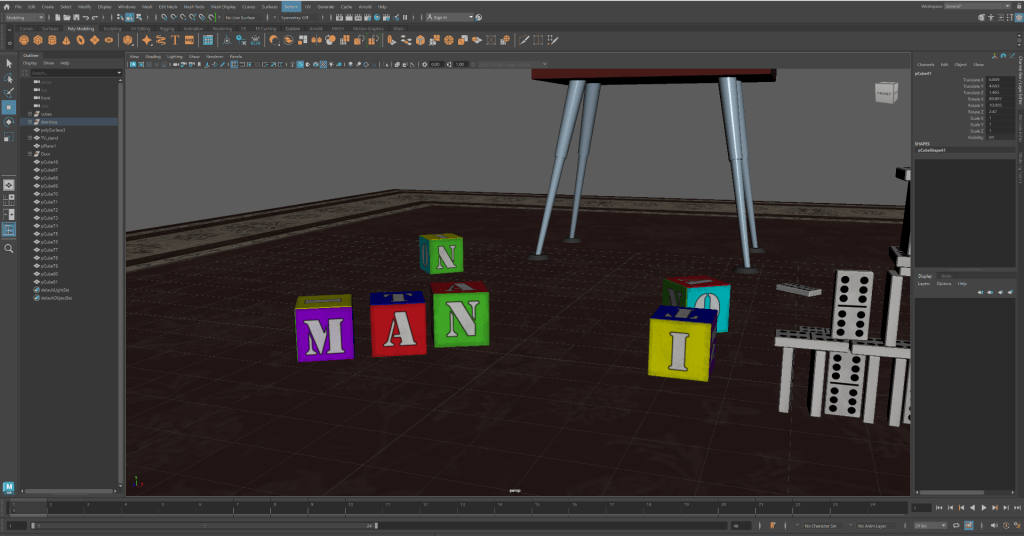
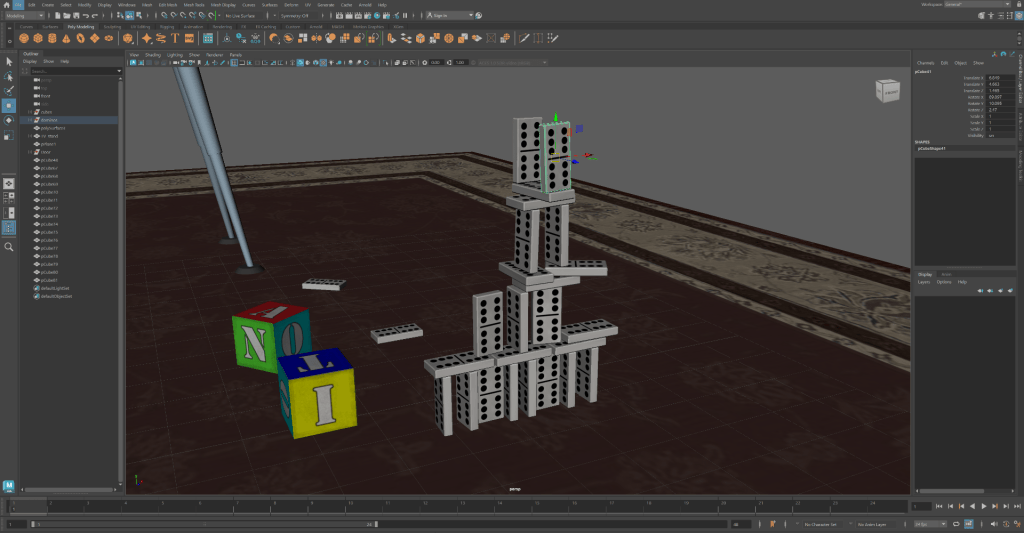
With this part of the lesson, I rearranged the scattered dominos to create a tower. The purpose of this task was to familiarise myself with the basic adjustment tools Maya has to offer.
Modelling a plane
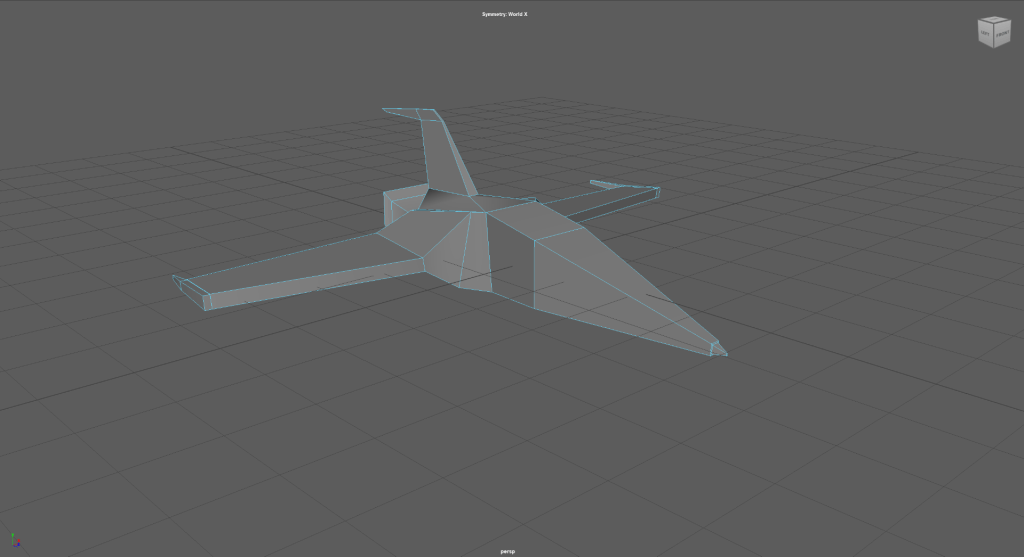
For this exercise, I created a plane to further my modelling skills with Maya. The function used for this process was the extruding tool.

WEEK 5
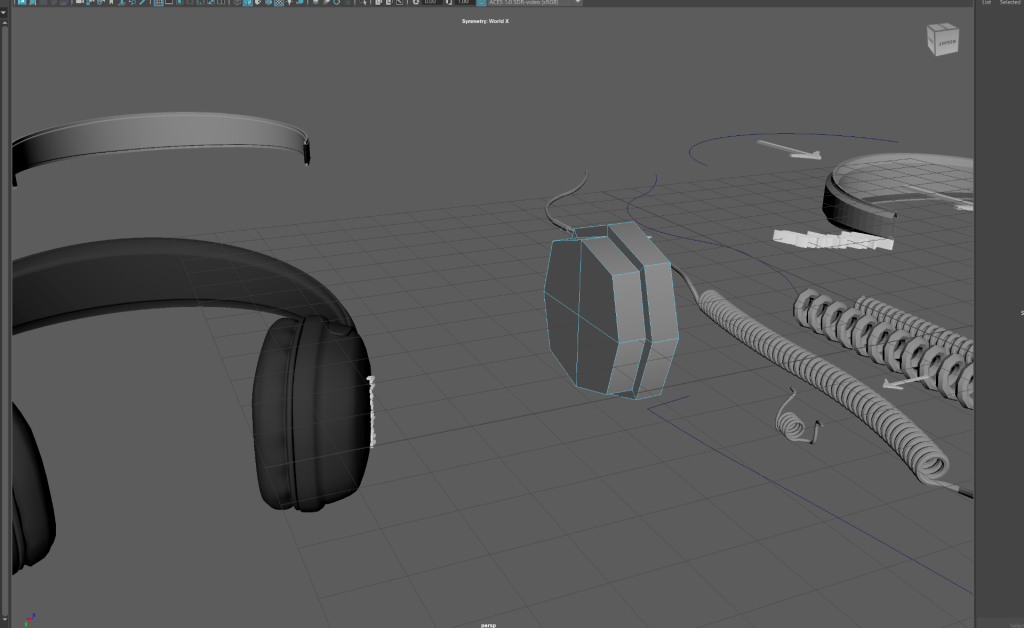
Hard surface Modelling with MAYA
For this exercise, I experimented with more tools and functions used for sculpting in Maya. The tools are majorly used to create made made objects, (generally referred to as hard surface objects).
3D Modelling Bootcamp
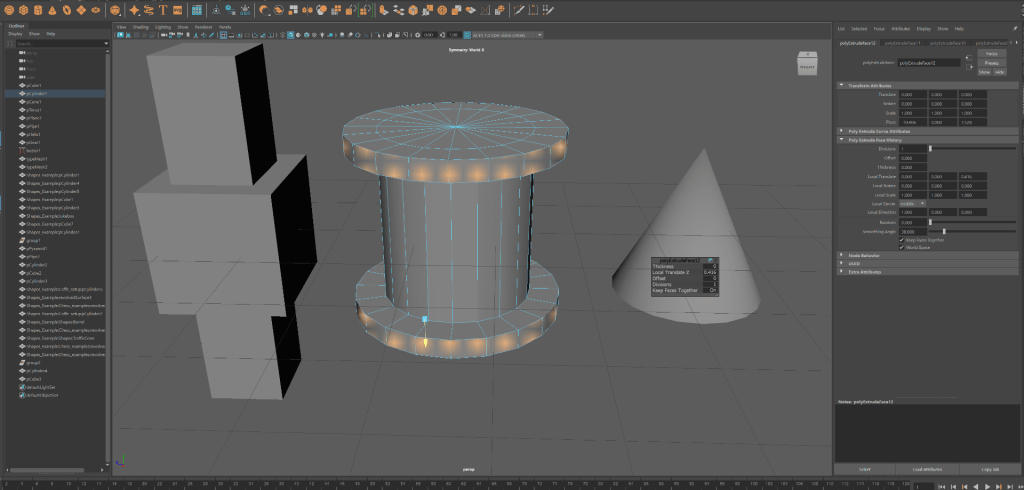
1. “Extruding” multiple faces at a time: hold on to the shift button while selecting each face.
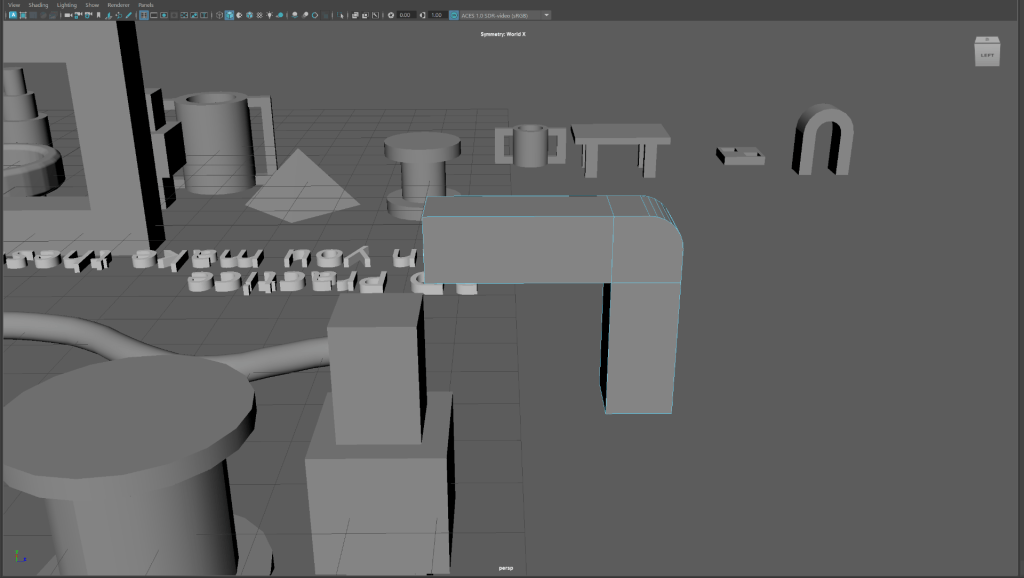
2. Using the “Bevel” function on edges: select the edge>edit mesh>bevel
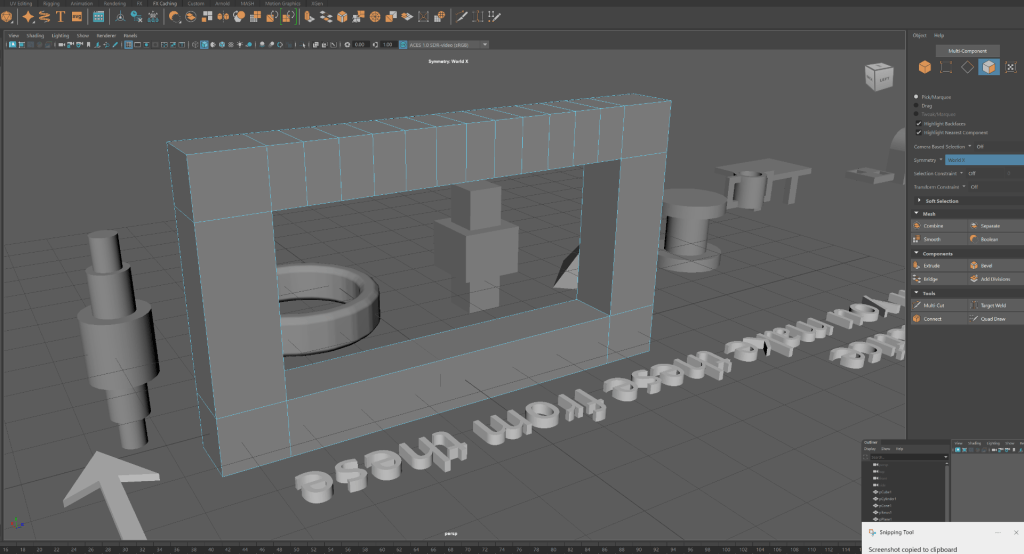
3. Using the “Bridge” function on two faces:
4. Joining four points
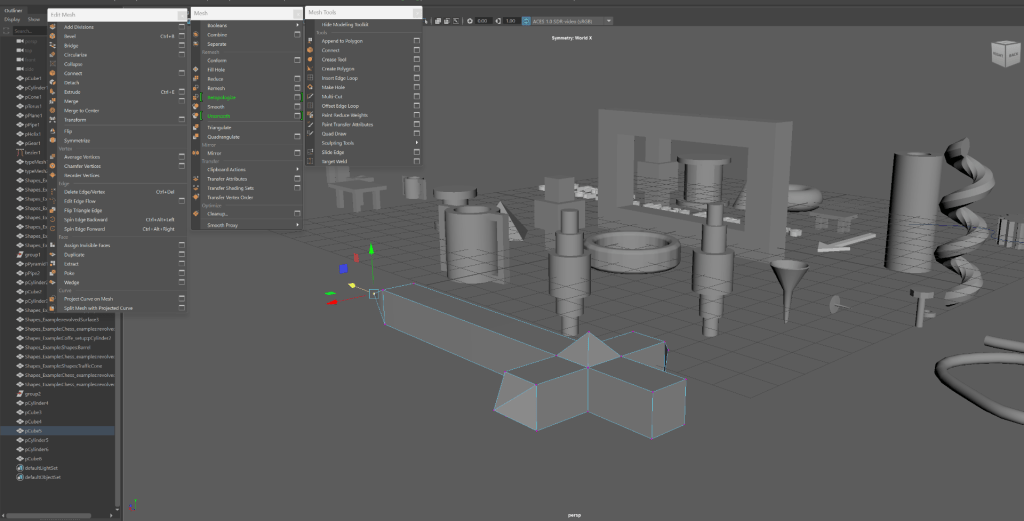
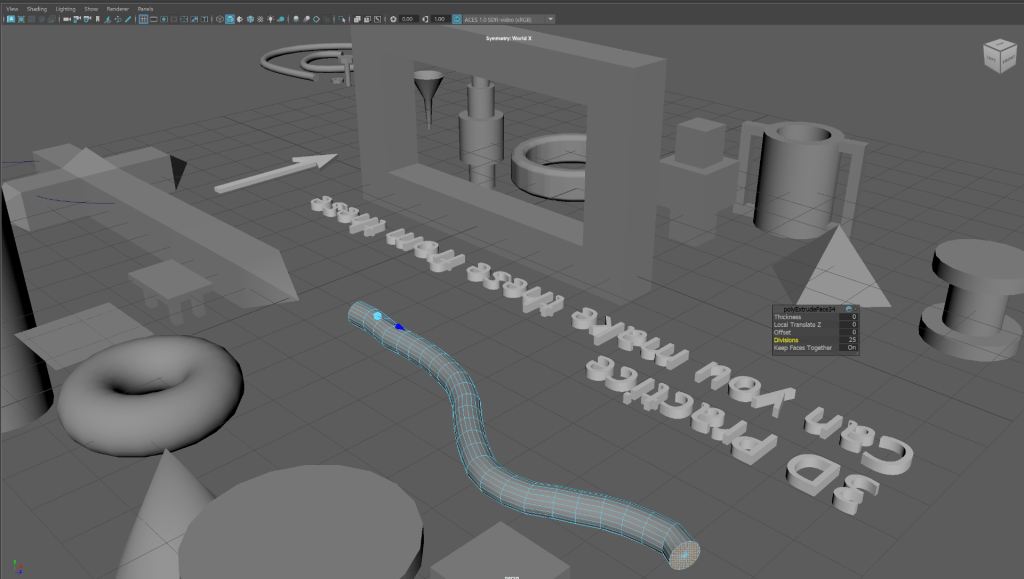
5. Dragging an object across a line or curve: insert shape > draw line > select face and line > CTRL E (extrude)
WEEK 6
WEEK 7
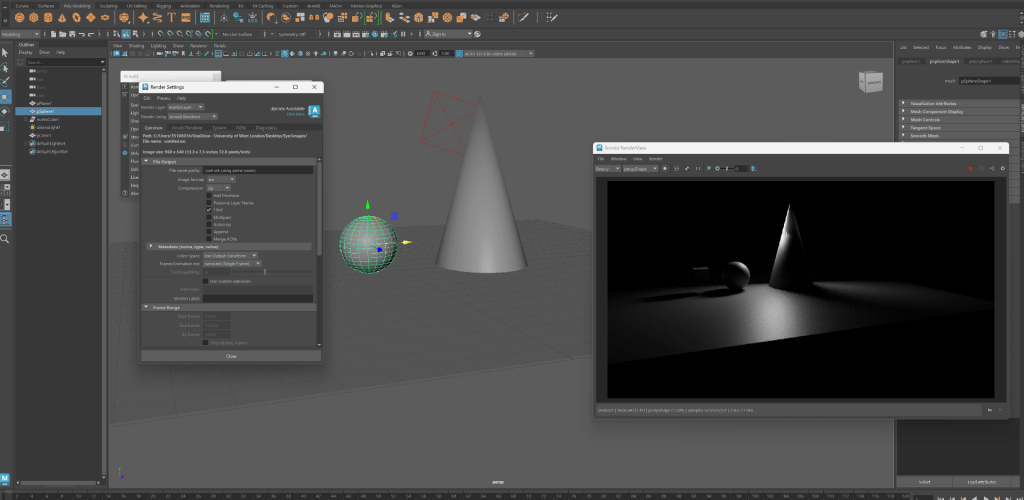
Introduction to Lights, Rendering, Materials, and texture maps in Maya
1. Using area lights:
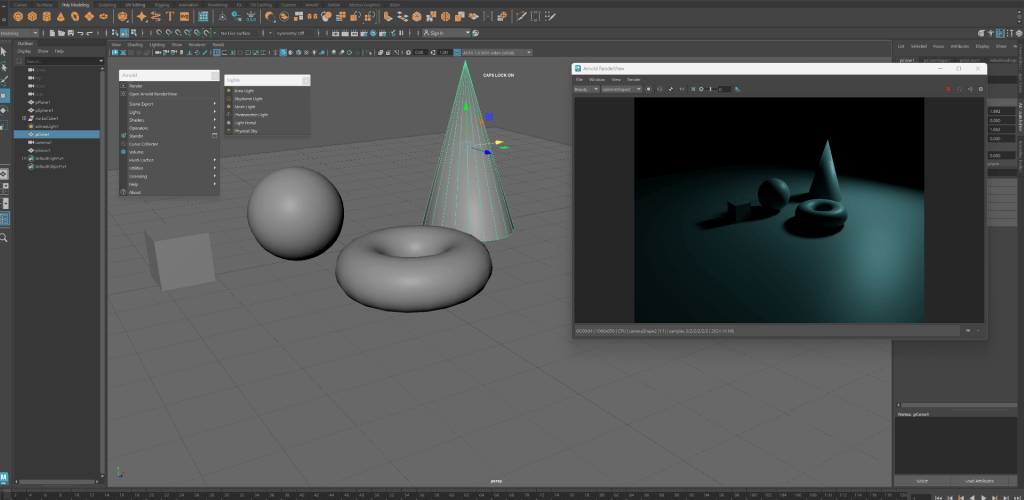
2. Adding colour to lighting:
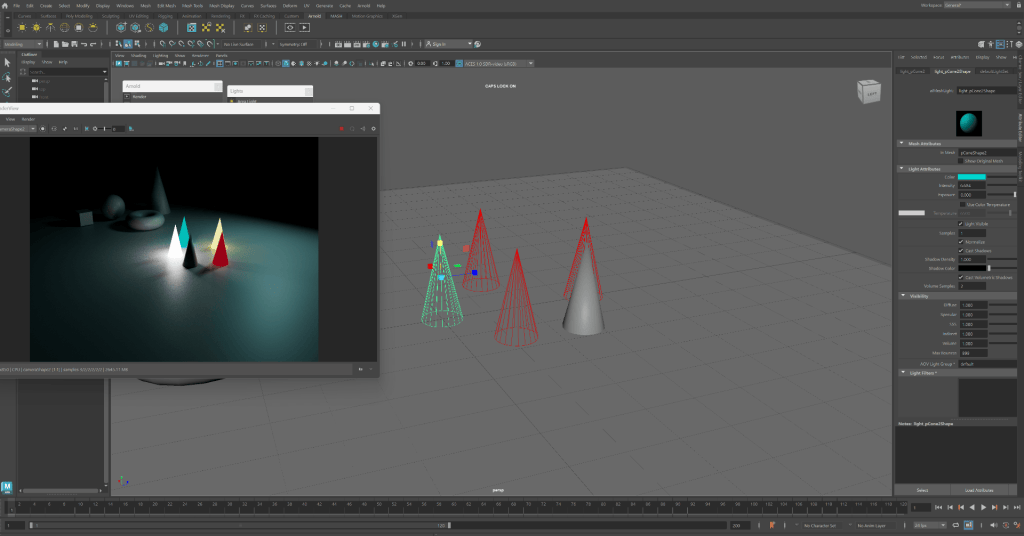
3. Adding light to an object:
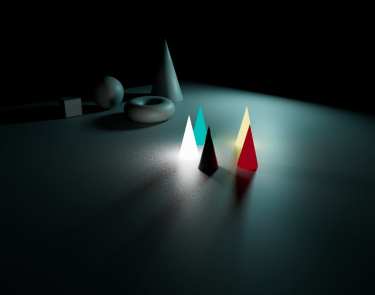
4. Adding light to a setting:
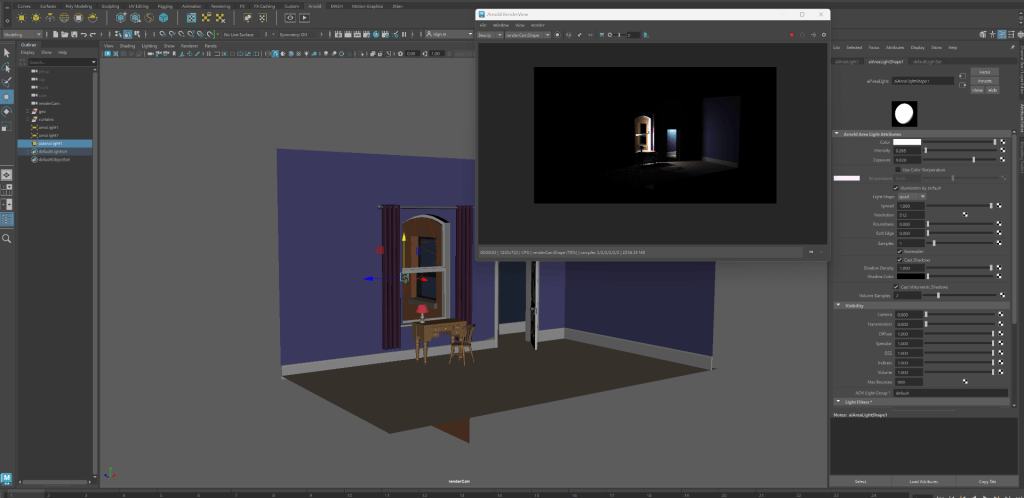
5. Adding texture to a model:
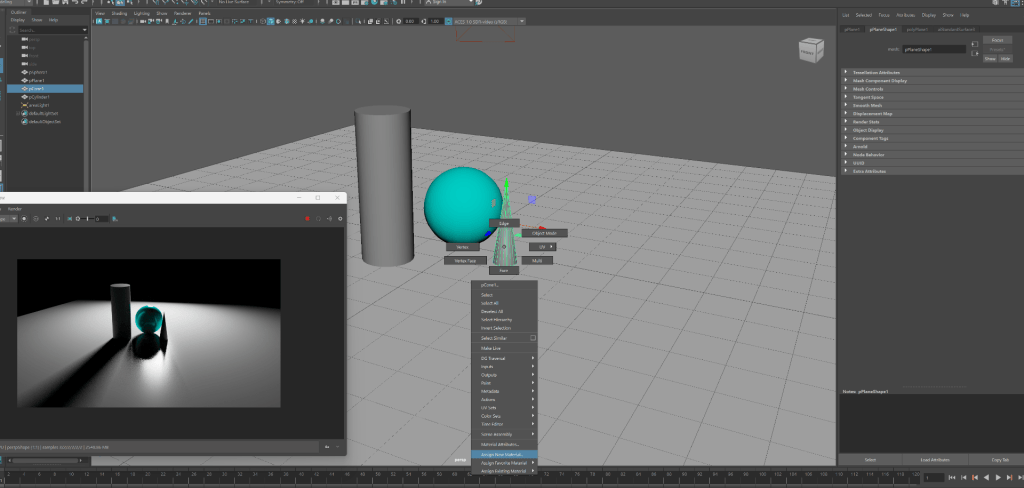
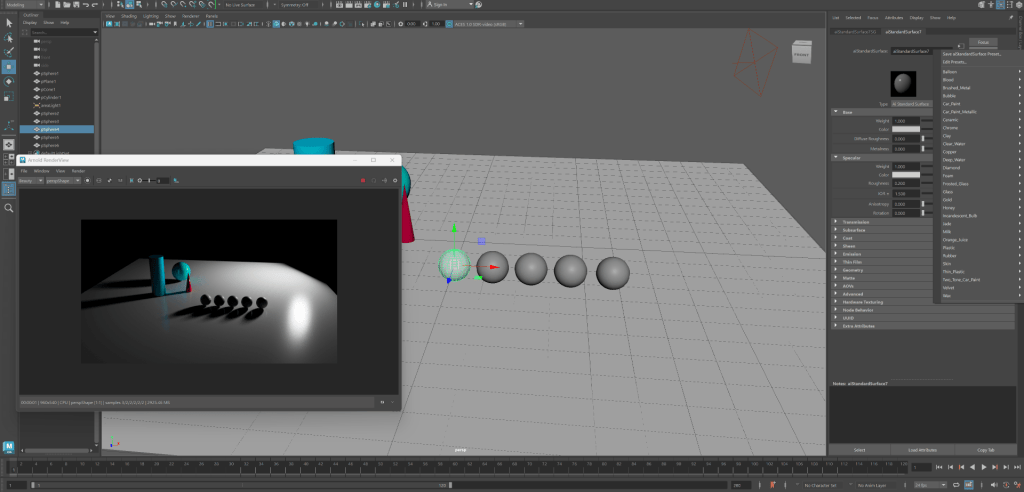
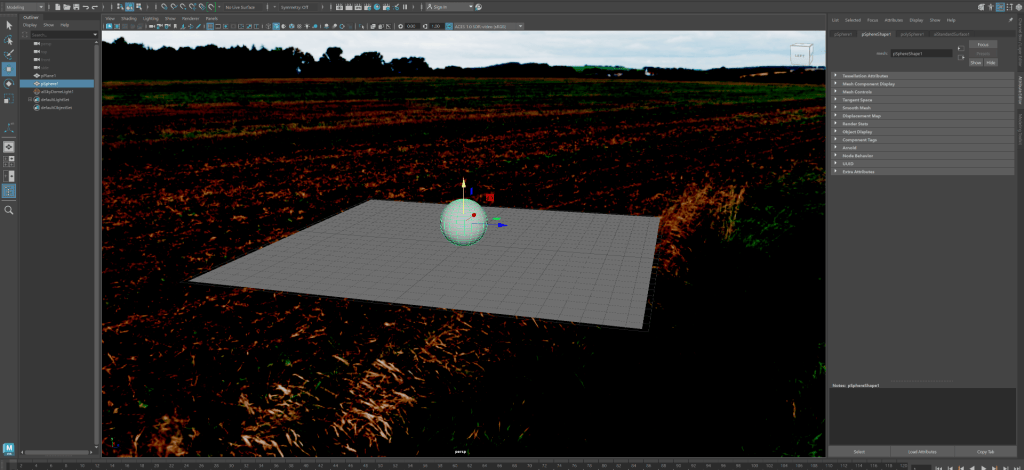
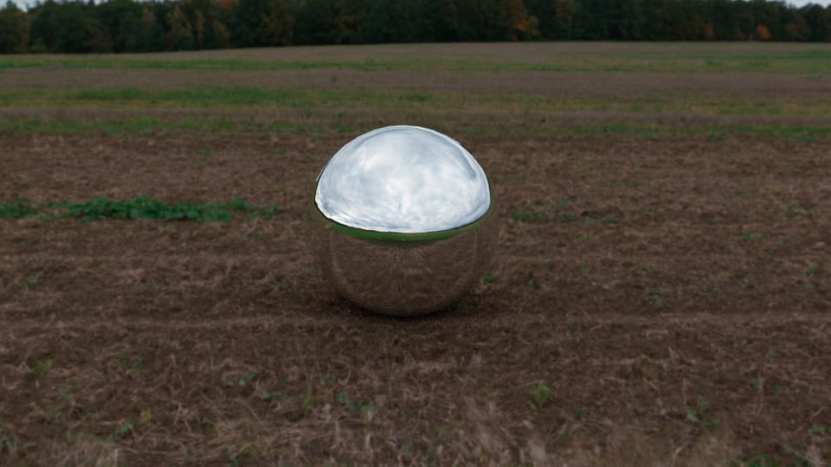
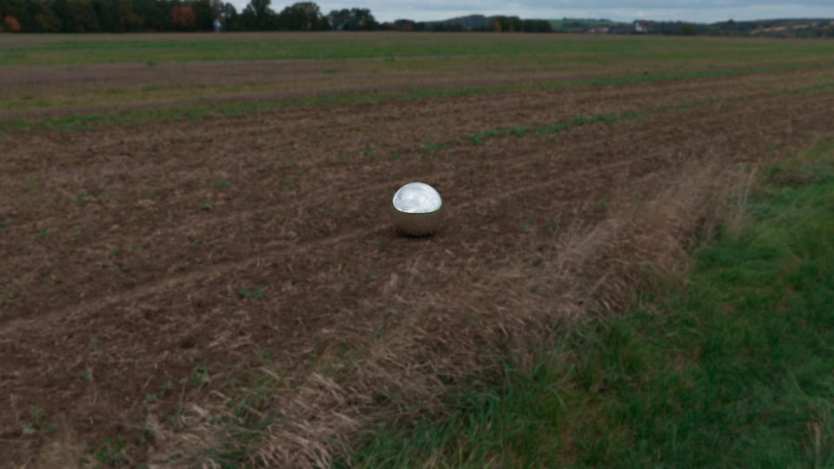
6. Adding a sky dome background:
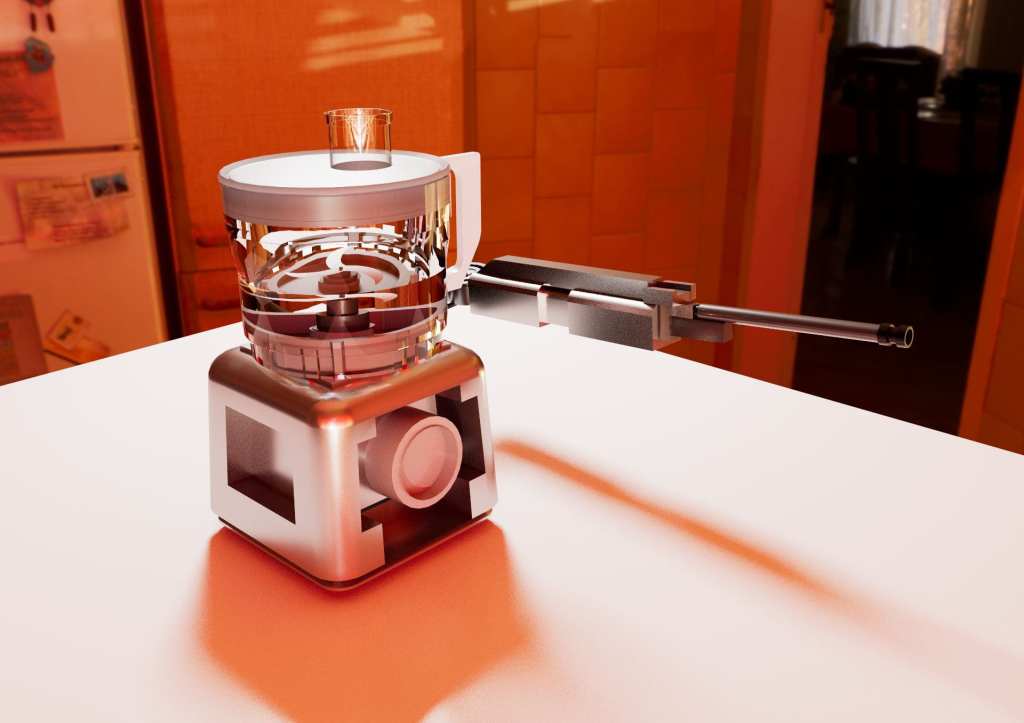
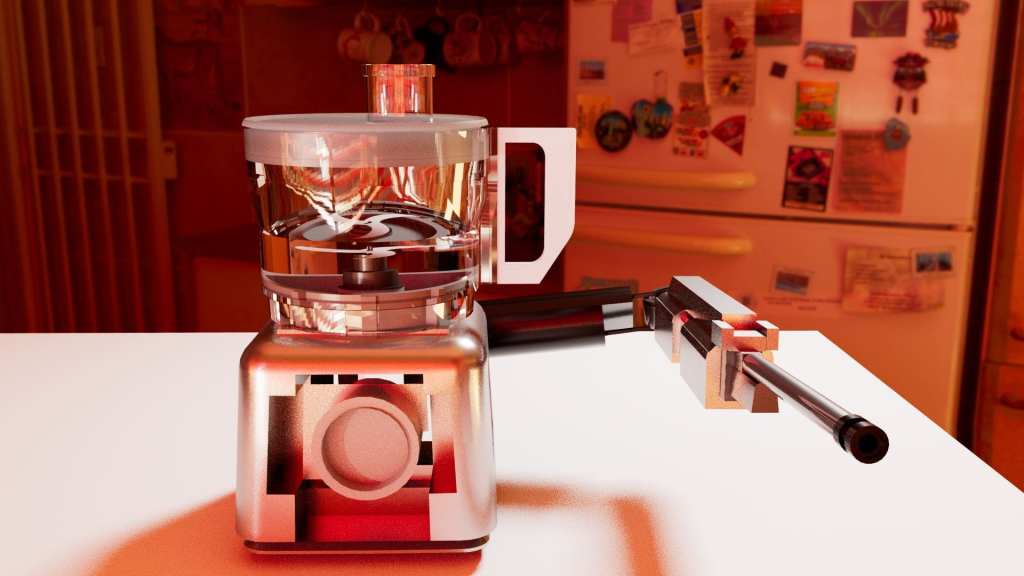
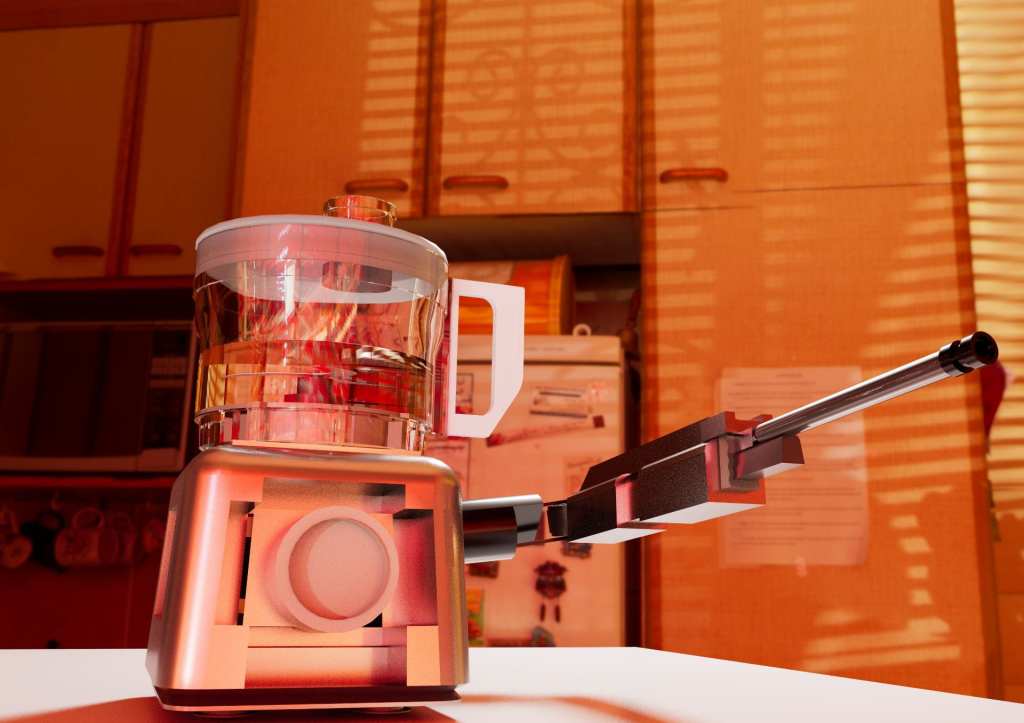
Assignment 3 – Modelling a Spy Gadget (gathering secondary reference images – food processor)
For this project, I intend to create a spy gadget disguised as a household item. I chose a food processor for this project because I believe the creation process of this device will be very interesting while being quite straight forward.
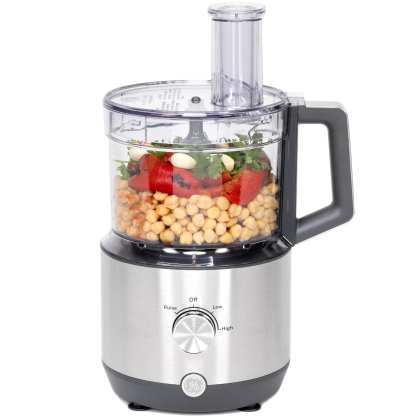
Studying the different parts of a food processor
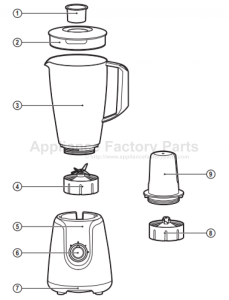
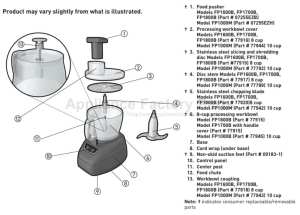
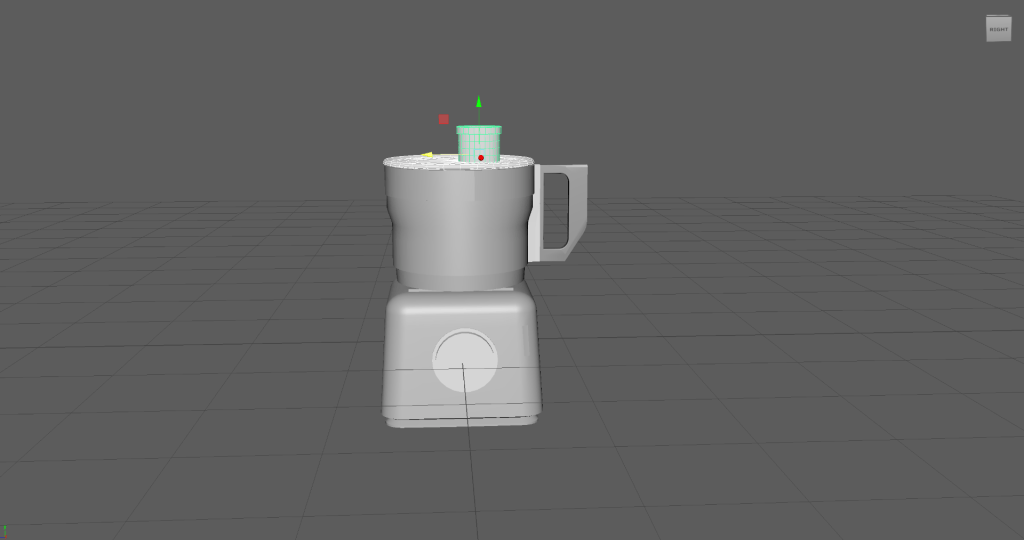
1. Modelling the Food Processor
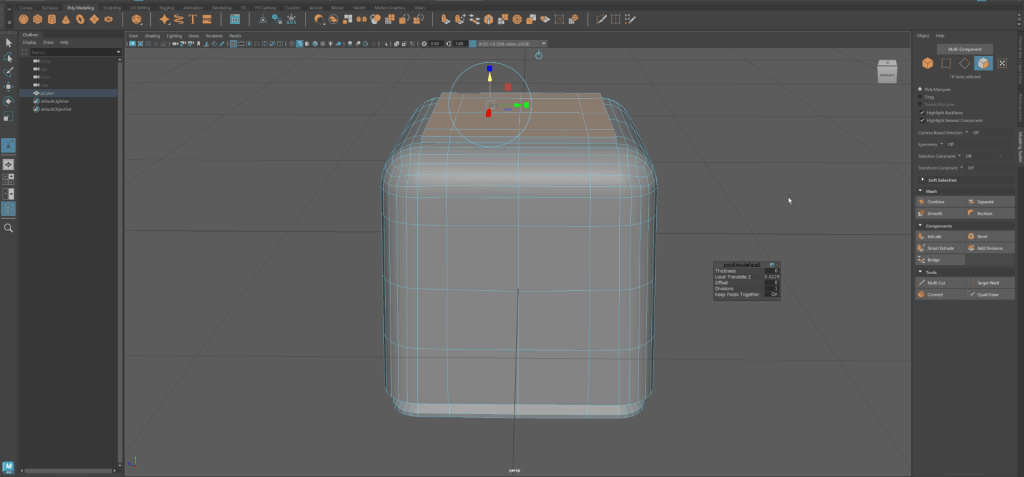
The Motor Base
The Handle:
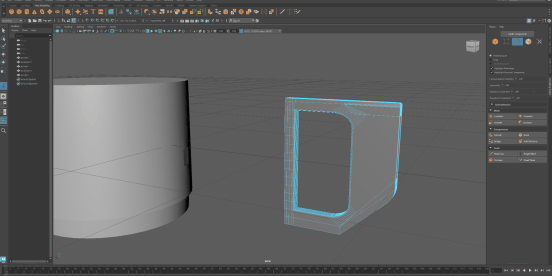
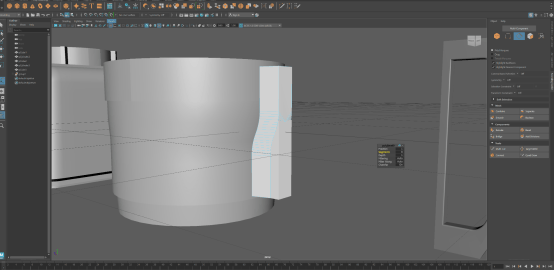
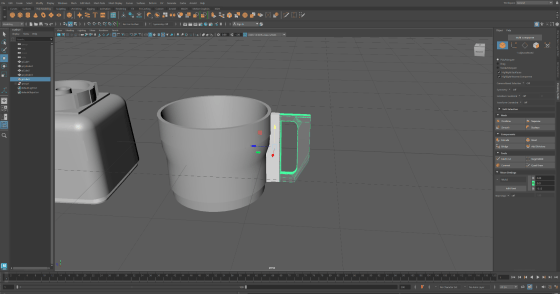
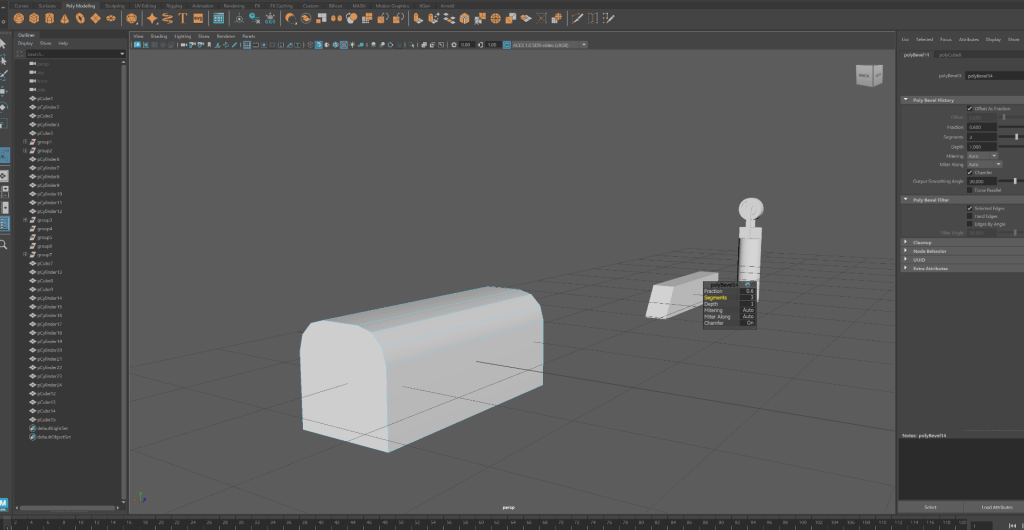
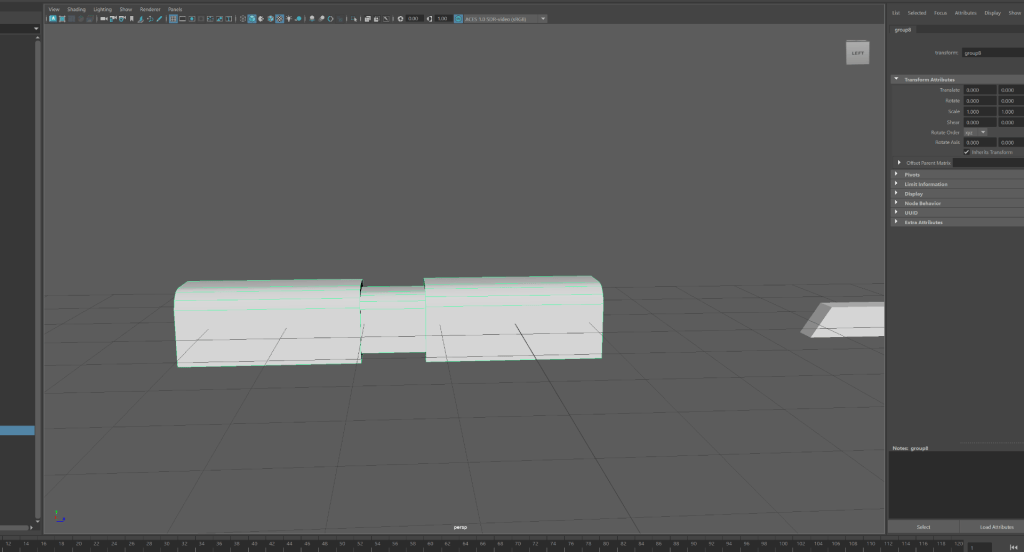
For this step I used a cube stretched out to create a cuboid, then I extruded opposite faces to create the handle bars. By using the bridge tool, I was able to connect both faces of the extrusions to create the default handle shape. Then I carried out further functions to refine the shape of the model, such as: bevelling the edges and adjusting the size of the model’s parts to create its unique shape.
The Container
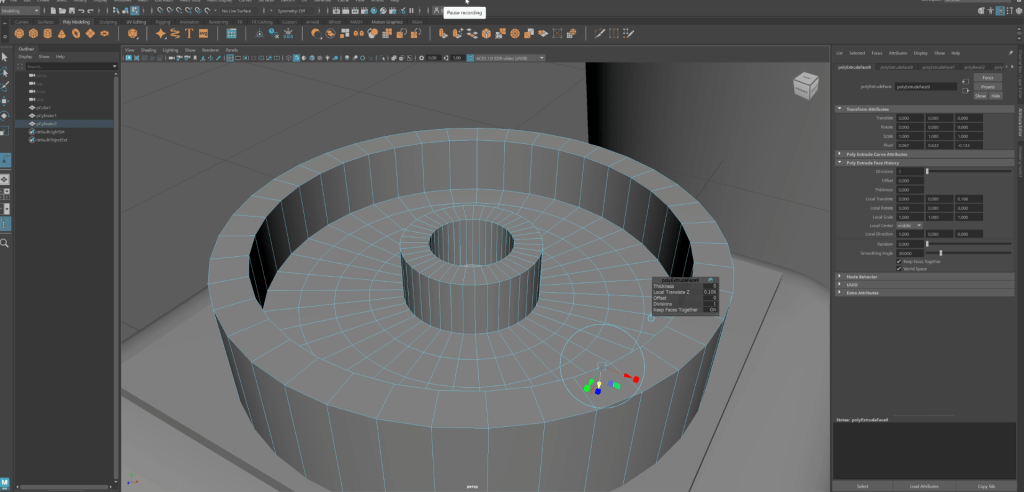
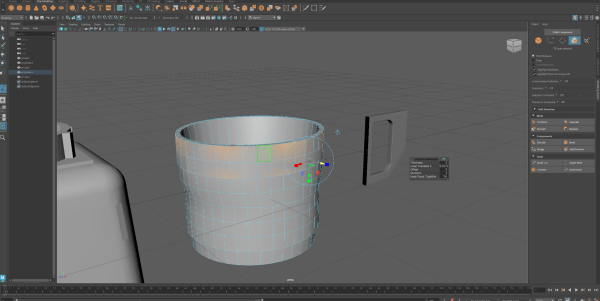
For this process, I selected the upper faces of a cylinder and evenly increased their sizes. This was done, simply to give the container a more practical shape.
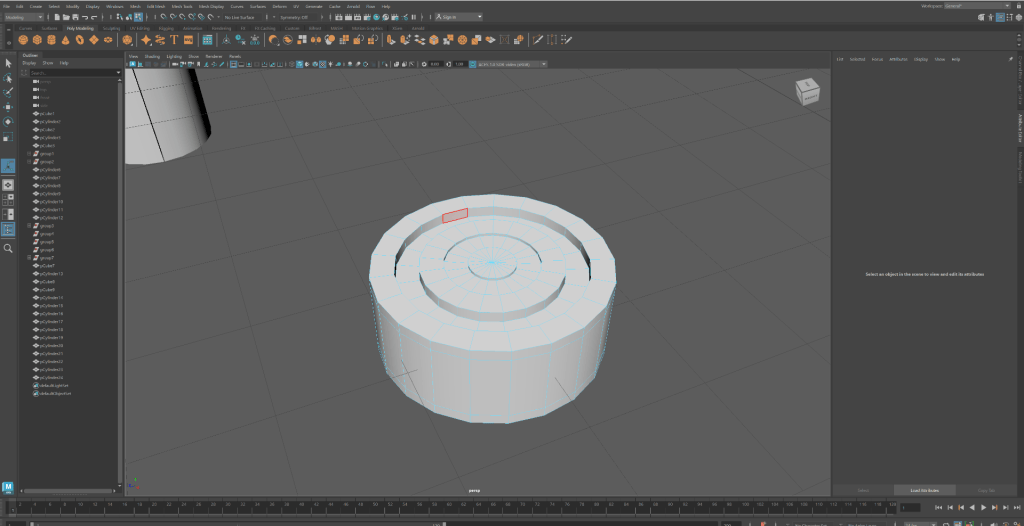
The Lid
For this part of the process, I used a pipe model. First I scaled it down, making it an ideal length for a container lid. Then I selected the ring edges of the hole (top and bottom), then I moved it to the edge of the cylinder.
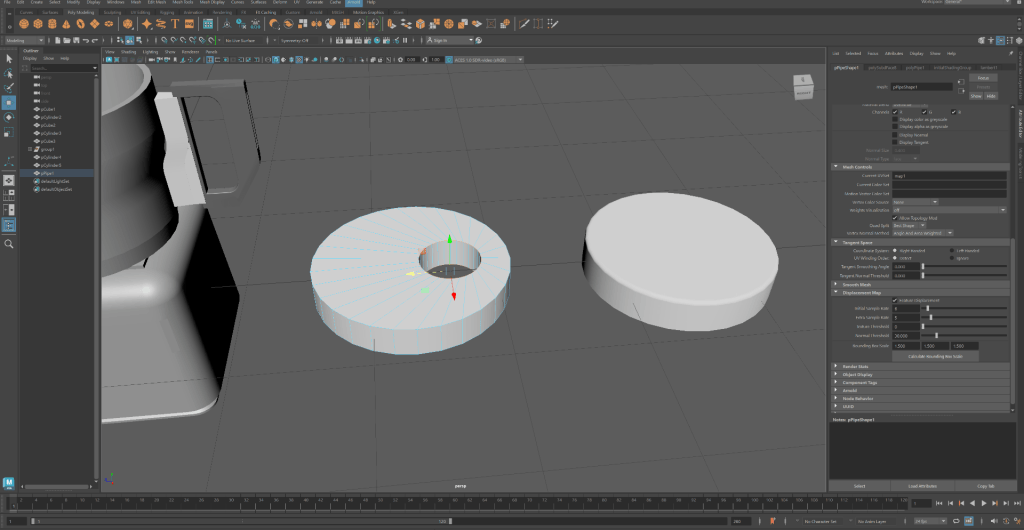
Blade Stand
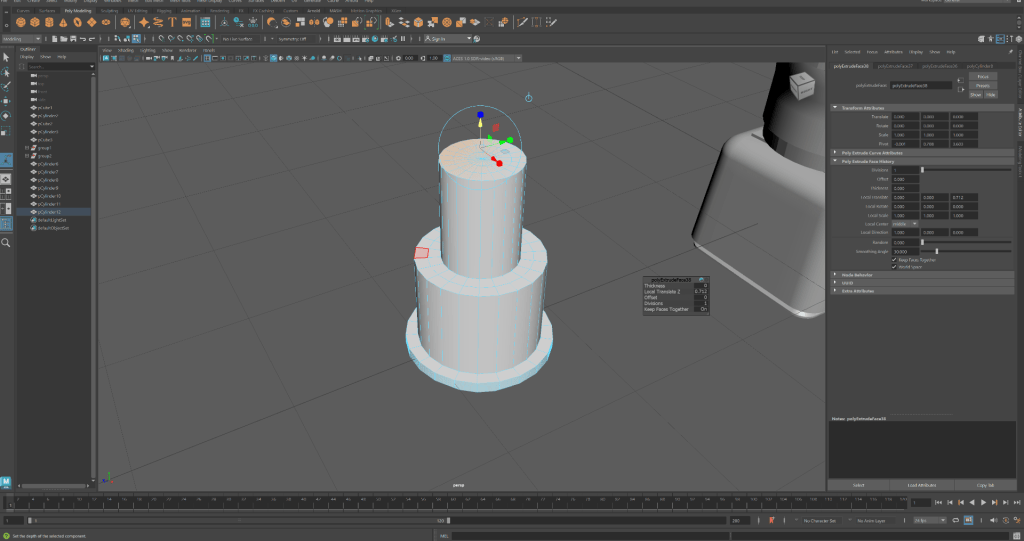
Blades
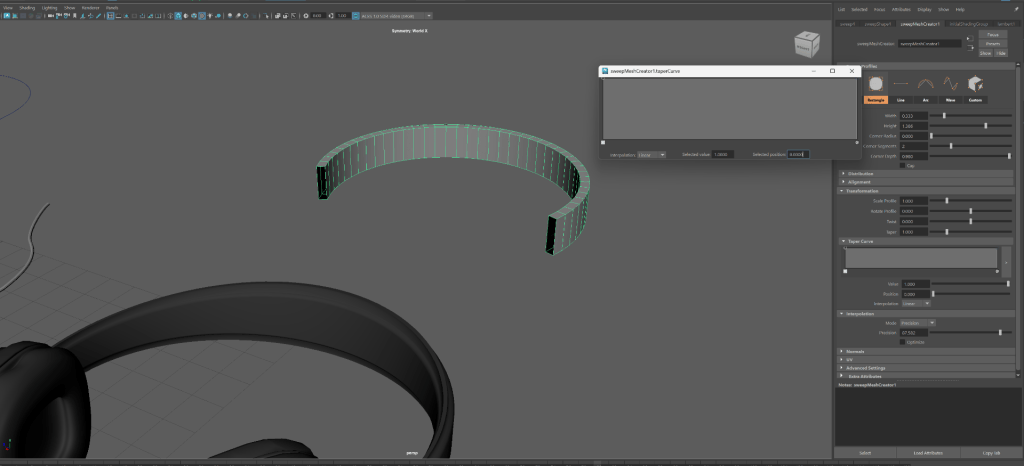
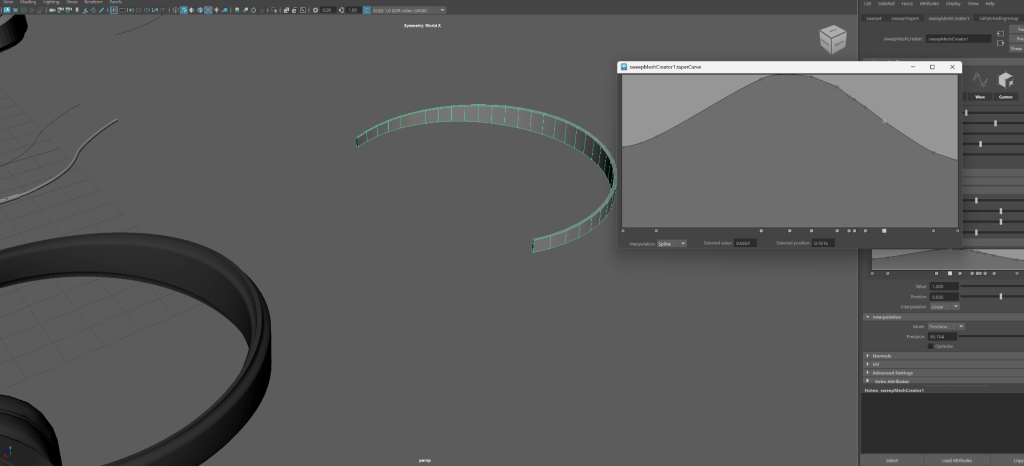
This was done using the curve tool and sweep mesh function. I then toggled the taper curve feature to create the sharp edge. by duplicating the model and joining the duplicates, I was able to create the blade structure often seen in processors.
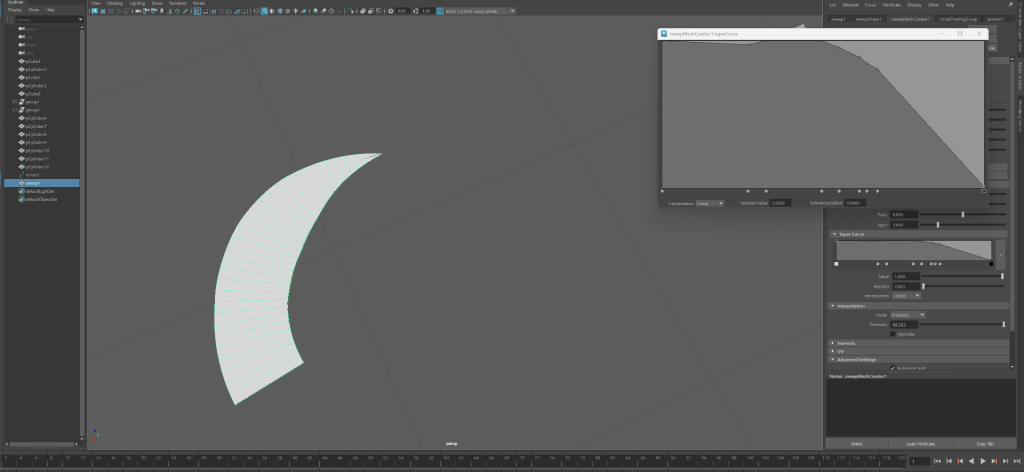
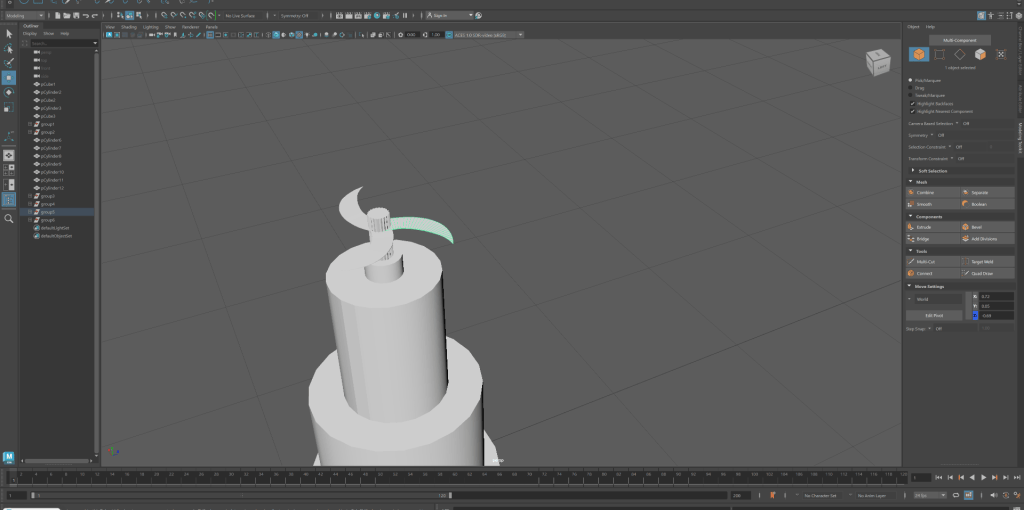
2. Making the Spy Gadget
The Spinning Motor
The Rifle
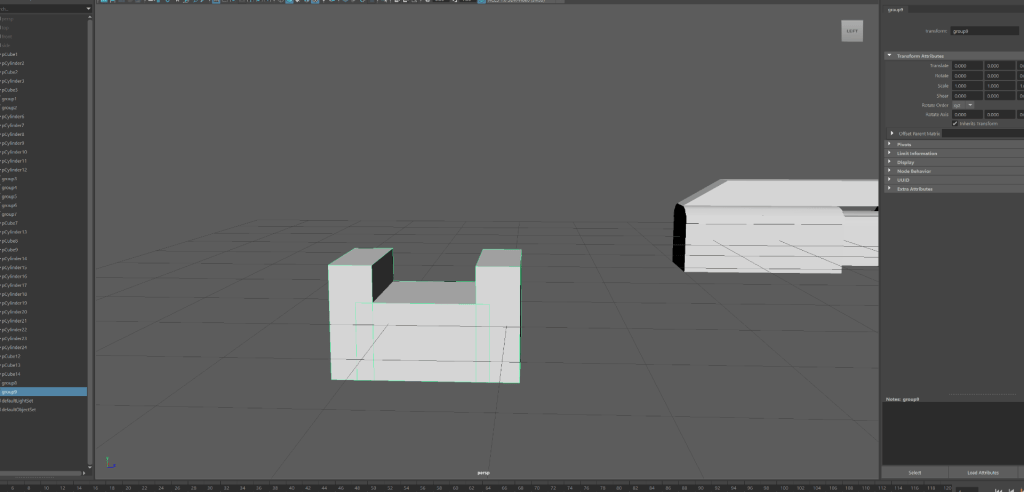
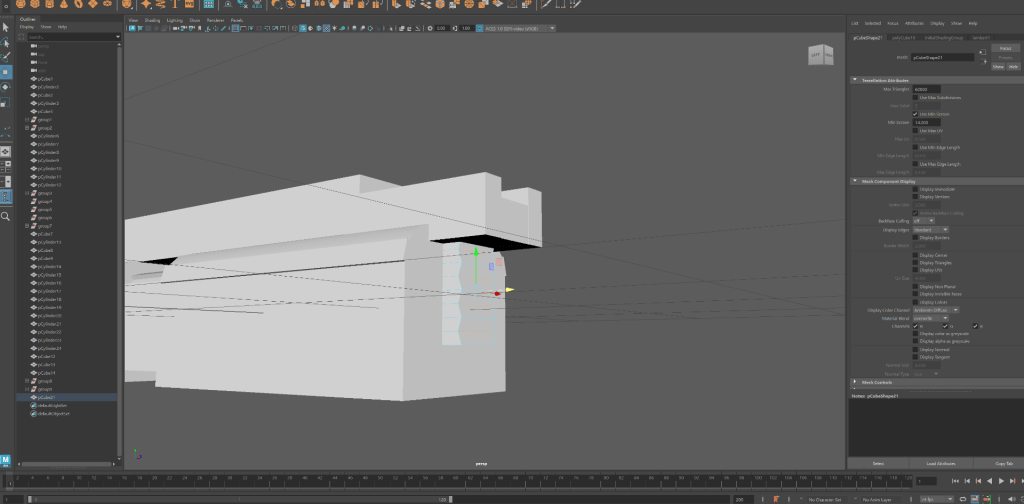
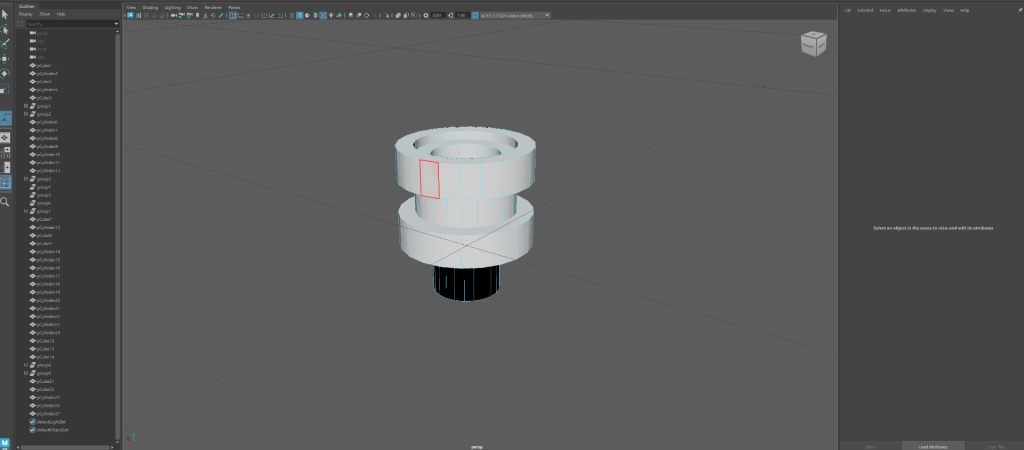
The Barrel
Feedback & Evaluation
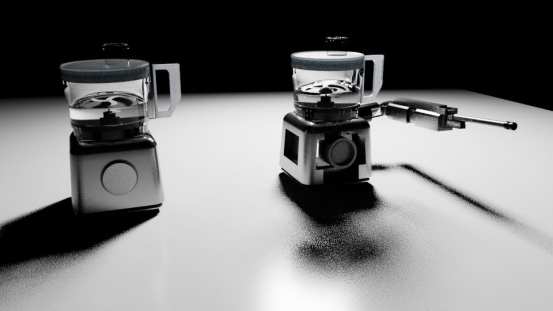
While I am mostly content with the final renders of the image, I believe that elements such as the background could be changed or adjusted. This is because the background takes attention from the model. On the other hand, an advantage of its setting is the warm lighting reflecting on the gadget, somewhat increasing the realism displayed.
WEEK 9
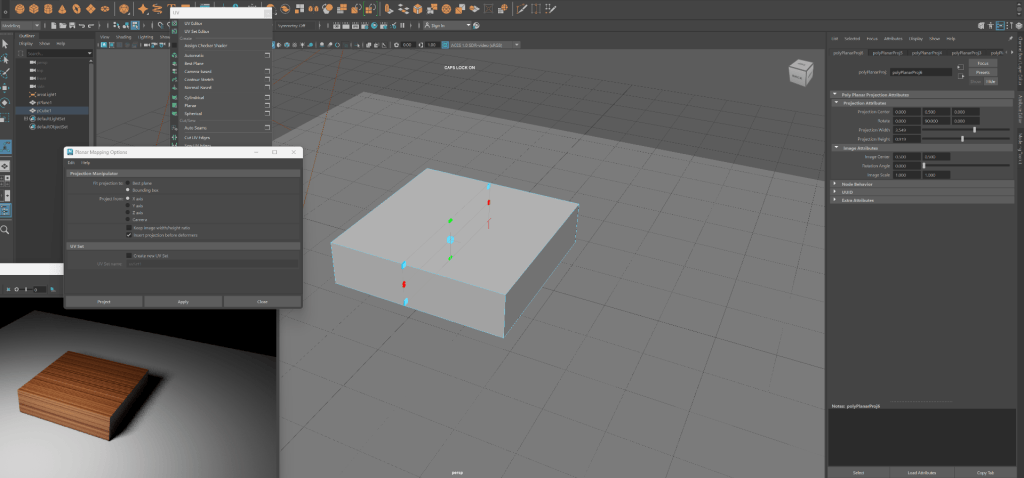
UV Unwrapping Principles – Cut and Sew, UV Editor & Snapshot
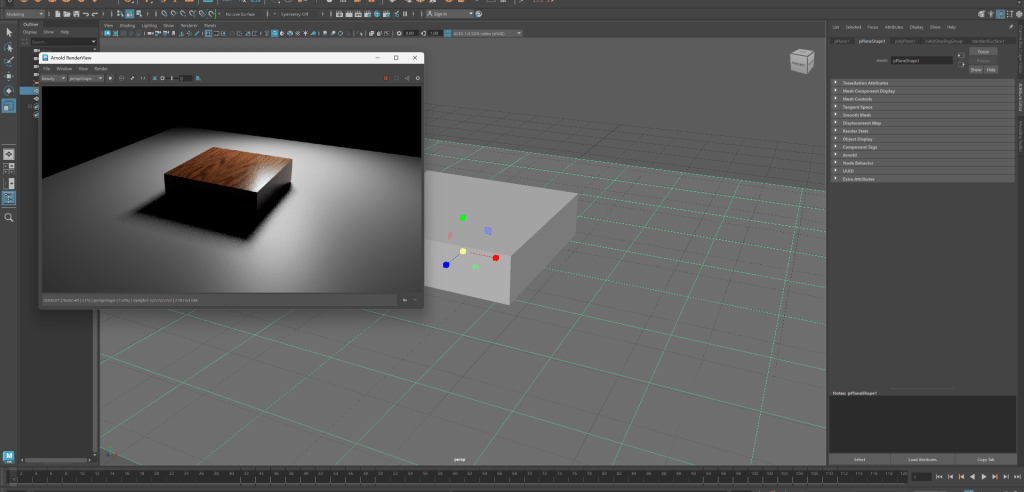
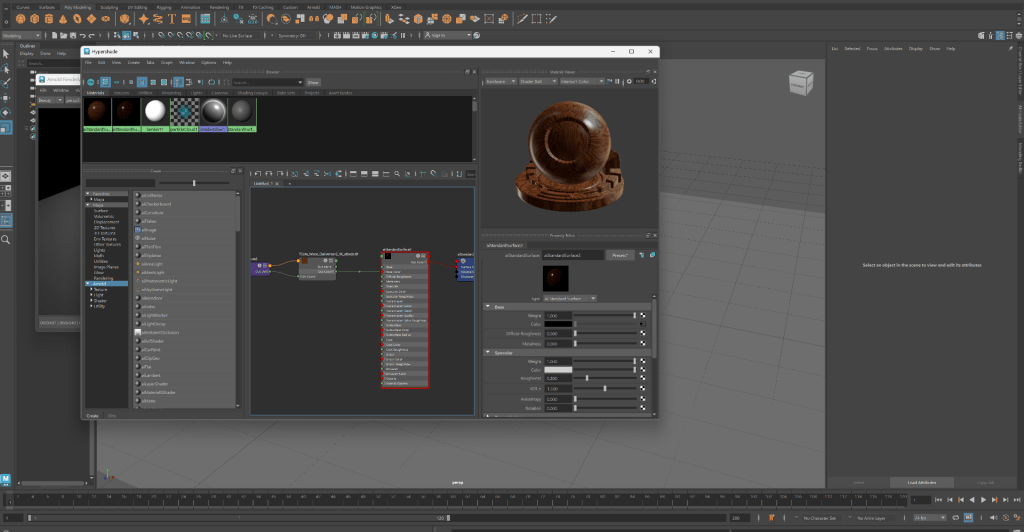
Texturing with a UV Map Layout
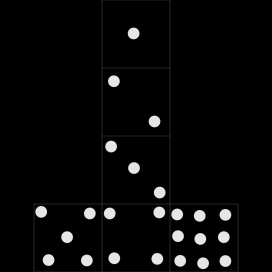
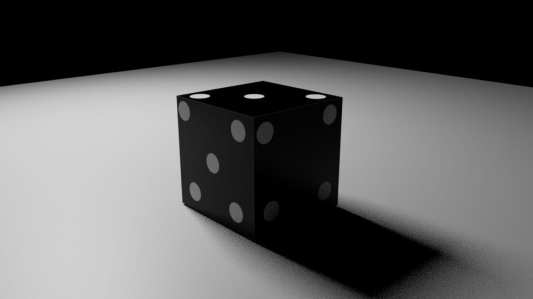
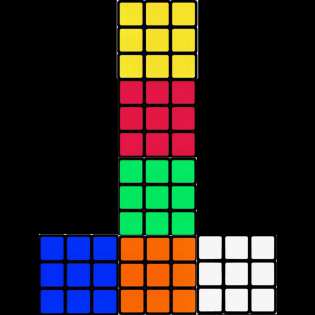
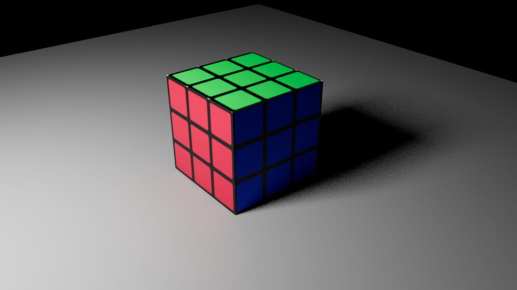
For this exercise I was introduced to the process of texture painting using UV maps. For the tasks, I practiced with basic models such as a a Cube and Cuboid. The procedure required generating a UV map, editing the image with photoshop to fit each face and applying the texture through the Arnold, ai substandard surface tool.
1. Dice
2. Rubik’s Cube
3. Cereal Box
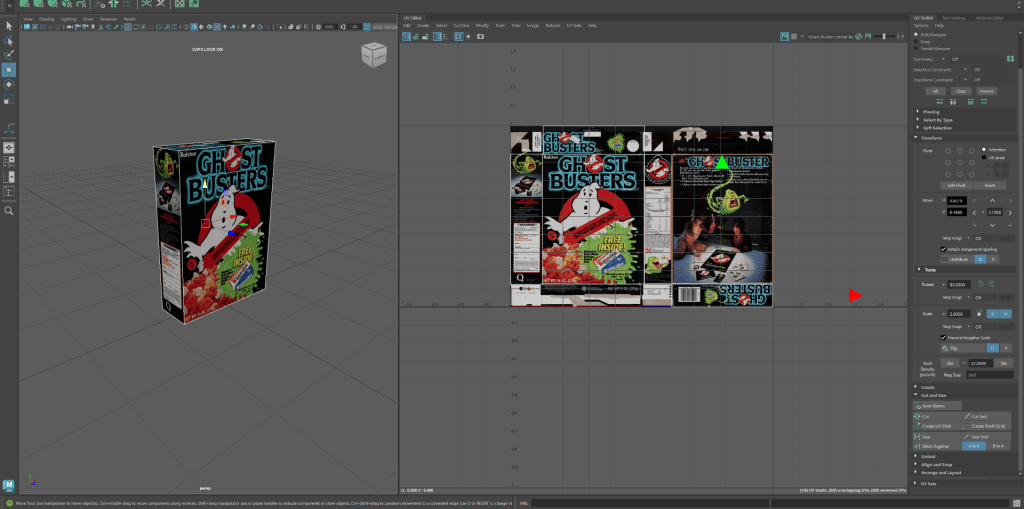
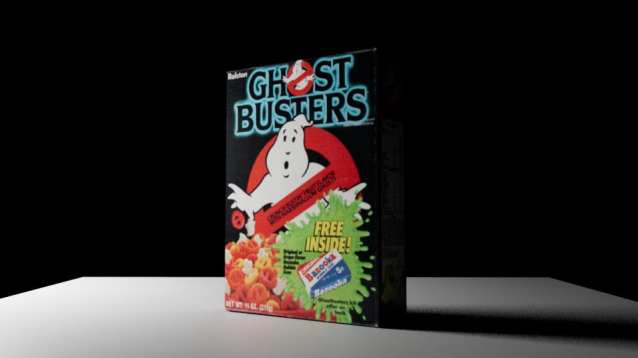
With this exercise, I edited with the placement of the image on the cuboid. This was done using the cut and sew tool and UV editor display. Through moving, scaling and rotating the faces, I was able to edit the way in which the image is being displayed, making it more like a realistic cereal box.
WEEK 10
UV Unwrapping Techniques in Maya continued
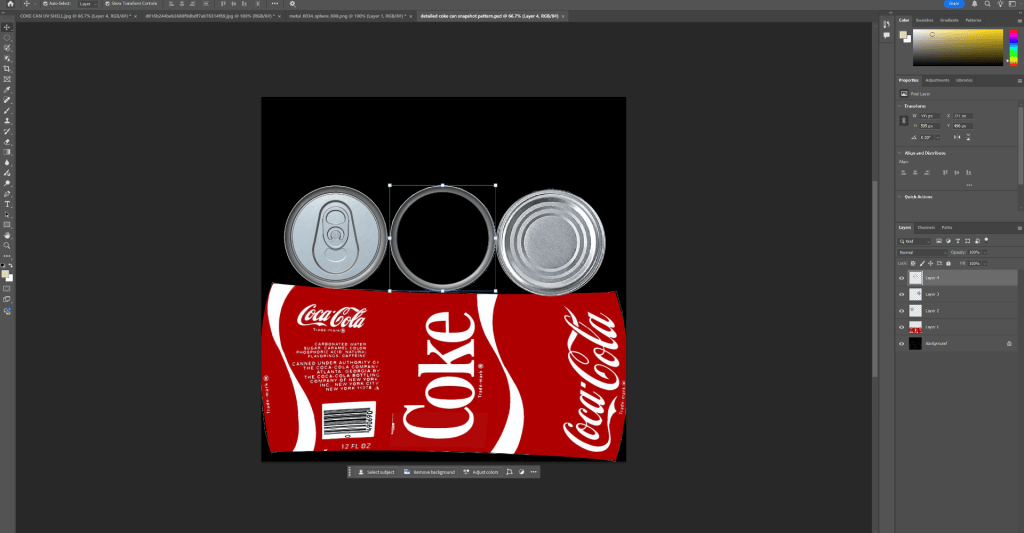
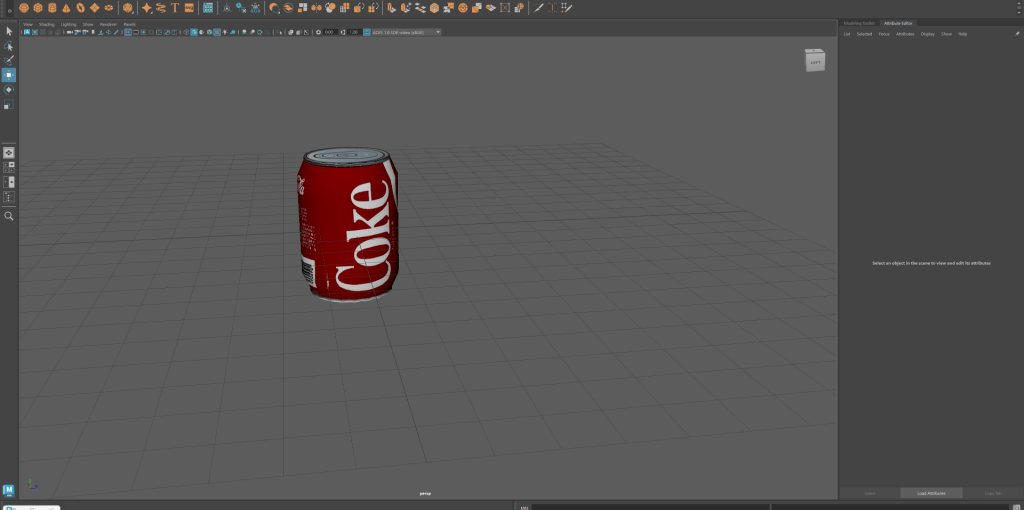
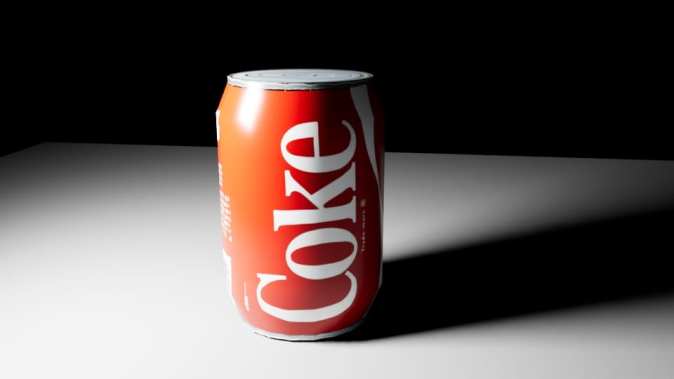
Texturing a coke can using a decorated UV map
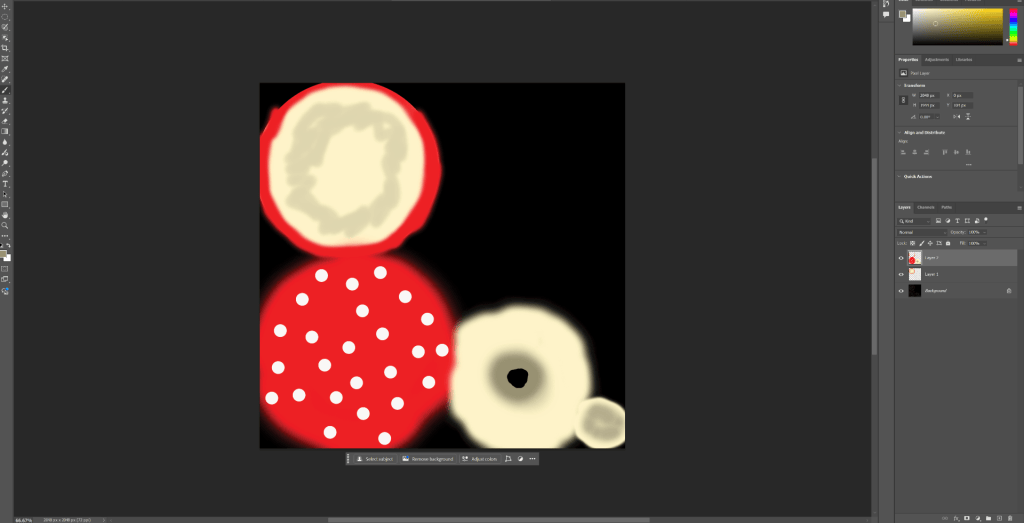
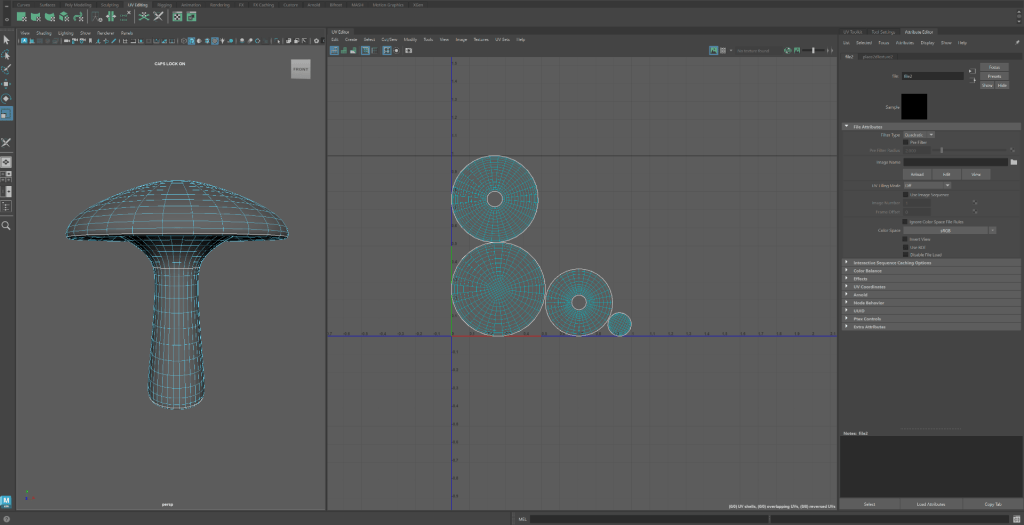
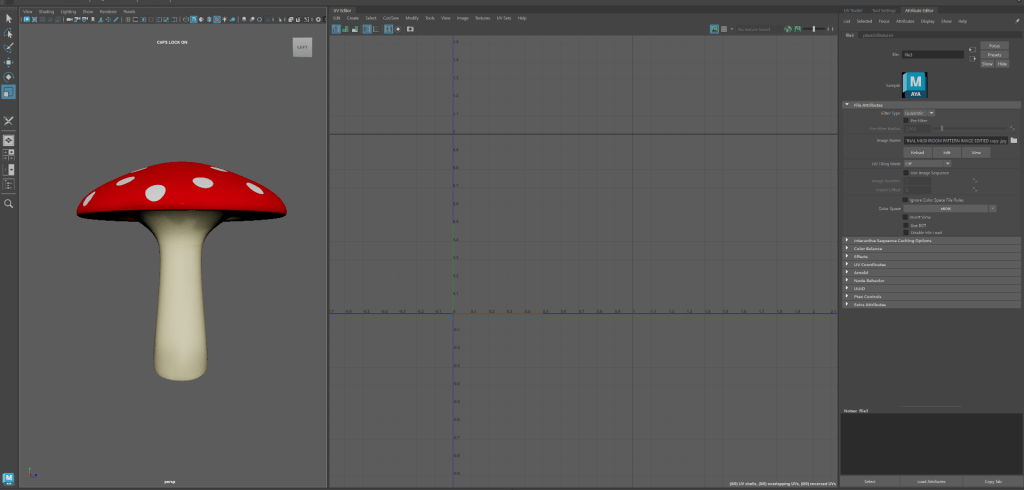
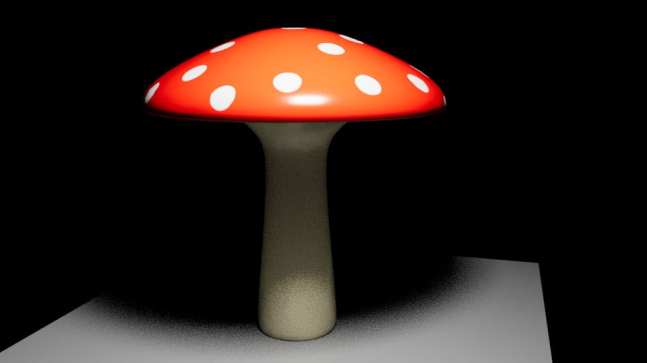
Texturing a mushroom with the cut and sew tool
WEEK 11
Assignment 3 – Modelling, texturing and rendering a New York Roof top View
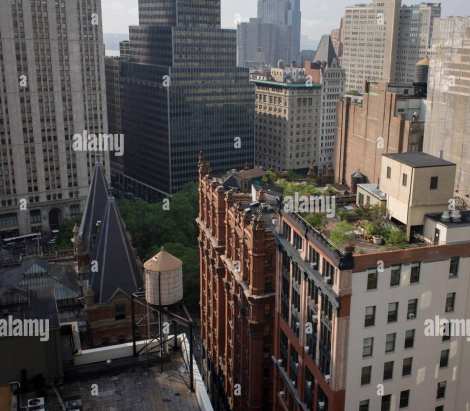
The aim of this task is to model a New York city scene using Maya; making it as realistic as possible by applying high resolution textures and lighting.
Reference Images


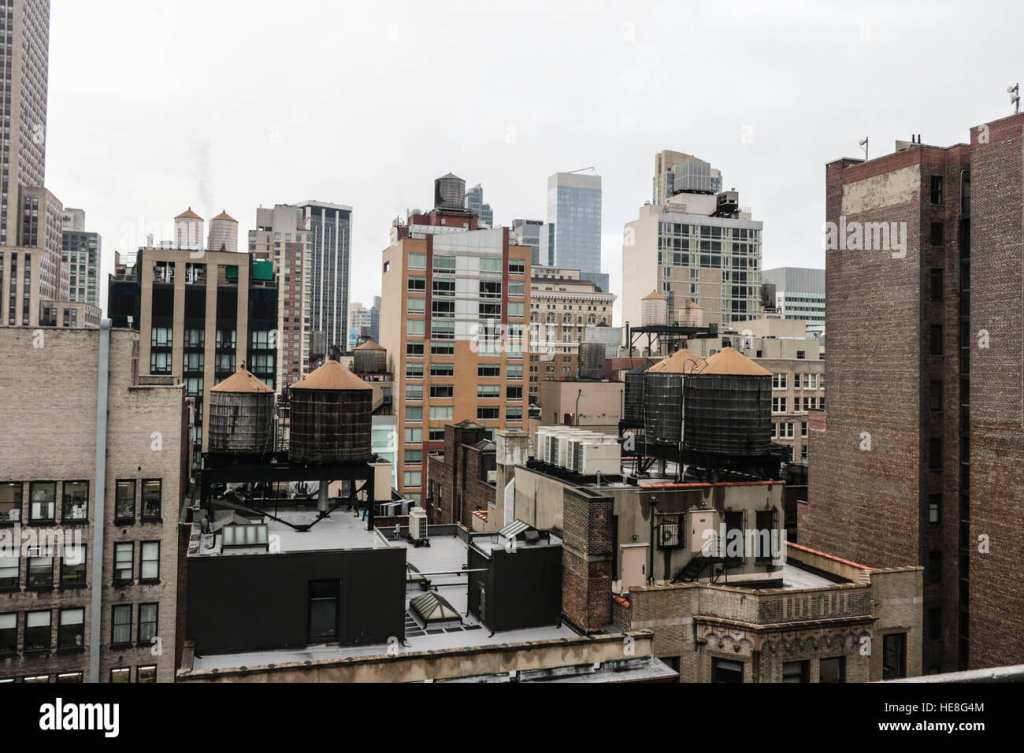
Preferred Perspective
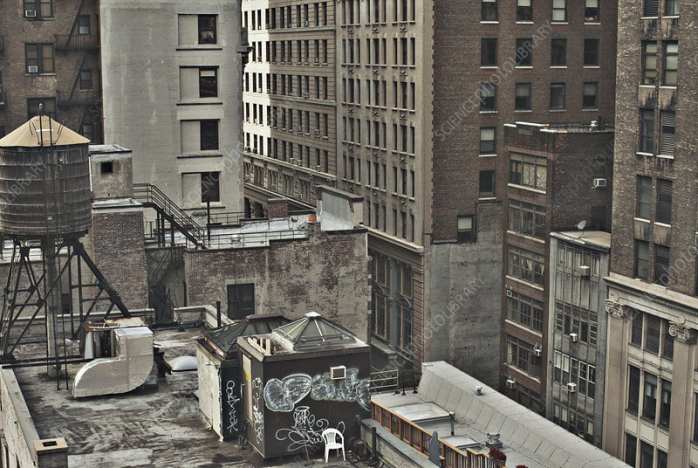
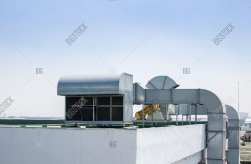
To make the layout realistic, I intend to include features such as water pumping and ventilation systems. Using references will help to refine the model’s detail.

WEEK 12
New York Roof Scene
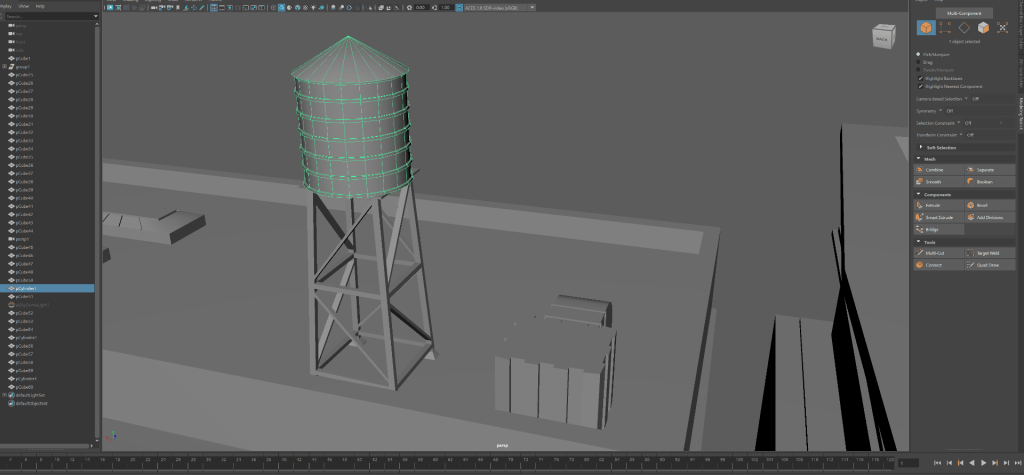
Modelling roof top elements
1. Water towers and stand
2. Roof top skylights
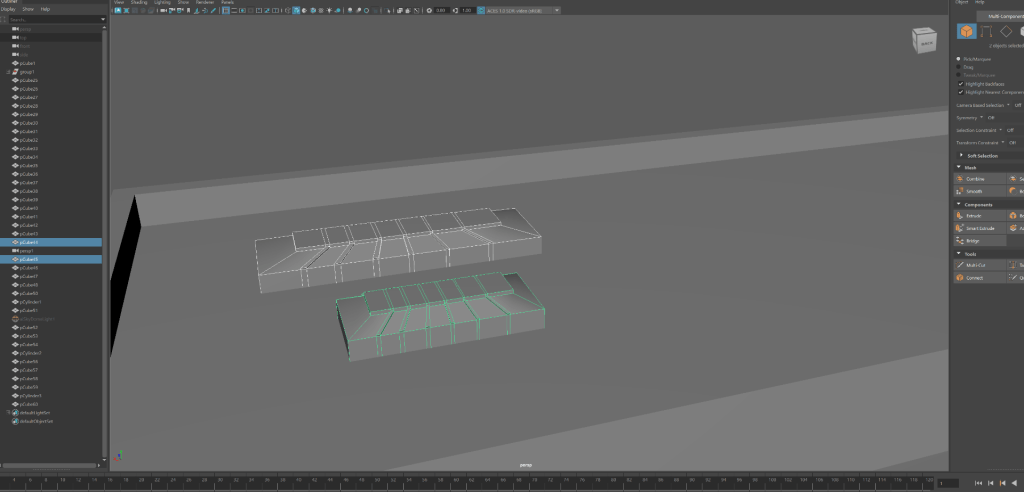
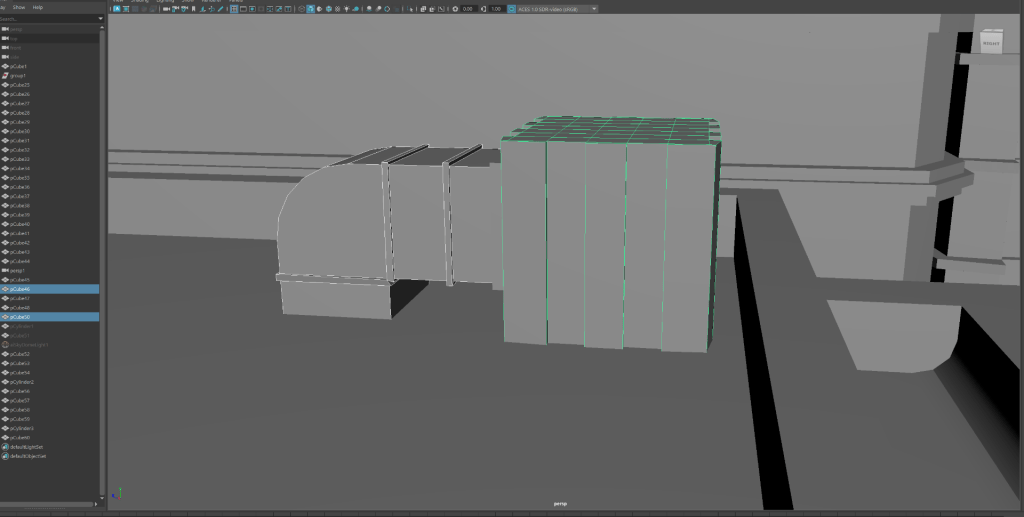
3. Air vents and Pipe work:
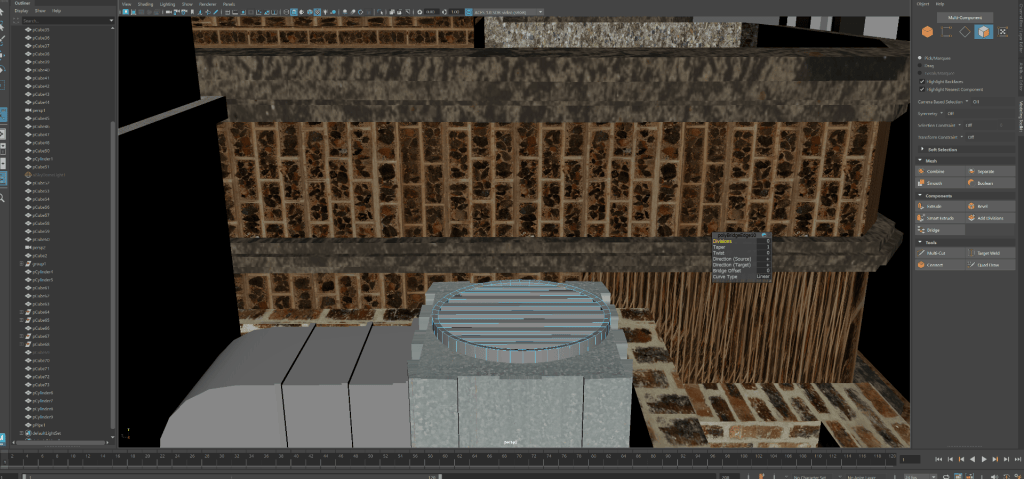
Final model without textures
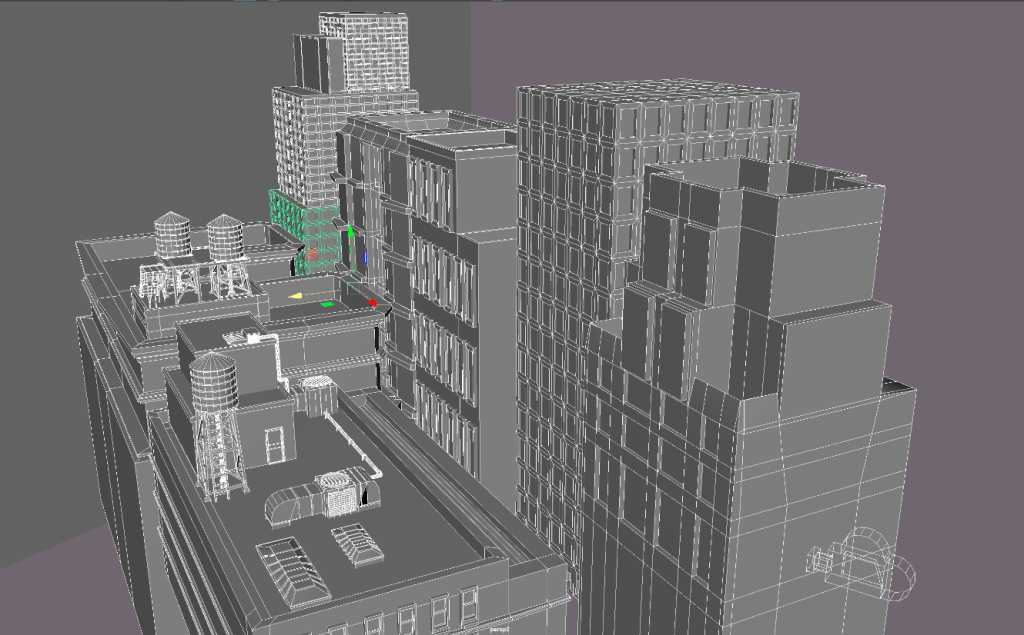
Wireframes
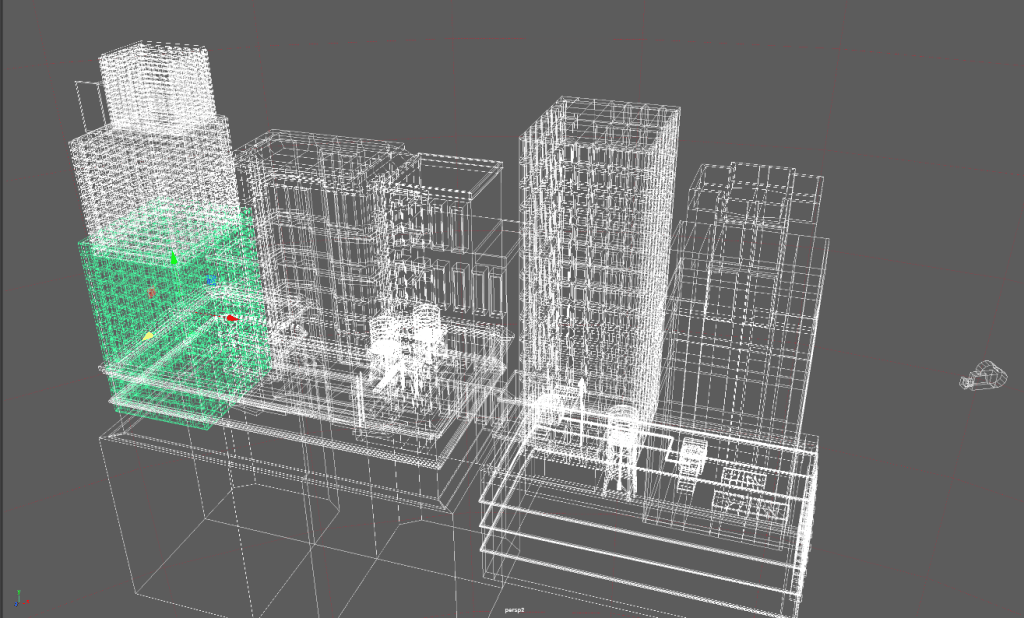
Texturing
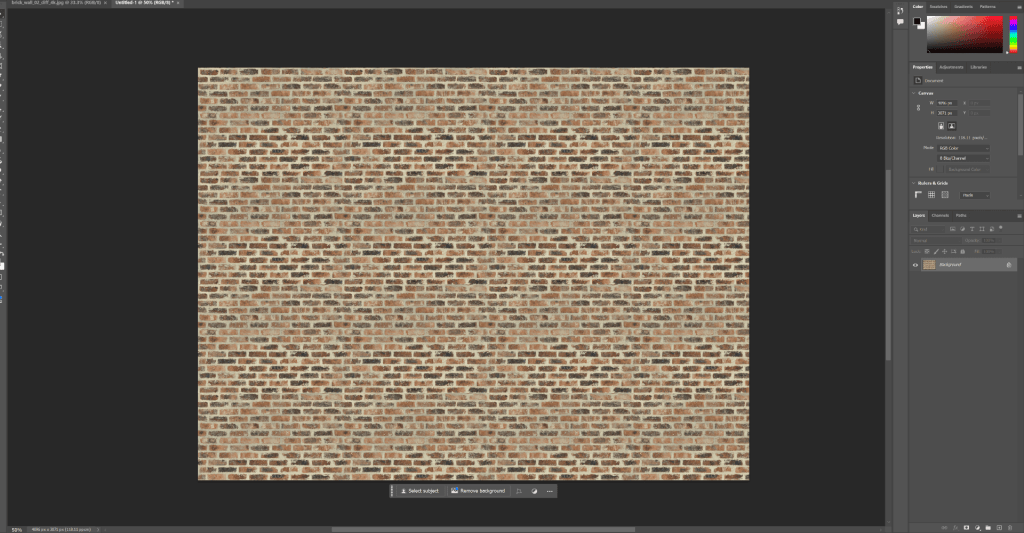
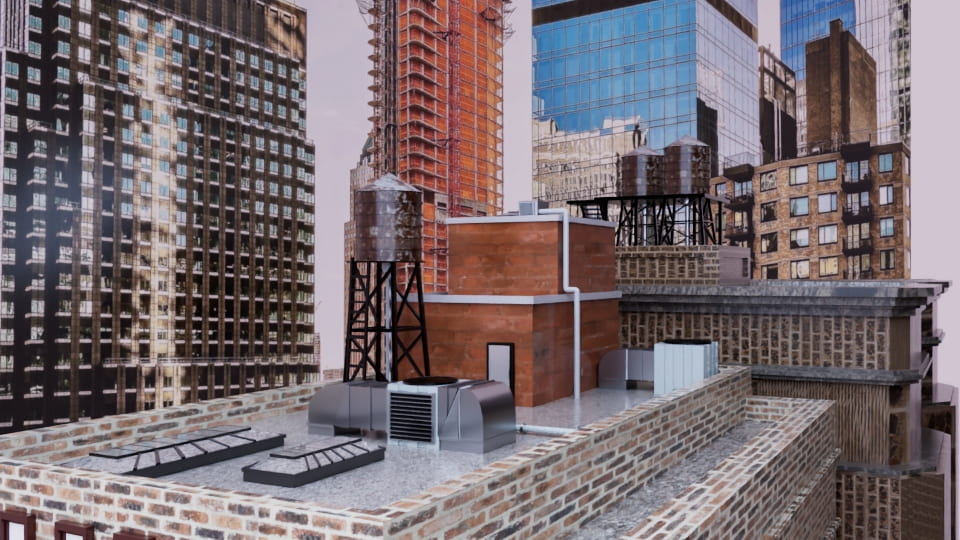
For this stage I downloaded a range of textures displaying building surfaces such as brick patterns, stone, plaster and gravel. Although the images were high resolution, the textures appeared quite large on the image due to the ways which the patterns are printed. To change this, I edited the image using photoshop, by creating a blank page and covering it with multiple duplicates of it the image, I was able to make a more detailed pattern.
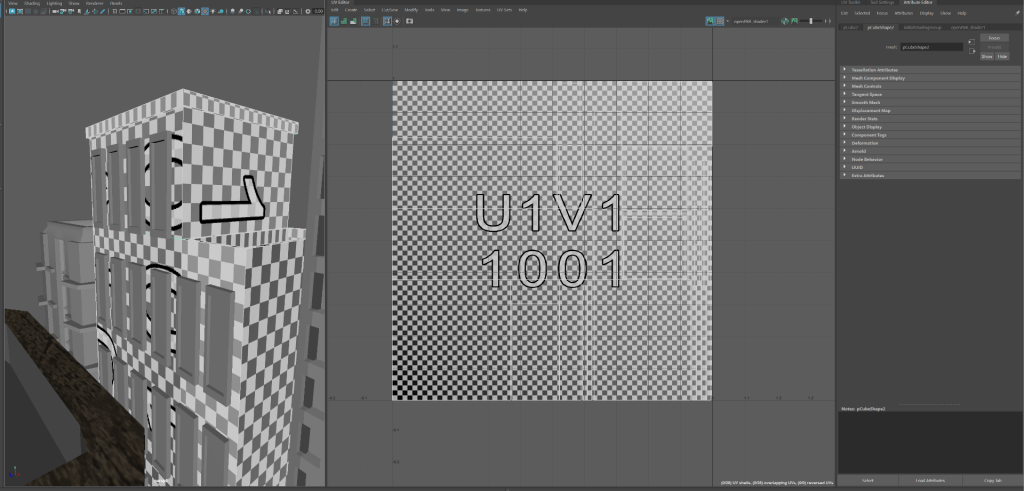
To ensure that the textures are accurately applied onto the model, I toggled with the UV map settings. I generated a UV map using the automatic UV tool. I then refined its display of the UV pattern by editing the scale and position of the faces. This method proved to be successful to an extent as while I was able to create accurate textures, there seemed to be some distortions on the image.
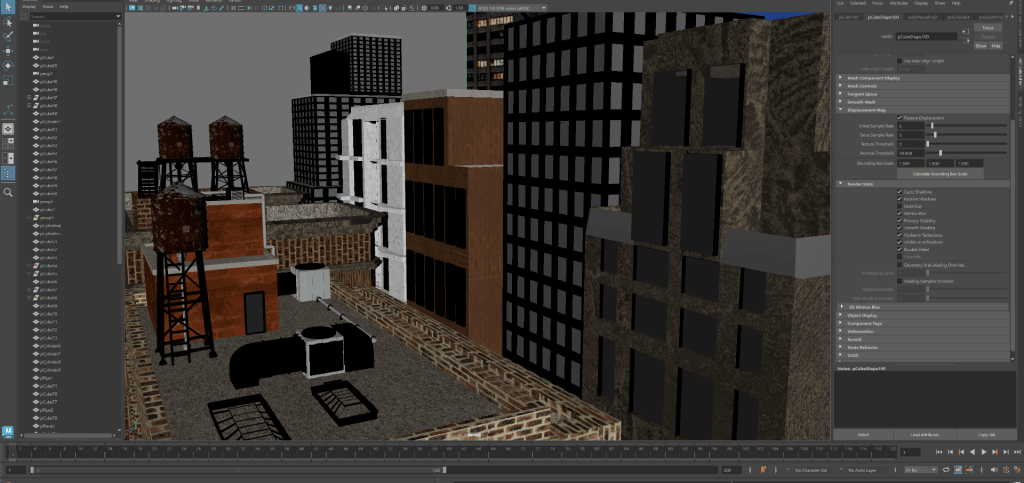
Lighting and Rendering
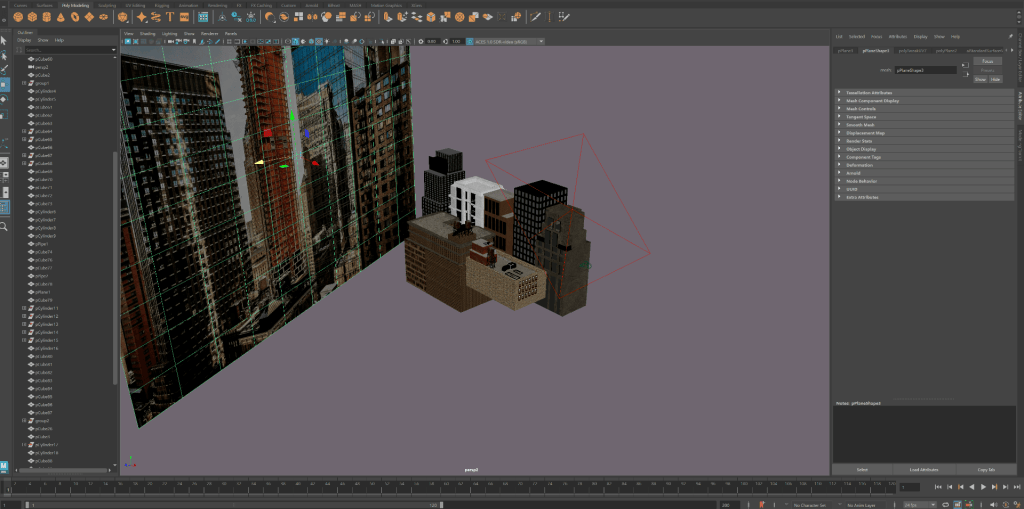
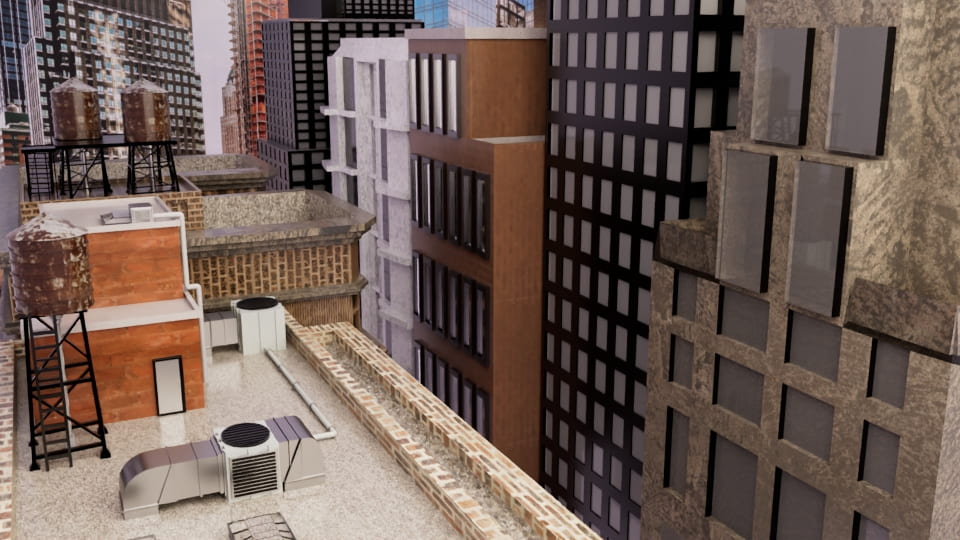
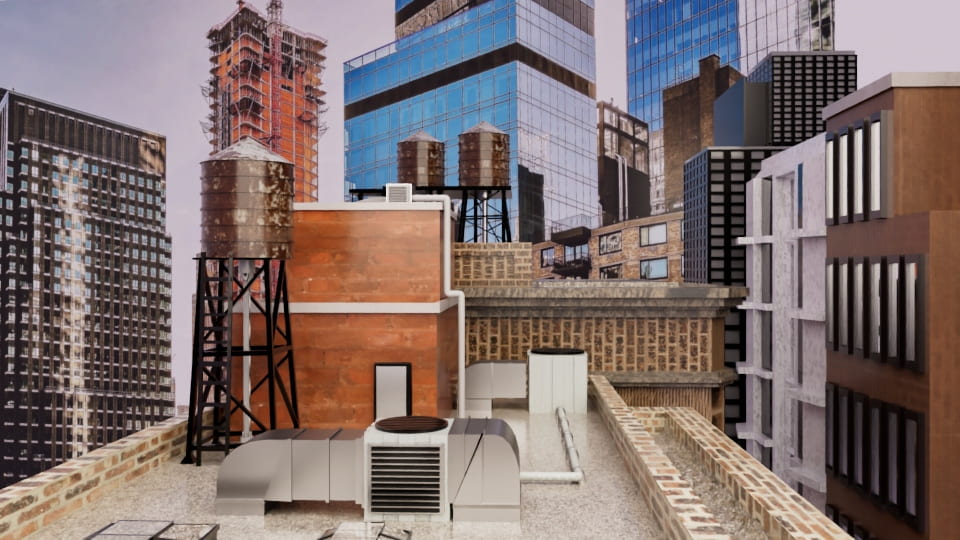
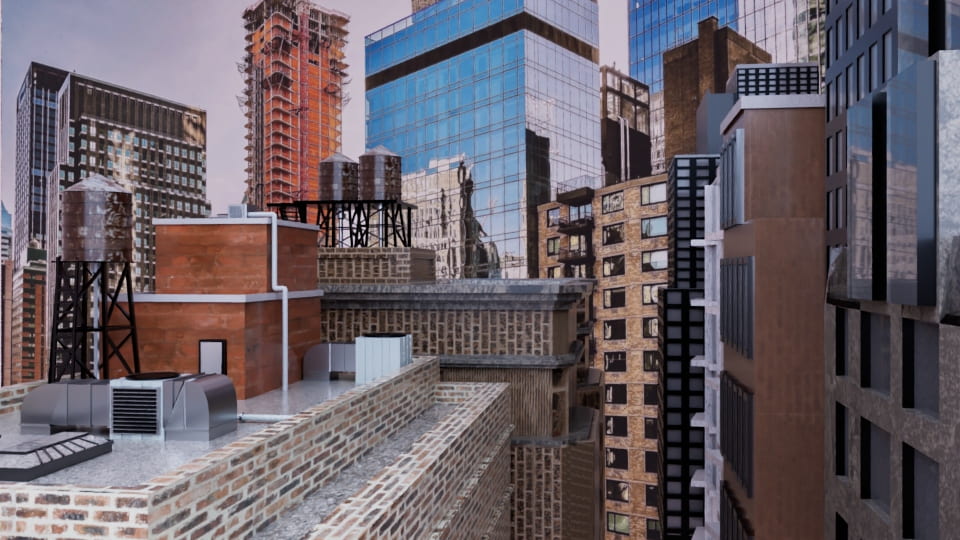
For the lighting I used 2 area light without the ‘normalize’ setting. I then changed its colours to a light yellow and blue to mimic a morning sky effect. Additionally, I used a New York city image close to the same angle as the perspective displayed on my renders.
Final Renders
Feedback & Evaluation
I found the making of this project very interesting and beneficial to my experience as a learning 3D artist. I was introduced to a range of techniques such as UV editing, combining elements, and additional approaches towards achieving a realistic lighting. I believe that I was able to successfully apply all that I’ve learnt with this course so far. Something I intend to consider in the future is challenging myself to create more detailed textures using more advanced software such as adobe substance painter. While the Maya UV editing approach proved to be quite useful, I feel that substance painter would allow me to create more advanced renders.
WEEK 13
Adobe Substance Painter Workshop
Colouring and adding texture to a model using Maya UV maps and adobe substance painter
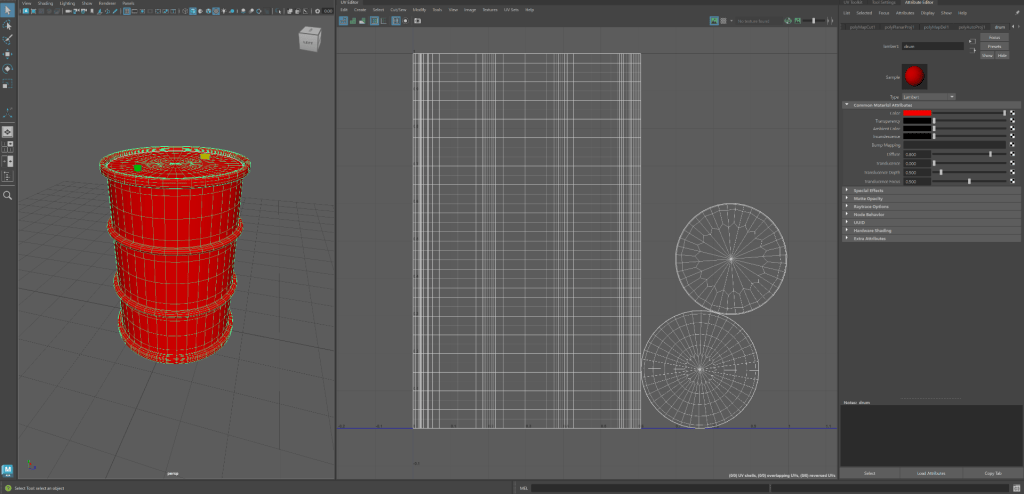
1. The first stage involved arranging the layout of the UV map. The original map was deleted and replaced with a map much easier to work with for texturing. This was done using the cut and sew tool.
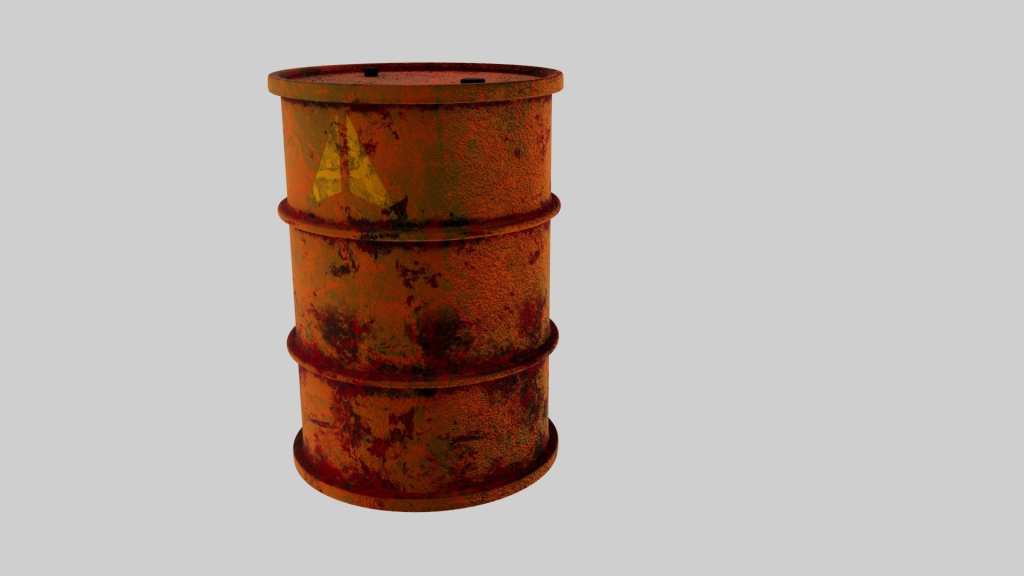
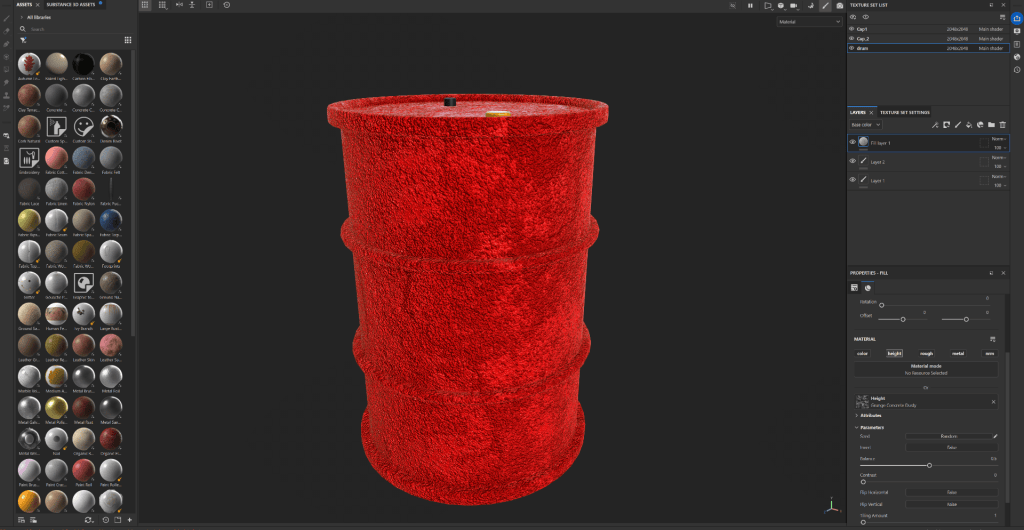
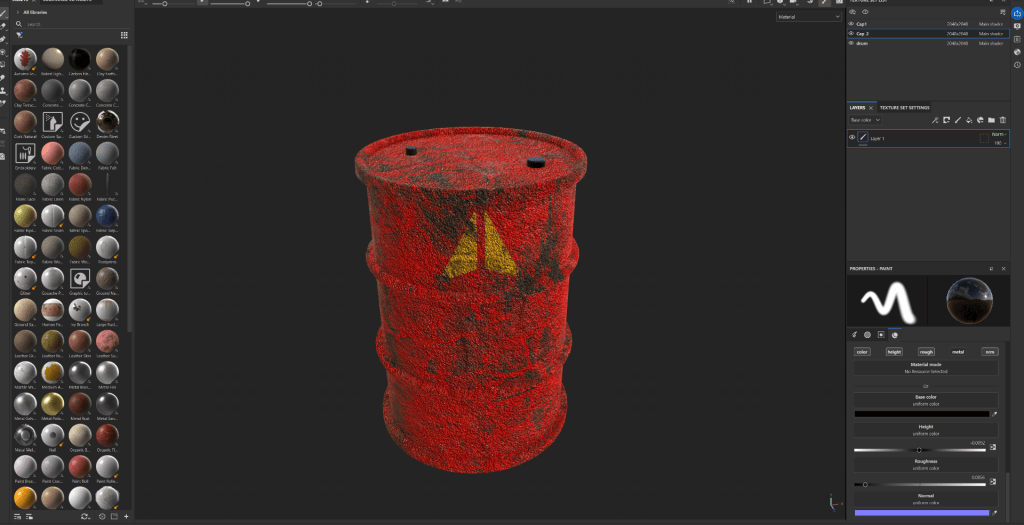
2. The Maya file was then exported and imported to adobe substance painter where I added colours and textures fit for a worn down metal drum.
Final Render