WEEK 1
Introduction to Nuke
This session was an introduction to compositing. This is the process of combining multiple visual elements to create a scene or image that looks like it was captured in one moment.
The main software used in this module will be Nuke, a node based application dedicated to 2d and 3d compositing.
Nuke is useful for:
- Industry standard keying and rotoscoping.
- matte painting and compiling multiple shots onto one
- collaborative visual effects projects.
To apply features or generate functions, nuke uses nodes. Each node can be dedicated to certain operations such as colour correction, transform (scale, rotate & move), or merge.
Key nodes introduced this session:
1. Viewer: allows one to view a node, this could be ones containing project information or adjustment features.

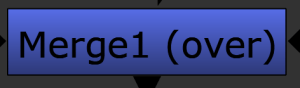
2. Merge: used to combine the information of multiple nodes.
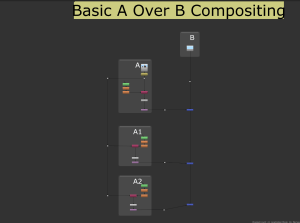
Compositing exercise
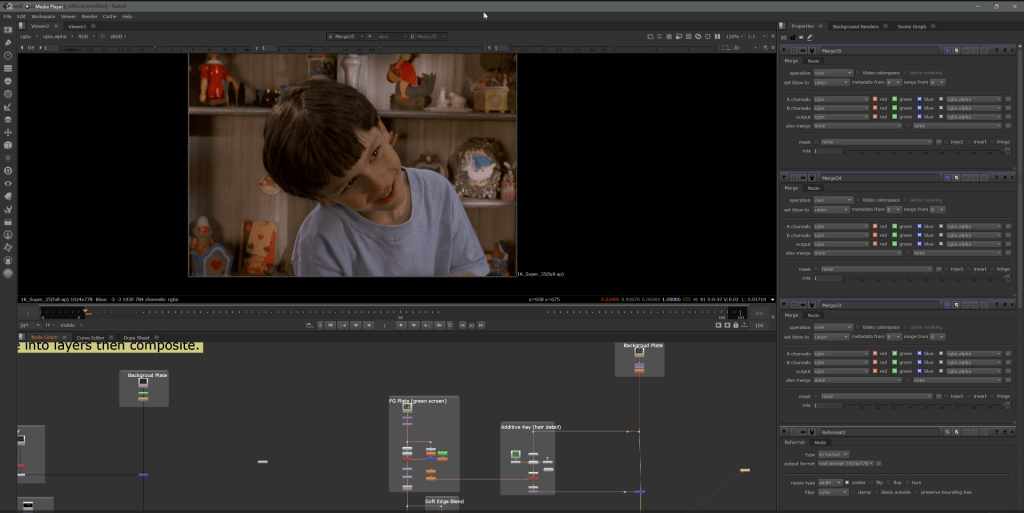
The main aim of this exercise was to get more familiarised with the art of composition. The nodes displayed on each project were separated, the aim of the task was to connect them in a way that could display the final images.
Task 1
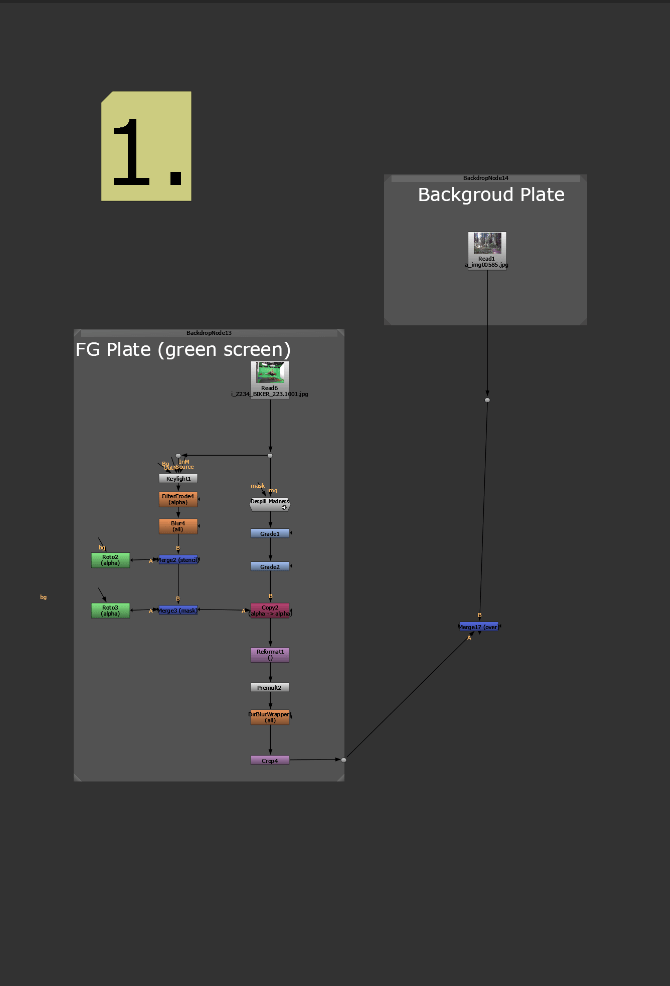
Final result
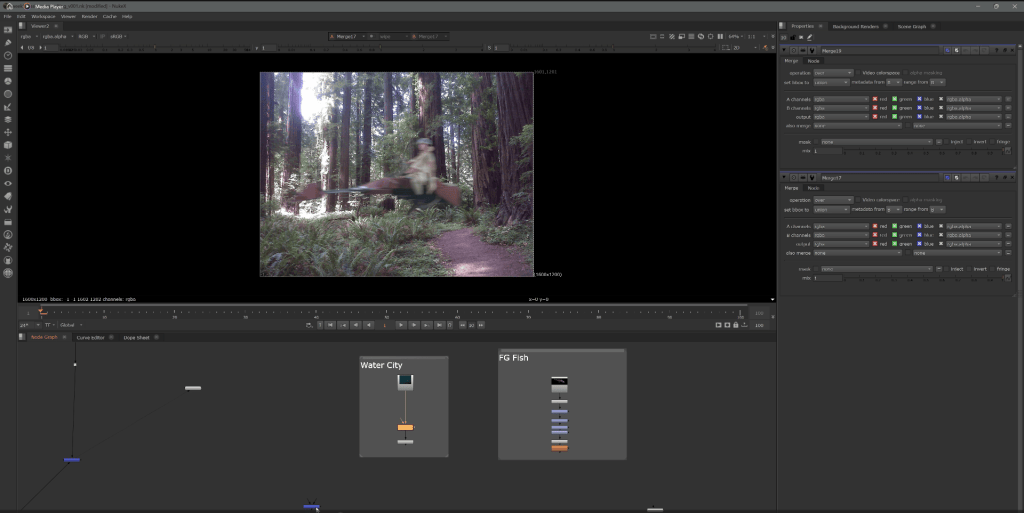
Task 2
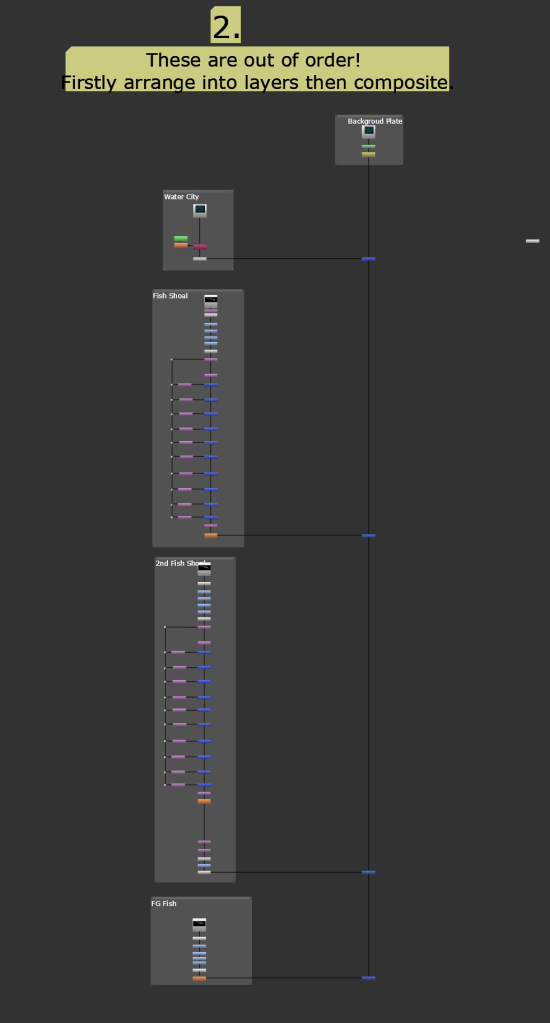
Final result
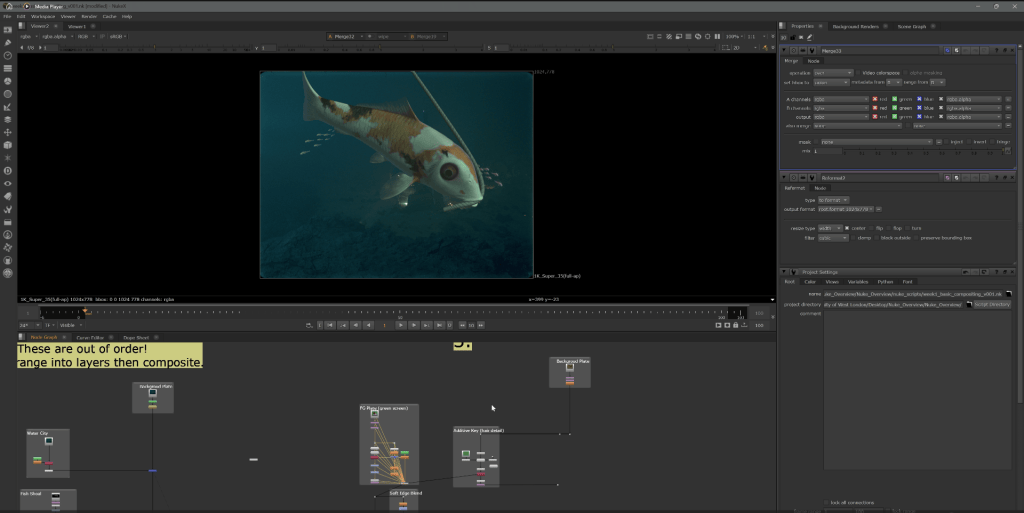
Task 3
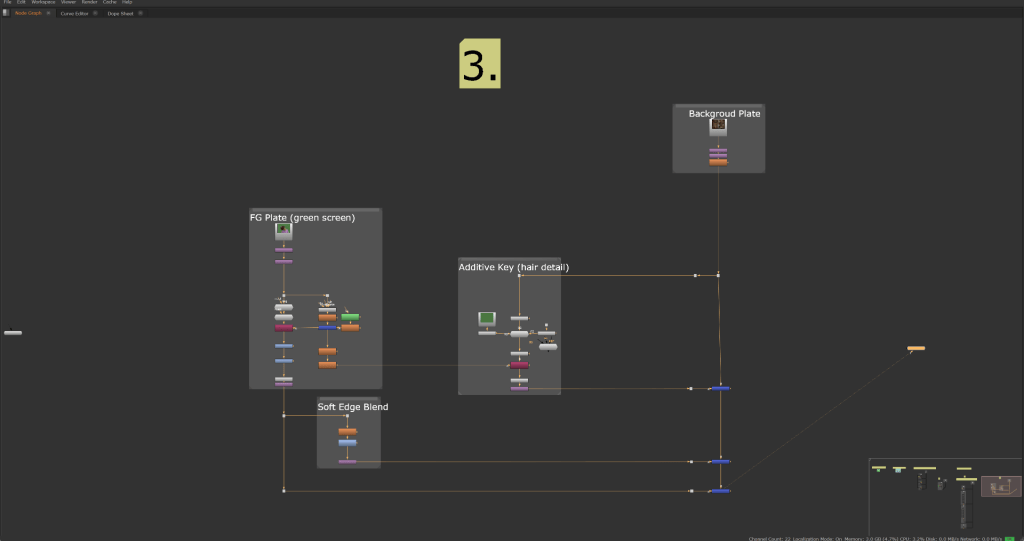
Final result
WEEK 2
Organisation and Roto
Rotoscoping (Roto) is the process of isolating elements within a sequence by creating an overlay solely affecting the subject selected. Rotoscoping is useful for:
- cropping elements out of a scene, for example ropes connected to a stunts man are edited out to create the appearance of flying within a scene.
- adding features, for example the glowing lightsaber effect was added as roto in the star wars movies.
- isolating subjects and placing them in new environments.
This session was an introduction to the process of rotoscoping with nuke.
Key nodes used:
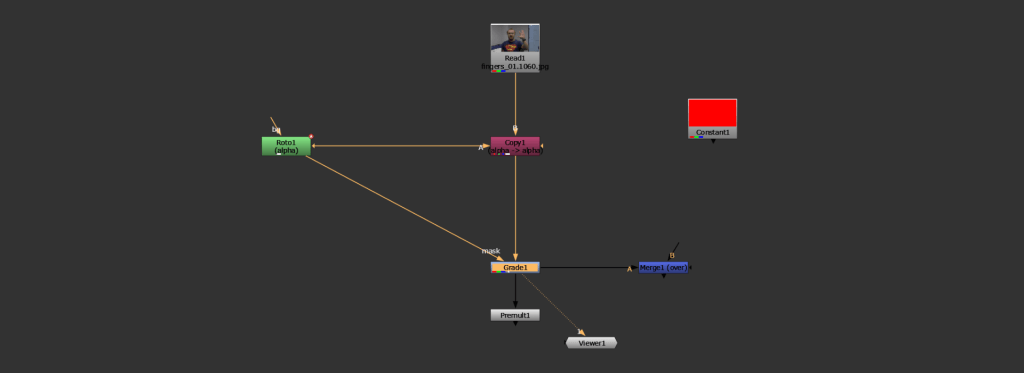
1. Used to select an element meant to be rotoscoped for compositing.
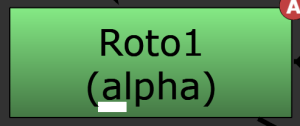
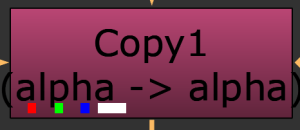
2. Merges the alpha channel with the RGB channel
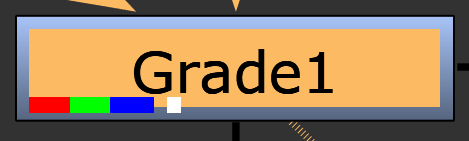
3. Used to adjust the RGB settings of an image.
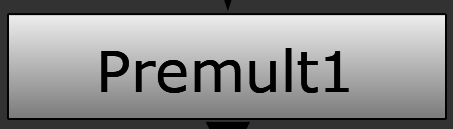
4. (Pre-multiplies), combines the red, green and blue channels together to display the final composite.
Roto tools
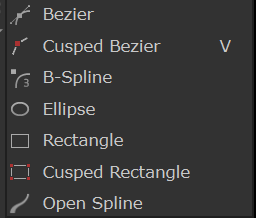
Key tools:
1. Bezier: create curves using points as a guide an can be edited with tangents on each point.
2. B-spline: creates curves that go through points created, use them as a directional guide.
3. Cusped Bezier: much like the Bezier but has no tangents.
Roto Exercise
Task 1
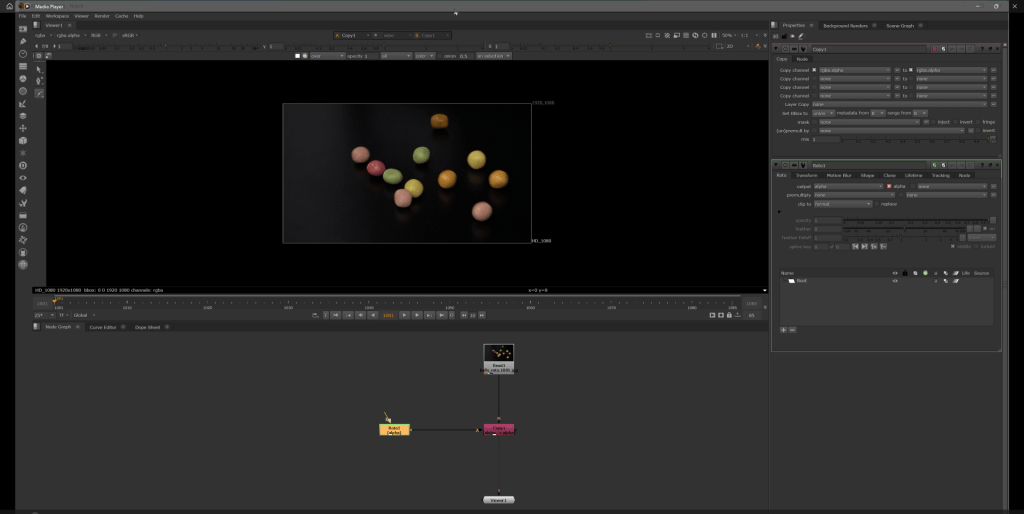
Rotoscoping a simple shape. The aim of this task was to rotoscope one of the sweets shown on the footage.
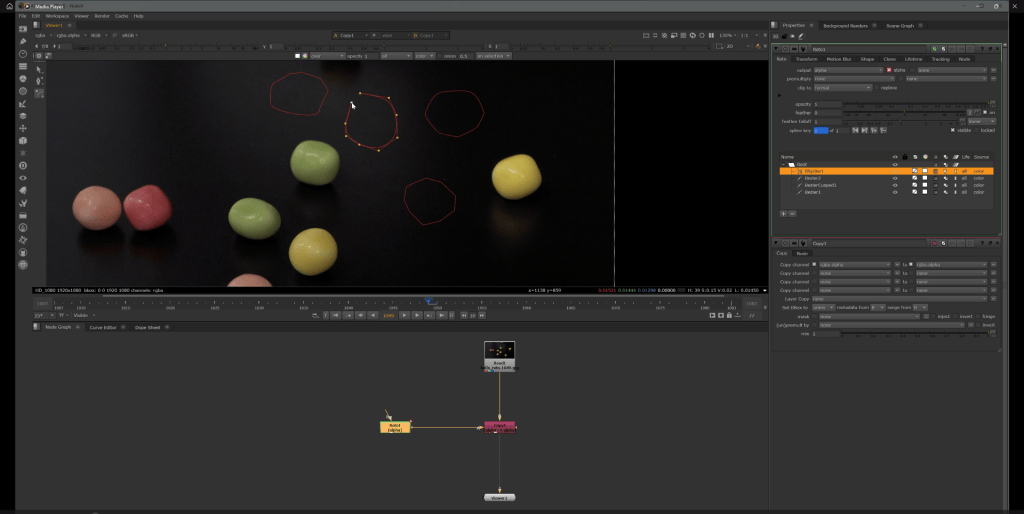
Creating the roto
The Bezier tool is used to create an outline around the element being rotoscoped, which in this case is the yellow sweet on the furthest right. To ensure that the sweet is accurately rotoscoped through out the sequence, the outline is keyed within the timeline to imitate the movement of the sweet.
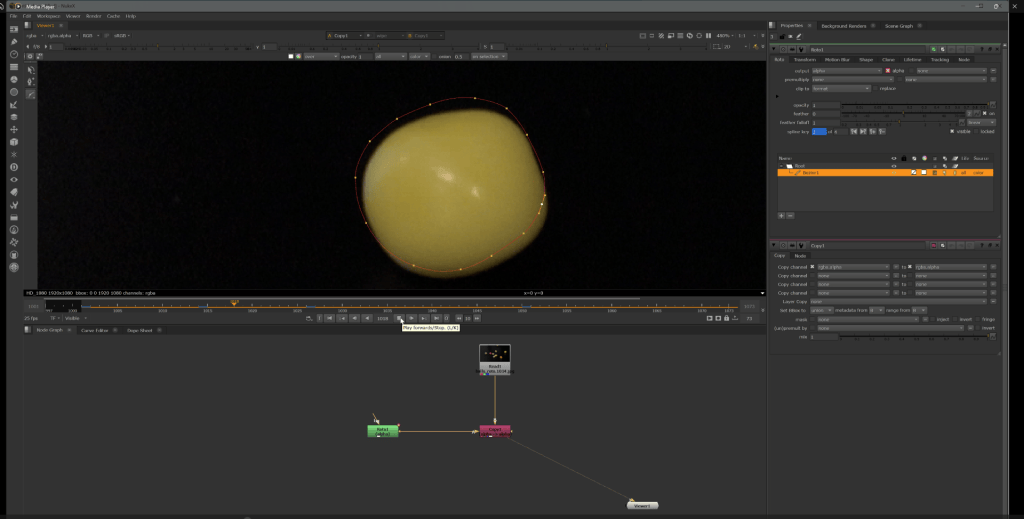
Editing the roto outline on the alpha channel
The edge of the roto outline was feathered and blurred accurately fit the subject.
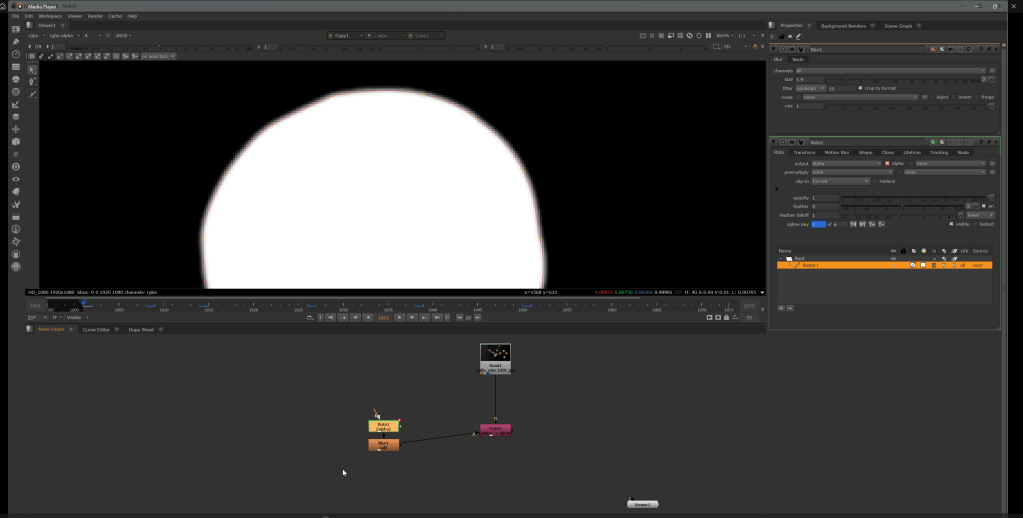
Colour grading the roto
This is done using the grade node. I turned up the green channel within the RGB.
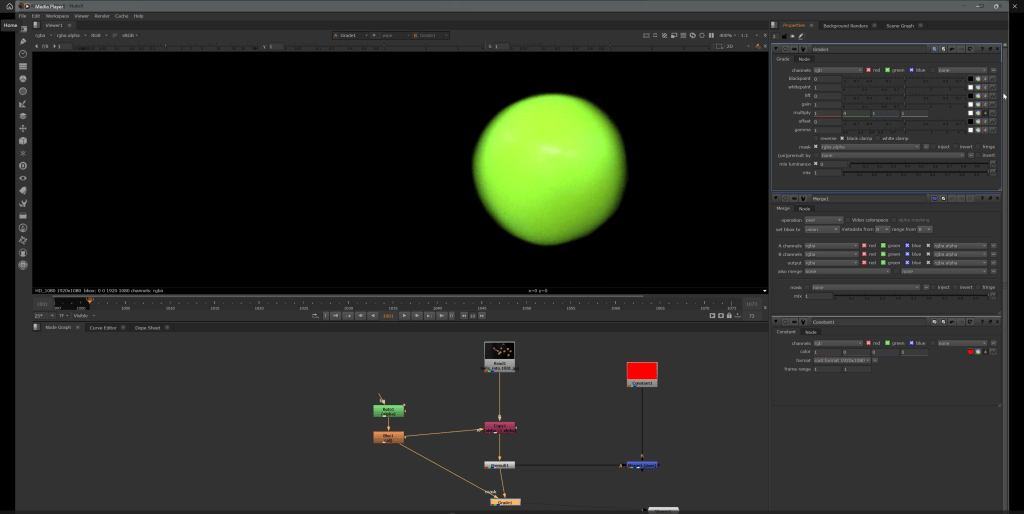
Final result
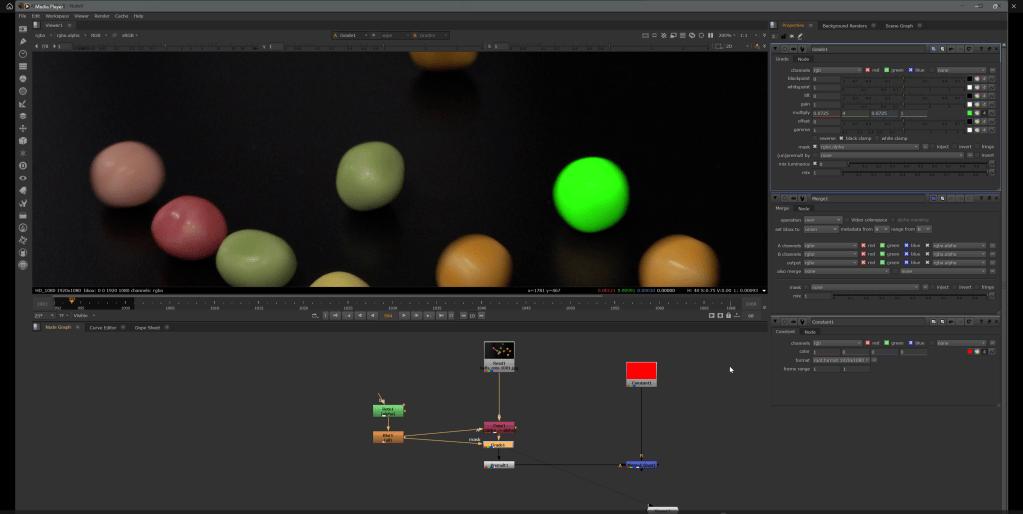
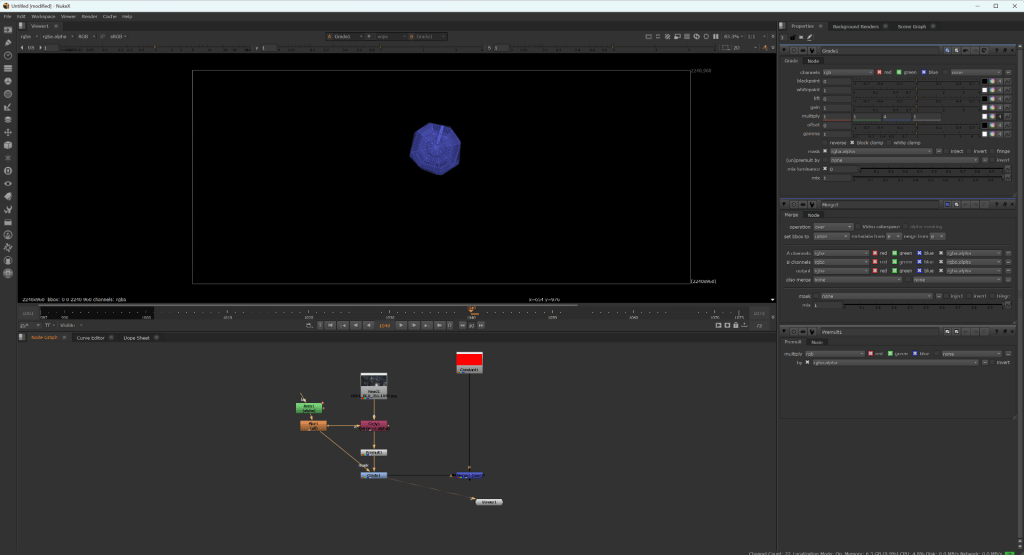
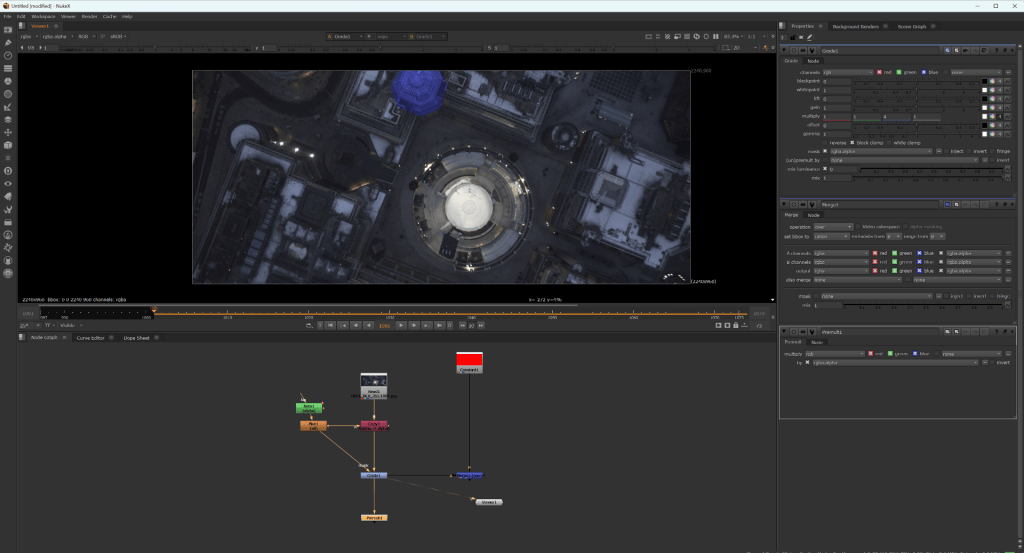
Task 2: further rotoscoping practice.
WEEK 3
Complex Roto
This session was an introduction to roto techniques on subjects with more detail and complex movements. When it comes to rotoscoping complex figures, the industry standard is to divide it into smaller shapes that make up its form.

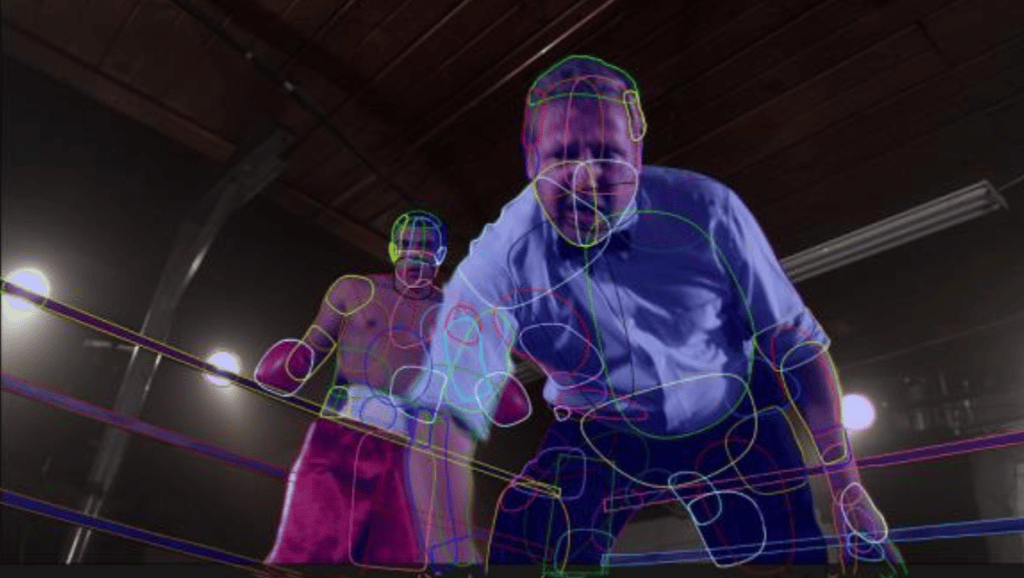
Rotoscoping exercise
Rotoscoping a palm.
Dividing the palm to different parts for the outline
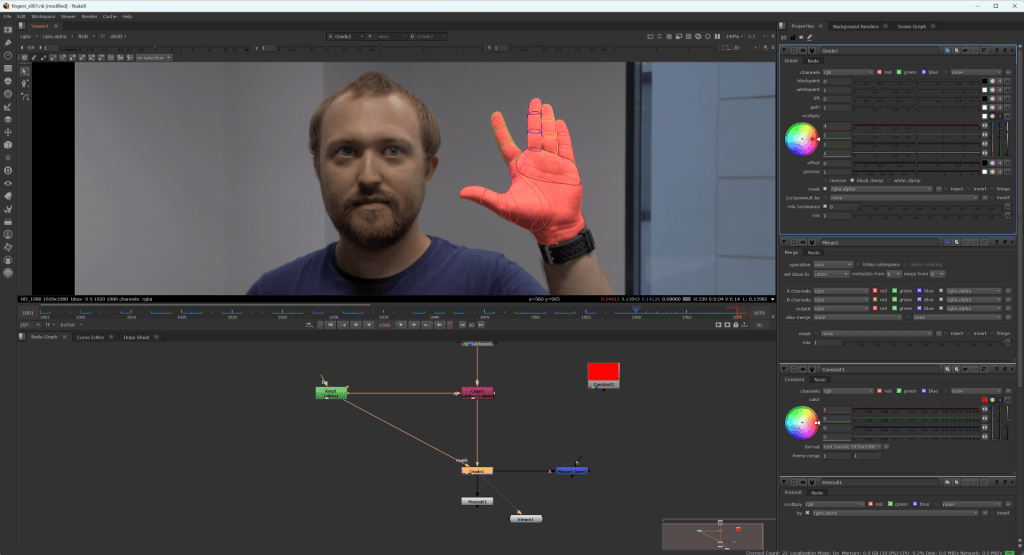
Rather than the “Bezier”, the “B-spline” was used to line the subject. This is because it allows one to quickly create accurate curves. To make the project more understandable, I was able to group the parts into folders, for example; curves in the index finger were placed in a folder labelled “index”. This allowed me to manipulate all the curves at the same, particularly for keying movement. Additionally, colours of the grouped shapes where changed to avoid confusion during keying.
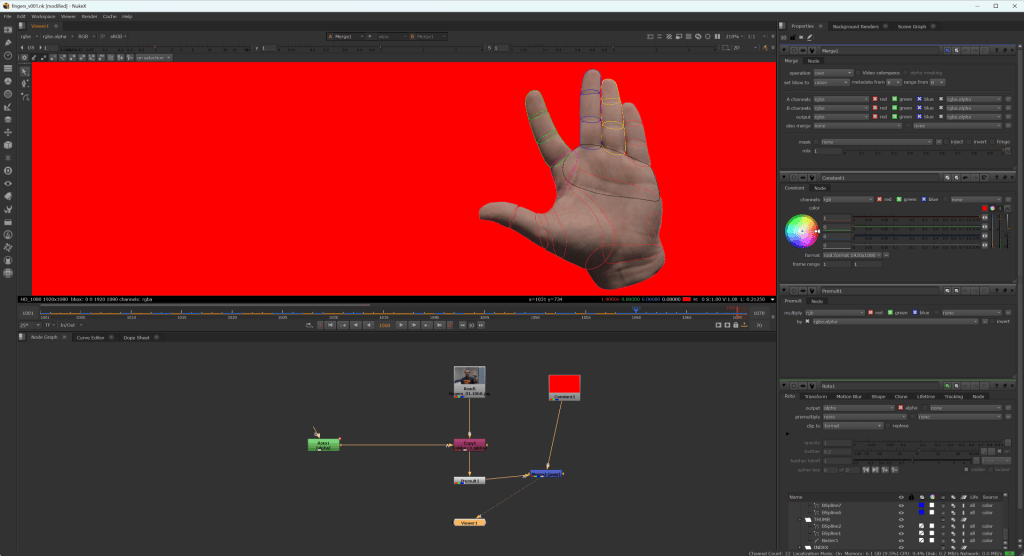
Keying in movement for each part and adding colour to the roto.
Final node graph
WEEK 4
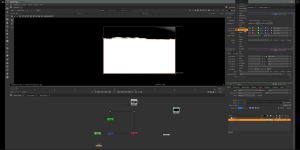
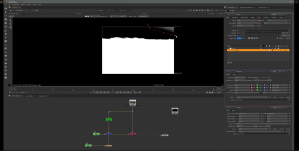
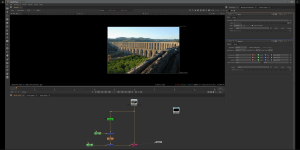
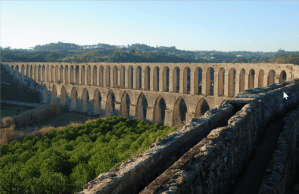
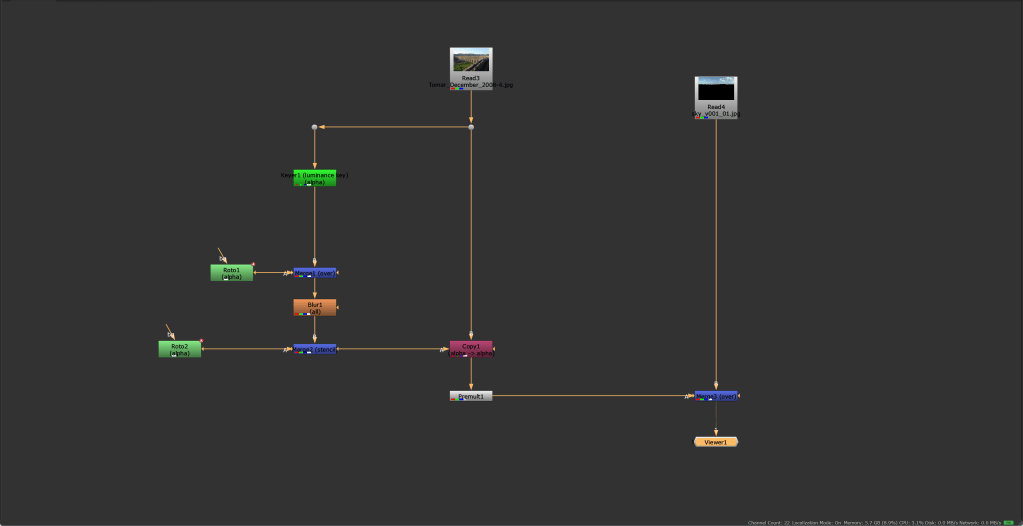
Basic Keying
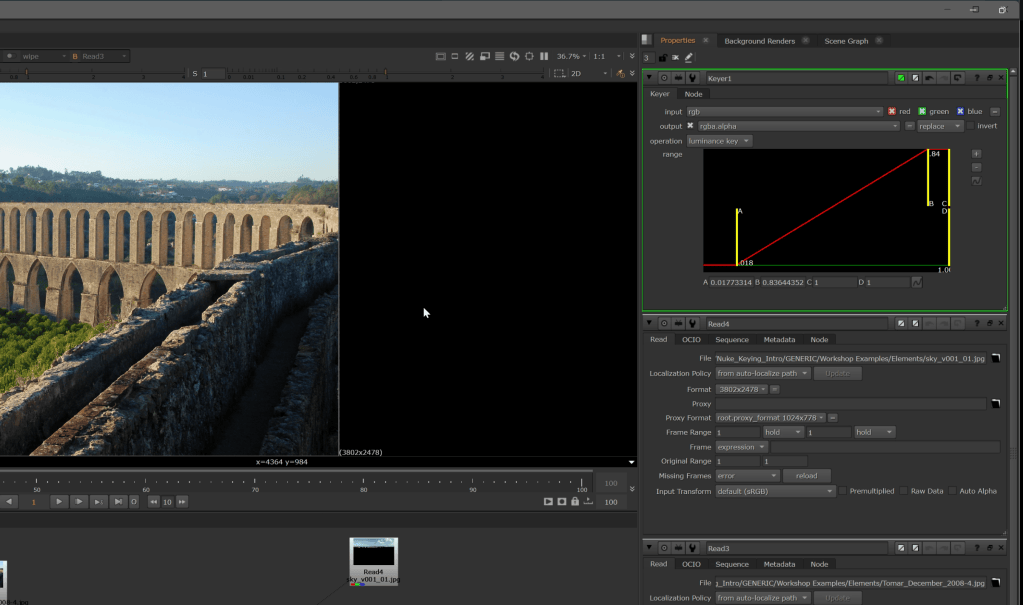
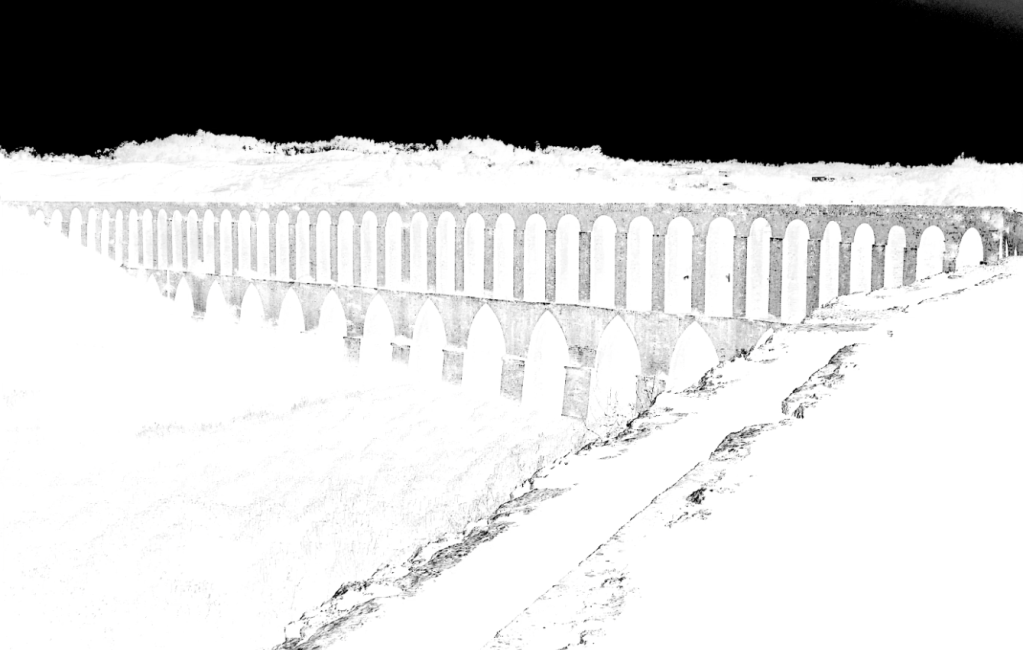
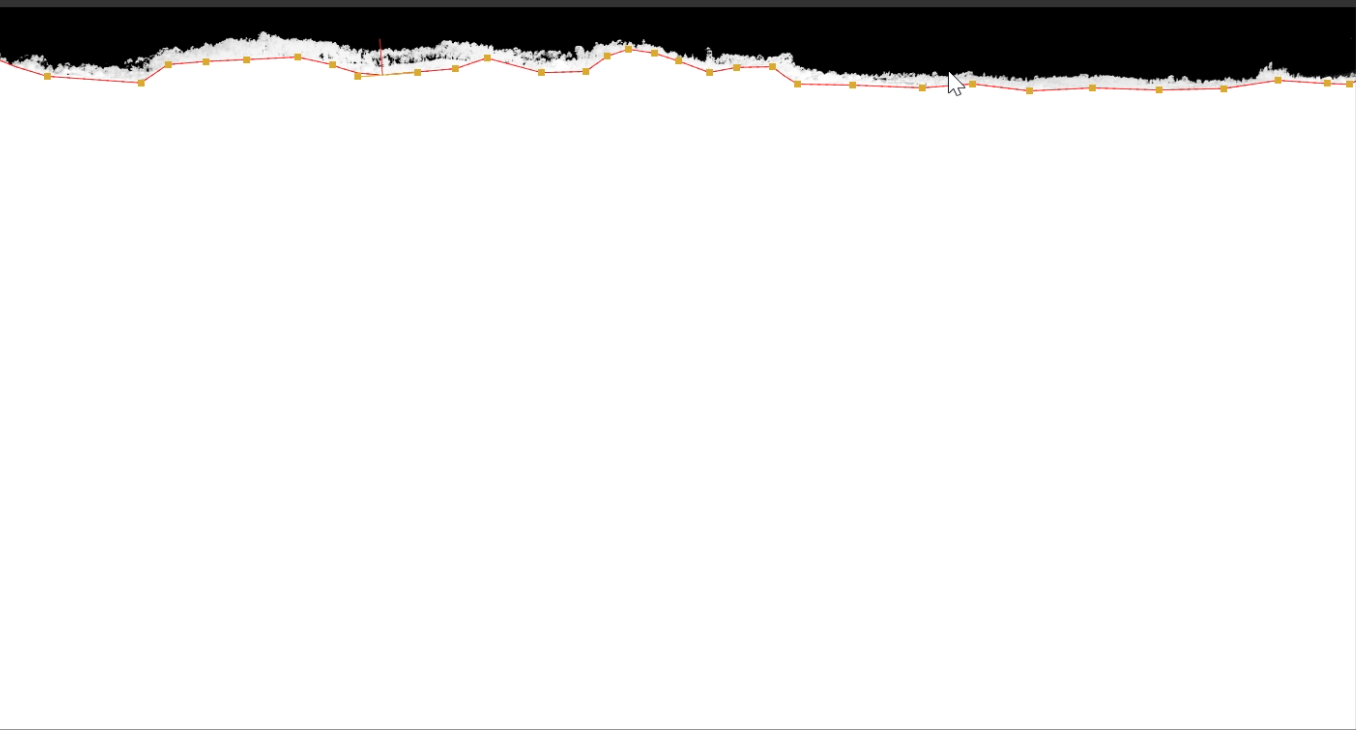
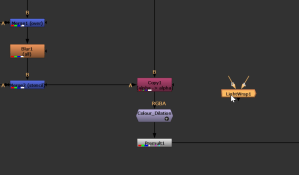
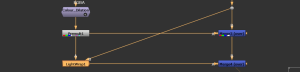
Keying is the process of isolating a subject from a background within an image or sequence. This technique is useful for removing a background or elements within a shot.
WEEK 5
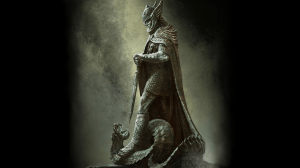
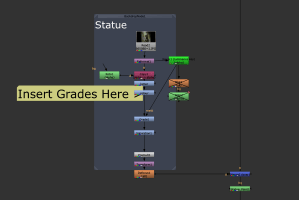
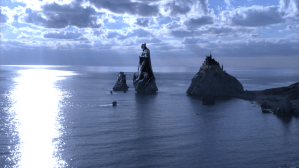
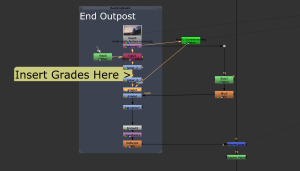
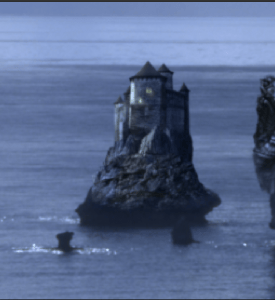
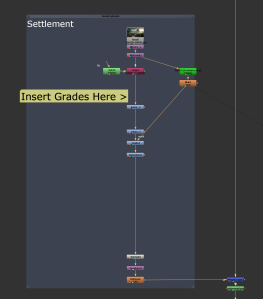
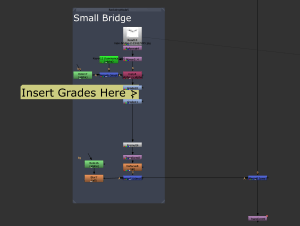
Colour and Grading
Task 1


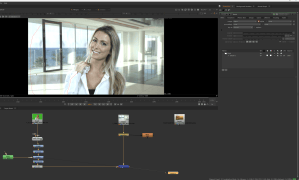
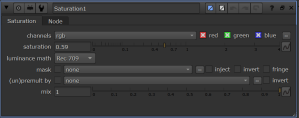

Task 2

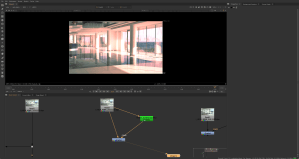
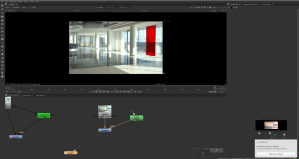
Task 3



WEEK 6
Tracking in Nuke
Tracking refers to the process of analysing the scale and position change within a point and matching those changes to a new element.
Key nodes introduced with this session:
1. Allows one to track the position, scale and rotation of a point within a sequence.

2.
Tracking Exercise
Tracking elements within a sequence on nuke.
Task 1
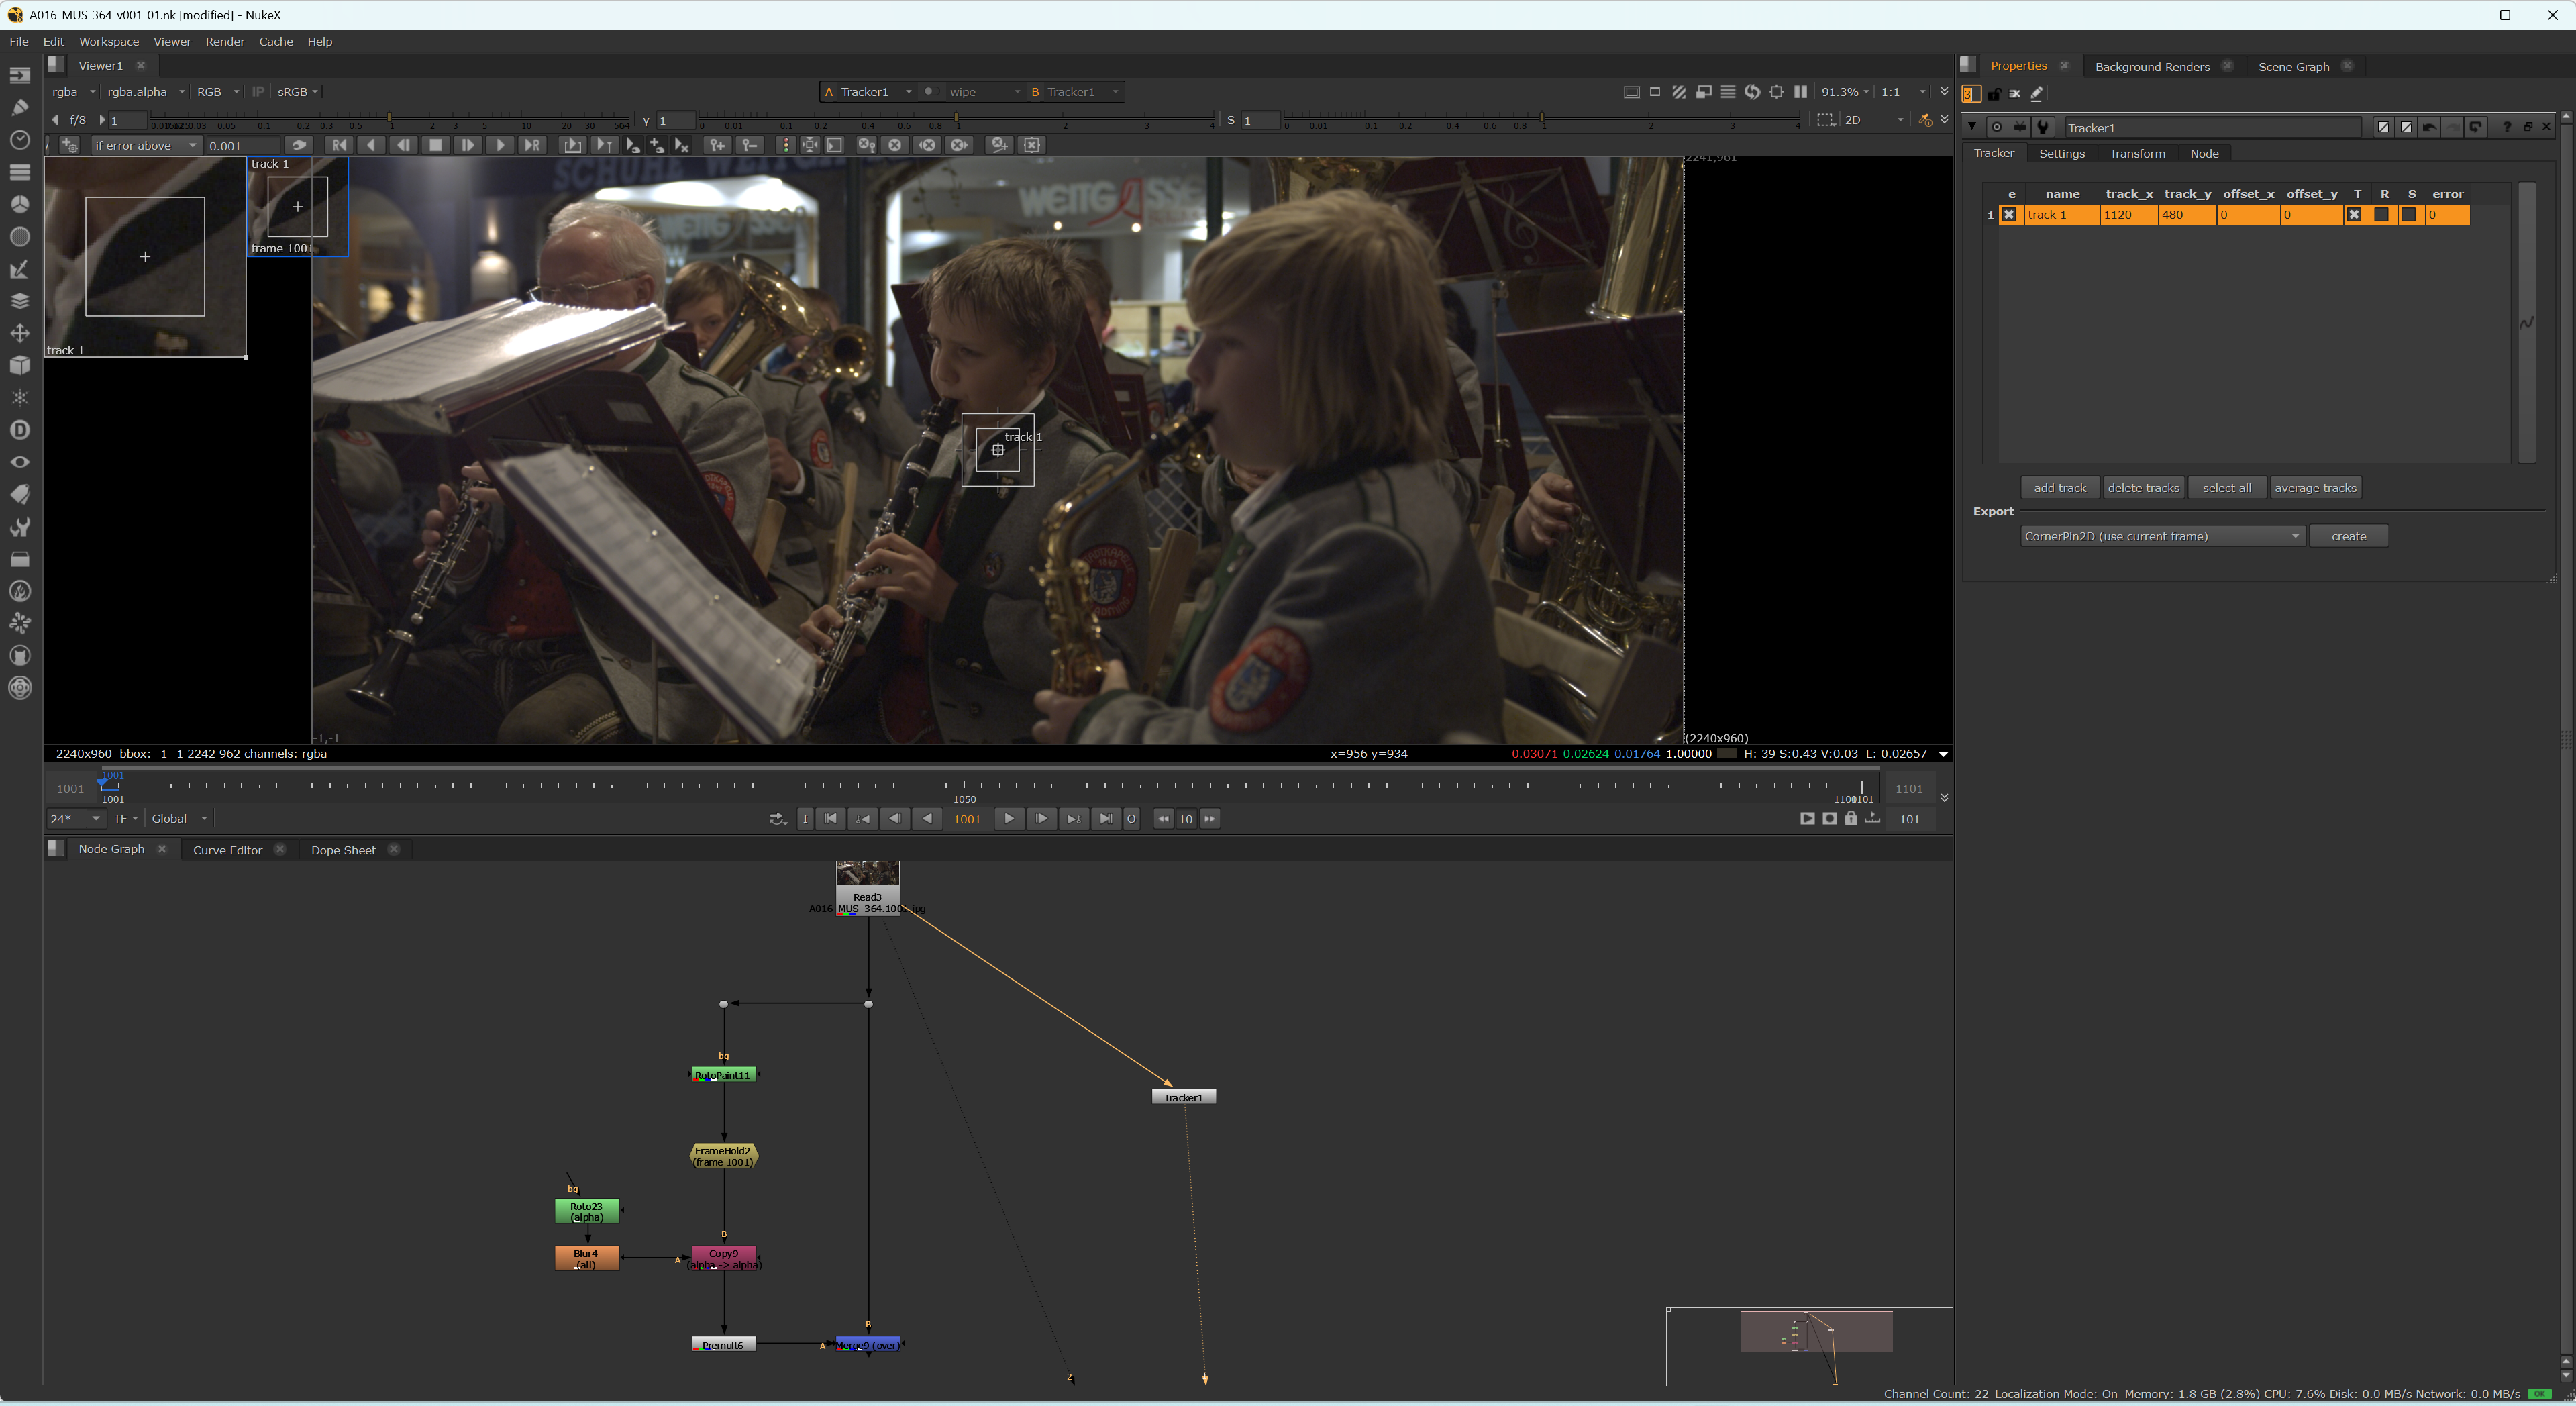
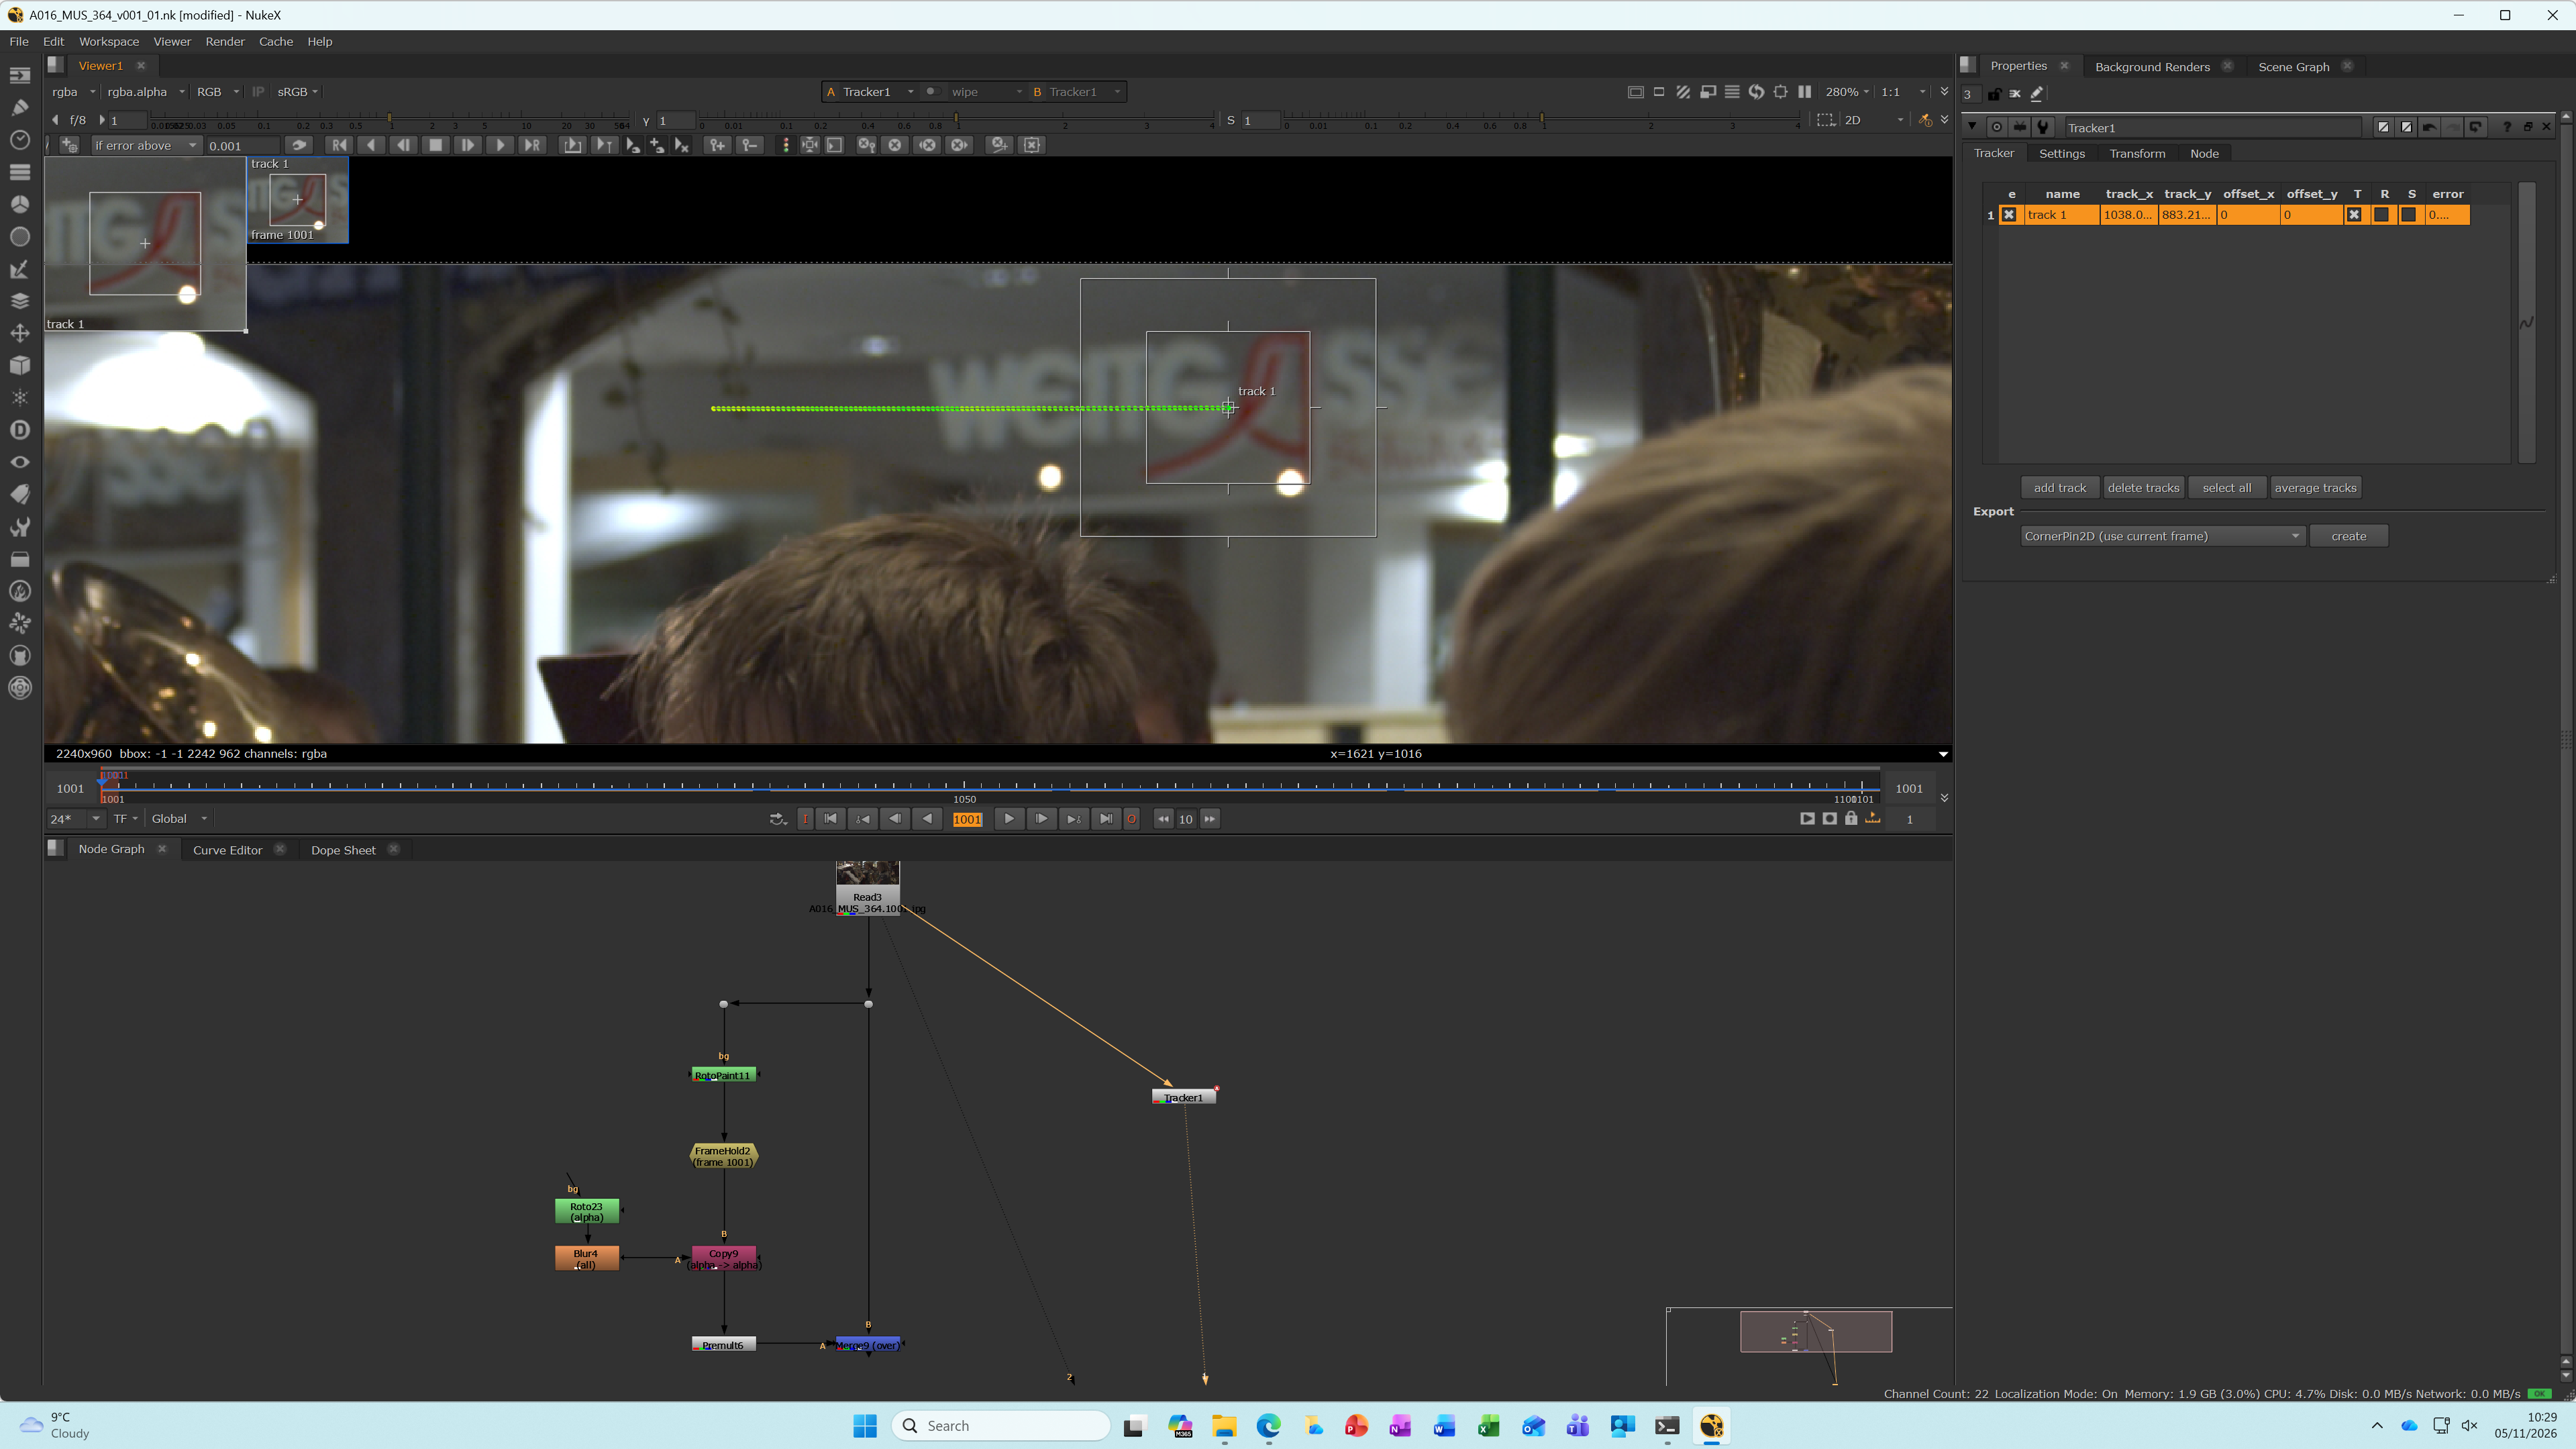
The aim of this task was to partially remove the text displayed above.
Task 2
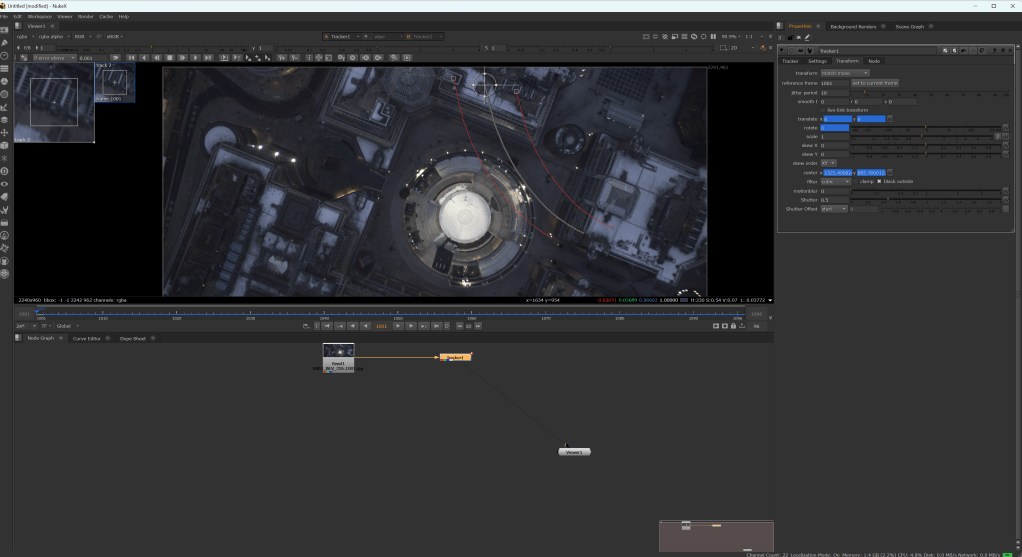
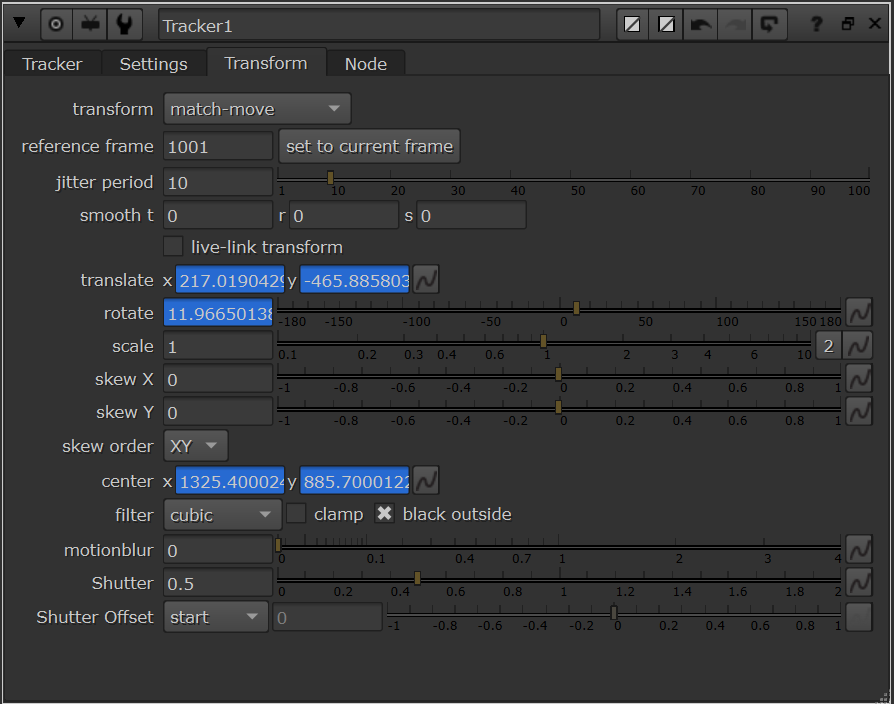
Two Point tracking – involves marking 2 points rathe than 1, this mostly done for rotational movement, the second point is used as a reference for the direction of motion.
1. Adding tracking points
2. Selecting both points so create track marks for each
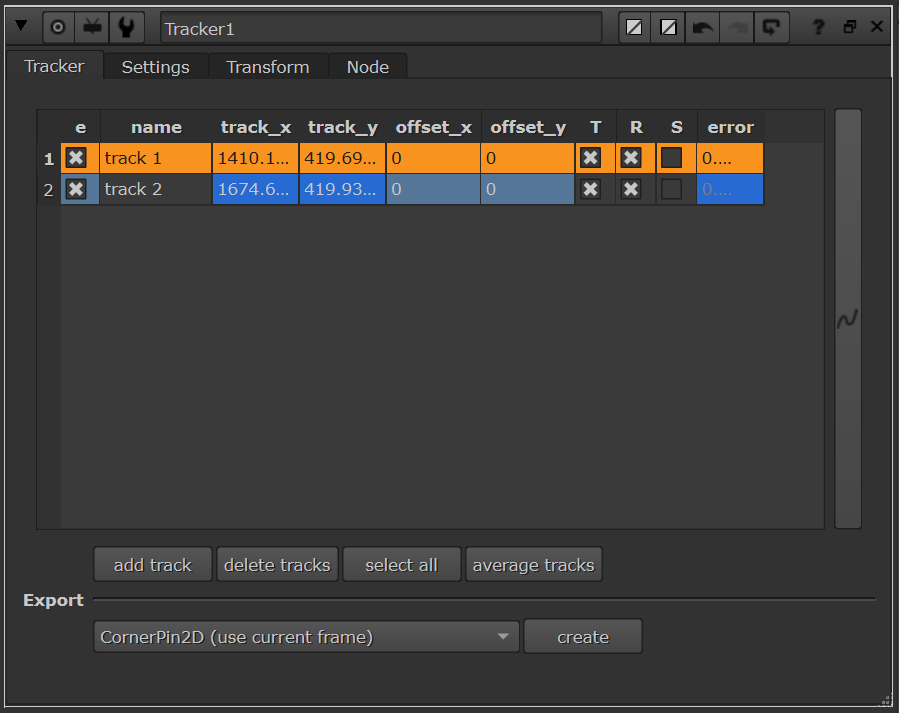
3. Changing transform setting
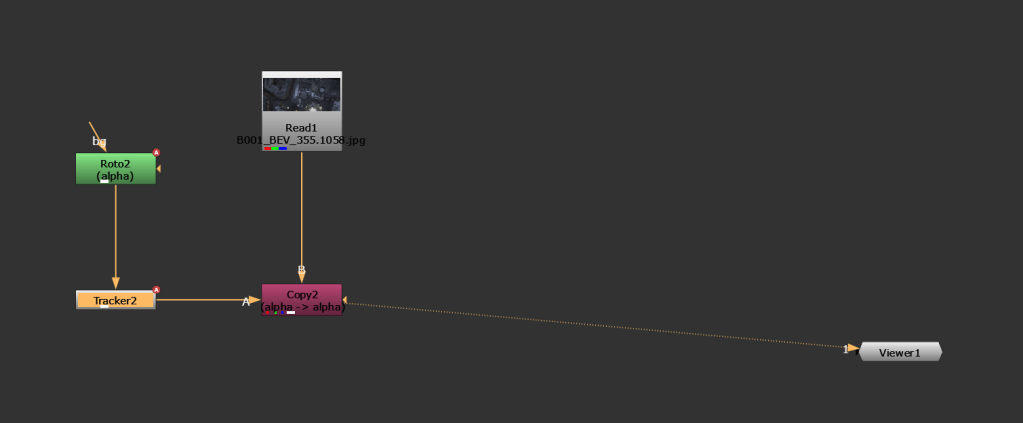
4. Creating shape using the roto node, then connecting that to the tracker node
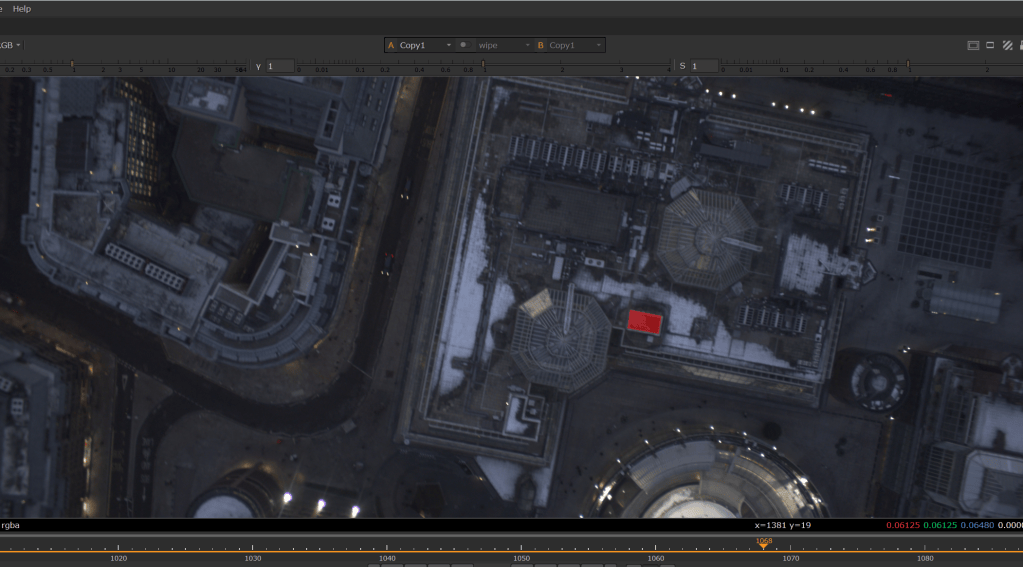
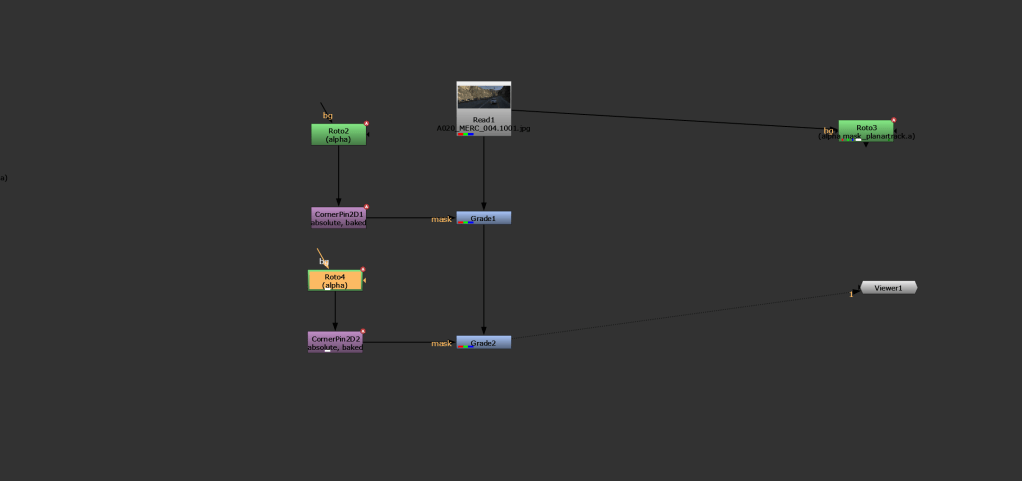
Node graph
Task 3
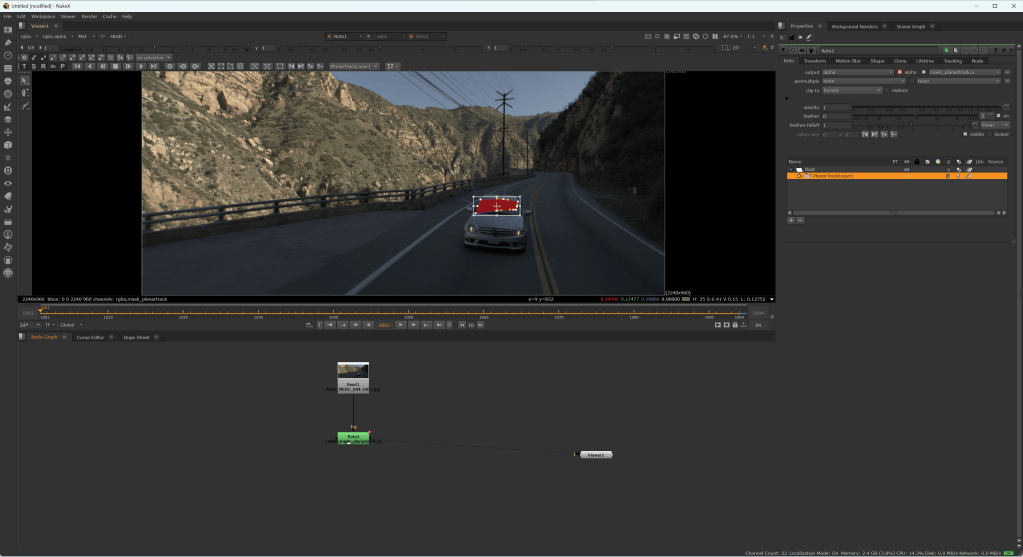
Tracking using the roto node