WEEK 1
Introduction to Adobe After Effects – James Bond Inspired Title Sequence
Adobe after effects is a software that contains an array of tools used to produce visually appealing video animation and sequences.
Class exercise
To make a selection of some title sequences that inspire you.
Daredevil, 2015
The sequence displays the use of mainly 3D techniques, with red being its main colour theme. The elements displays come together to create a feeling of angst and mystery that is observed in the series.
BBC News Intro
The elements displayed appear to be very intentional, with the use of a circle, representing a globe, layered above the world map. Its animation is very eye catching as the imagery is constantly moving around with each shot.
After effects exercise
To create a Dr. No inspired sequence from knowledge gathered from the experimentation of features such as keying, layer types, composition settings, etc.
1. Scaling layers on after effects: this section was an introduction to the types of layers in AE. I first used the ‘solid’ layer, which is a layer displaying a solid colour. Other types of layers include:
- Adjustment layer – a transparent layer used to edit the visual quality of the combined layers below. Effects such as colour correction, blur, or texture can be applied to it, changing the look of he layers below without affecting them individually.
- Shape layer – used to insert solid shapes offered by AE.
- Null layer – an empty layer that can be parented to other layers allowing editors to toggle multiple layers at only.
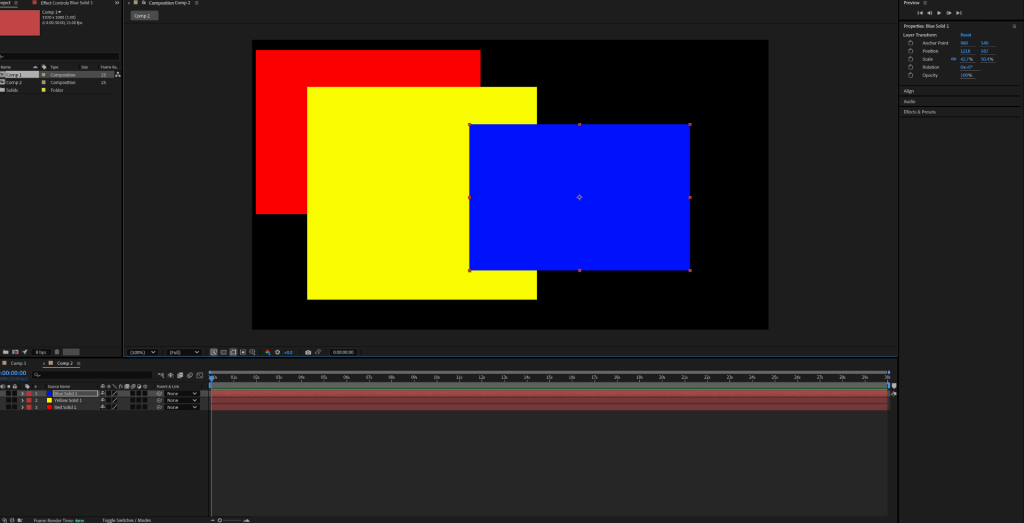
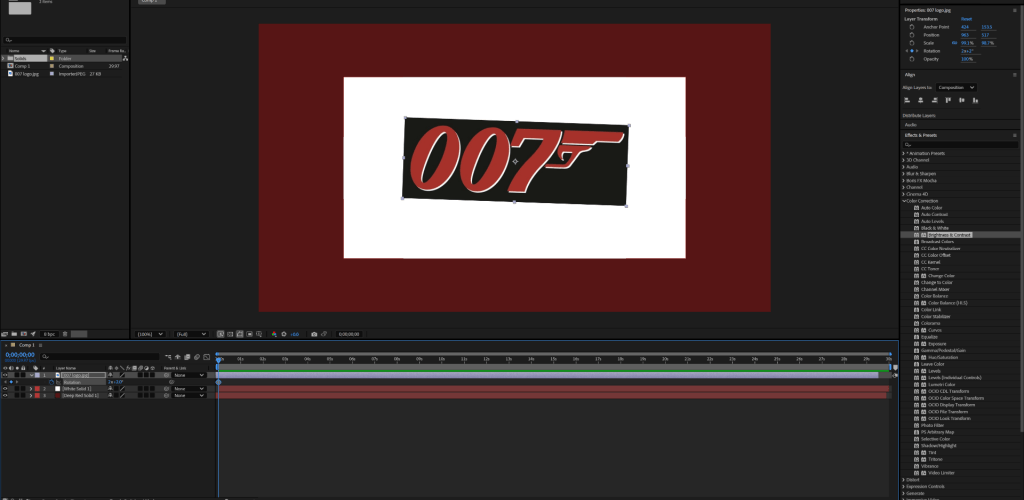
2. Using effects to create a sequence: to apply the effect to the image I simply drag and dropped it onto the layer. I then played around with values such as speed and duration.
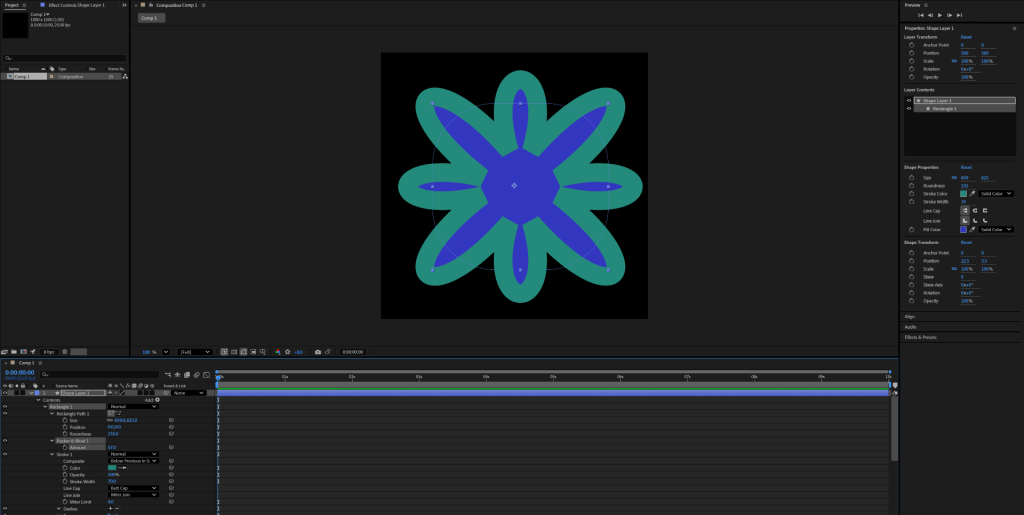
3. Editing shapes: I edited the shape by playing around with values such as the colour, stroke size, etc.
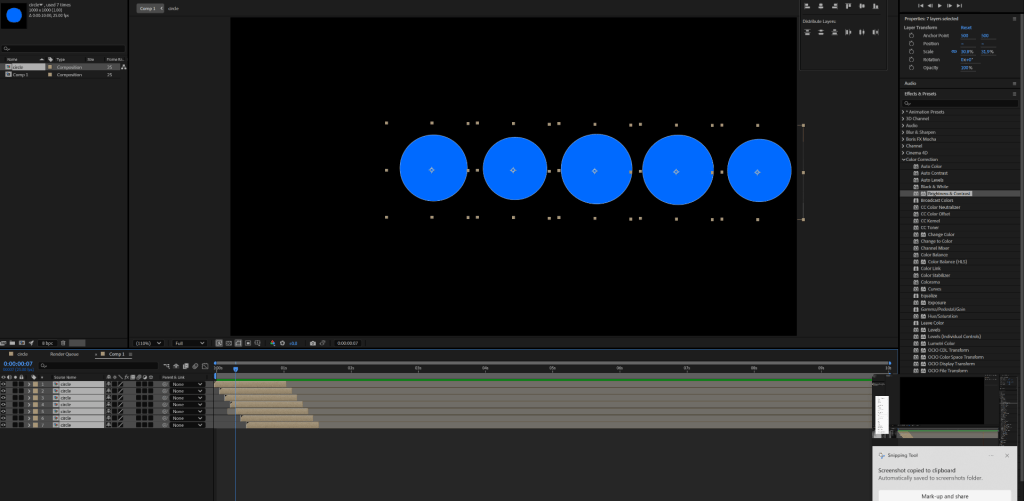
4. Creating a James Bond title sequence: this was an introduction to the process of keying in movement or animation.
Final Result
James Bond introduction sequence
WEEK 2
Working with Alphas, Layers, and Transparency
1. Introduction to masks: this process involved creating an ellipse mask layer, enlarging it and adding the movement as a key. I changed the setting of the ellipse by increasing the feather of the edges, this was done to make it appear more dynamic.
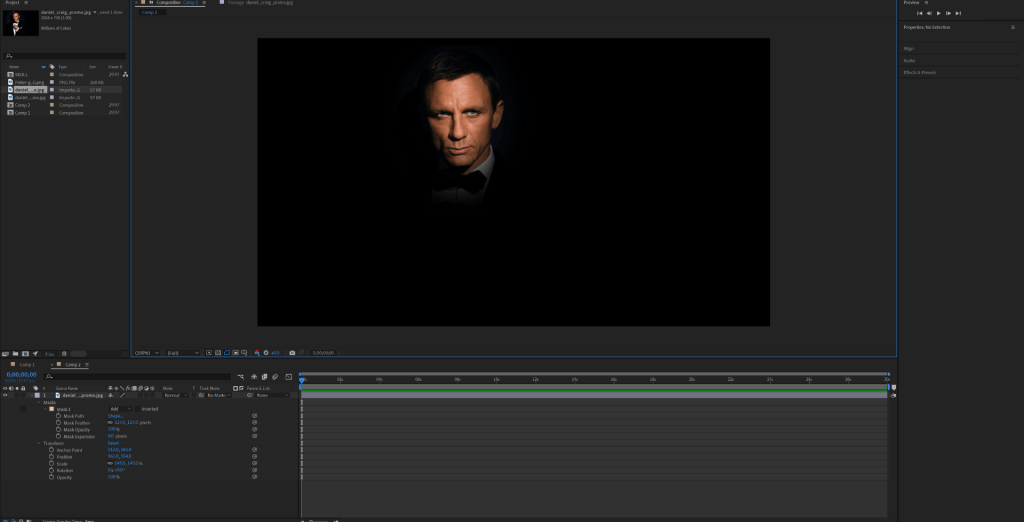
Final sequence
2. Creating a bond poker sequence: both rotation and increase in scale were added as keys to the sequence. I then adjusted the colour of the cards, making it black and white, then changing it to a mask.
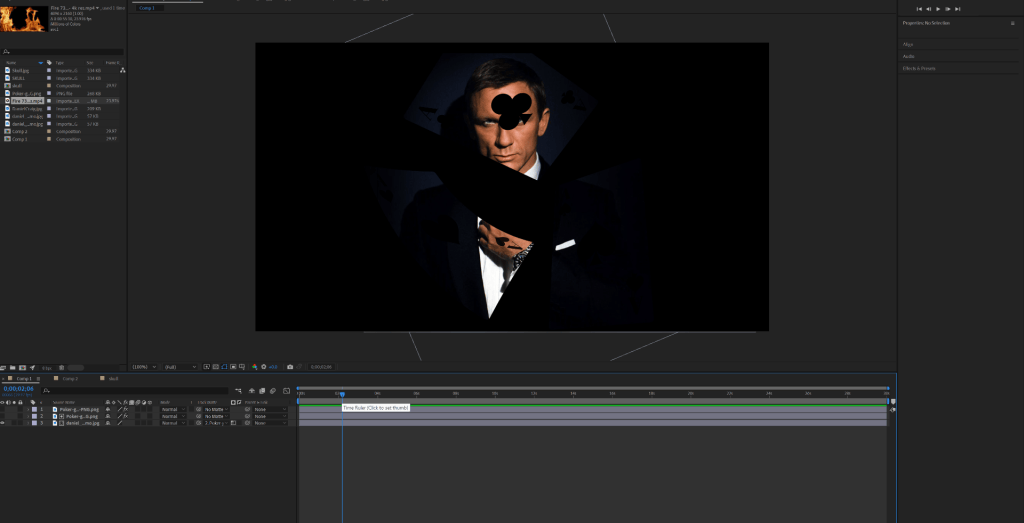
Final Sequence
3. Using layers, alphas and transparency to create a “Live and Let Die” inspired sequence: this process involved changing the settings of each layer, particularly how they blend onto each other. Additionally I was able top achieve the masking effects of the face appearing on the with the flame by applying a mask on it.
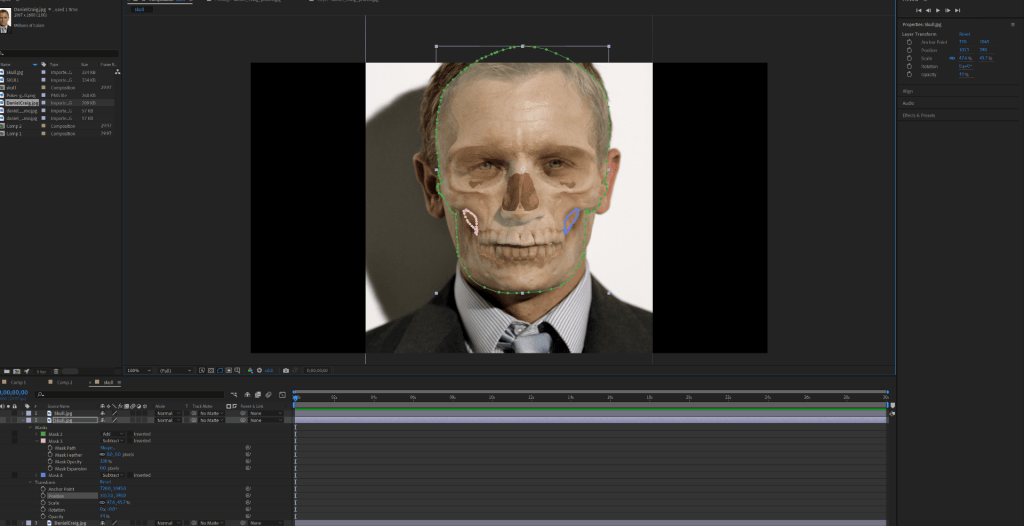
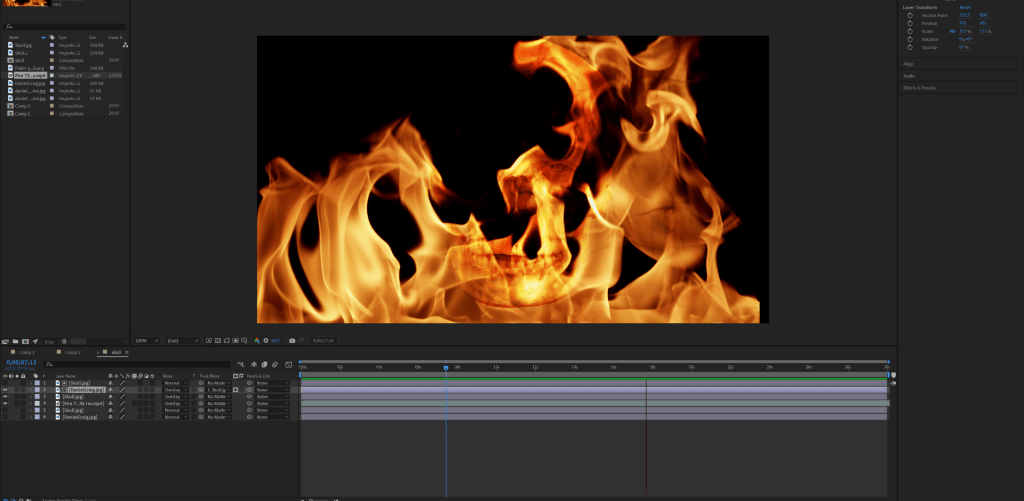
Final sequence
Further exercise – Jumanji intro card
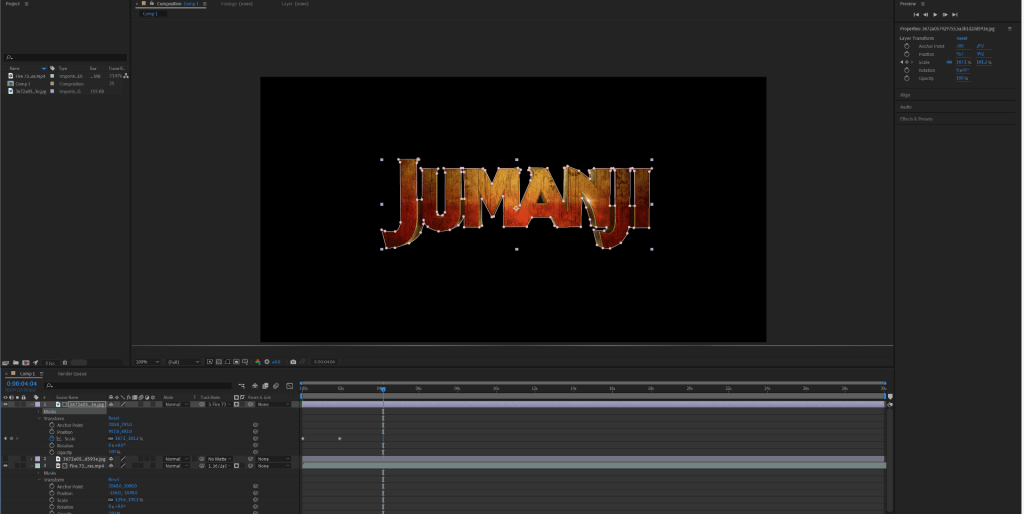
For this process I cut out the Jumanji text and used its shape as a mask on the flame video. I then applied scale keys on the sequence.
WEEK 3
Introduction to the topics of keying, green screen and cameras / lighting for this setup
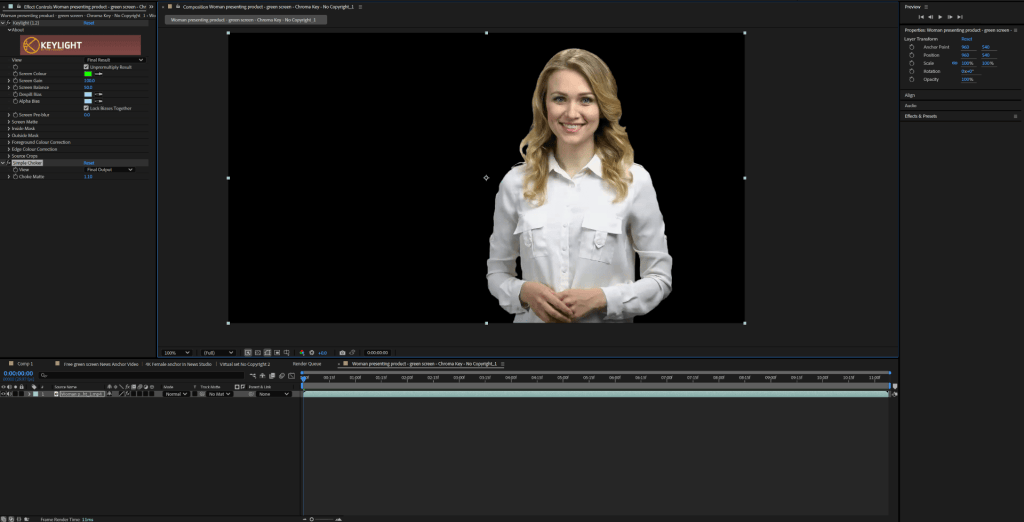
For this process I first removed the green background by selecting it with the keying tool. Then to ensure that the green reflection on the main model is very prominent, I applied a vibrantly colour layer beneath it. This helps me to identify parts of the model that show a green tint or have been cut out from the image upon selection. The background image is then applied as a layer beneath the model.
After effects keying techniques:
- Key light
- Linear colour key
- Colour range
1. Introduction to keying and composting using a news anchor setting: for this process the clip was first selected, then the keying tool was used on the green background, immediately removing it from the clip. To ensure that the video was properly keyed, a vibrantly coloured layer was applied below it, this enabled me to identify parts of the model that remained displaying green highlights.
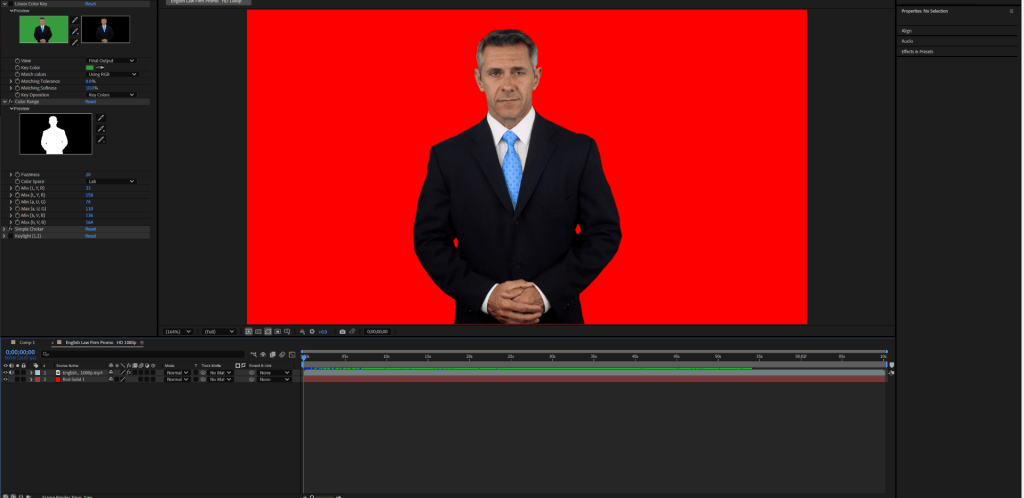
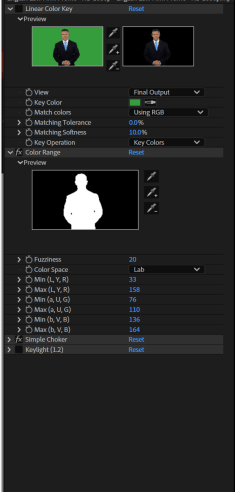
Below is a display of the screen matte preview, this provides me with a visual of parts of the image that weren’t properly keyed. The white represents the main model or parts of the image that isn’t keyed out, whereas the black is the keyed out green background.
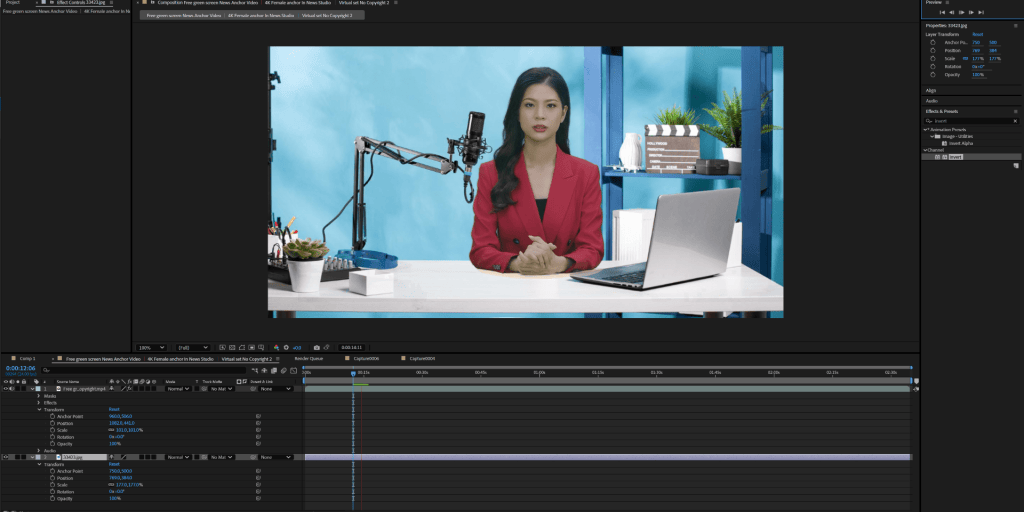
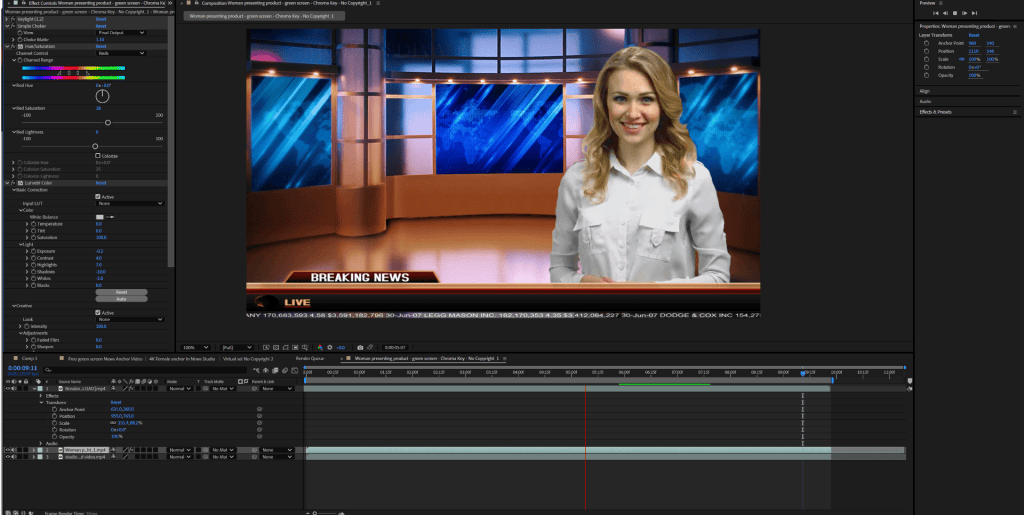
2. Keying along with colour correction to make the image blend with the background: the same keying process was used for this clip, however to make the newscaster fit the new background, colour correction effects were applied its layer. This was done to make the final composition more believable.
3. Further practice, composting 3 clips:
4. Keying, toggling mattes and using masks:
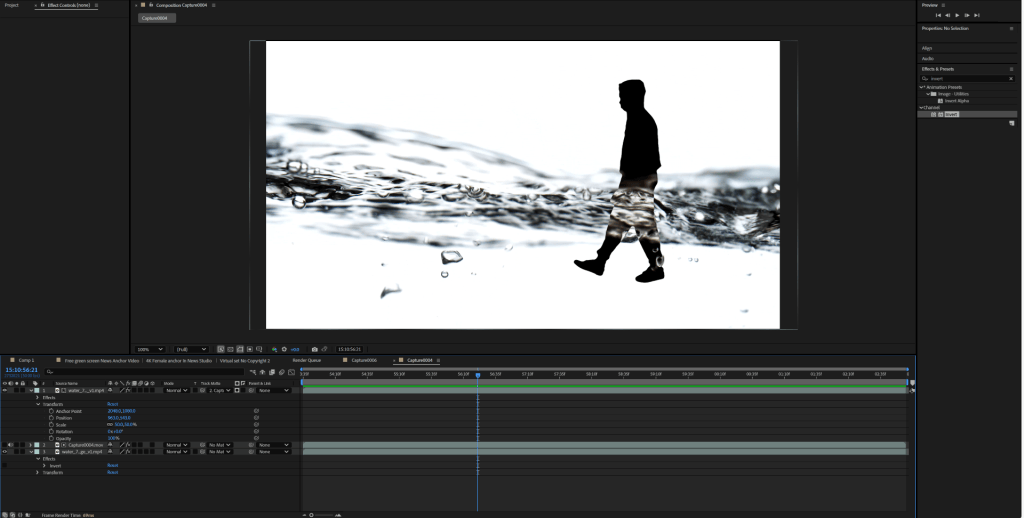
WEEK 4
Lights, Cameras and Green Screen Filming
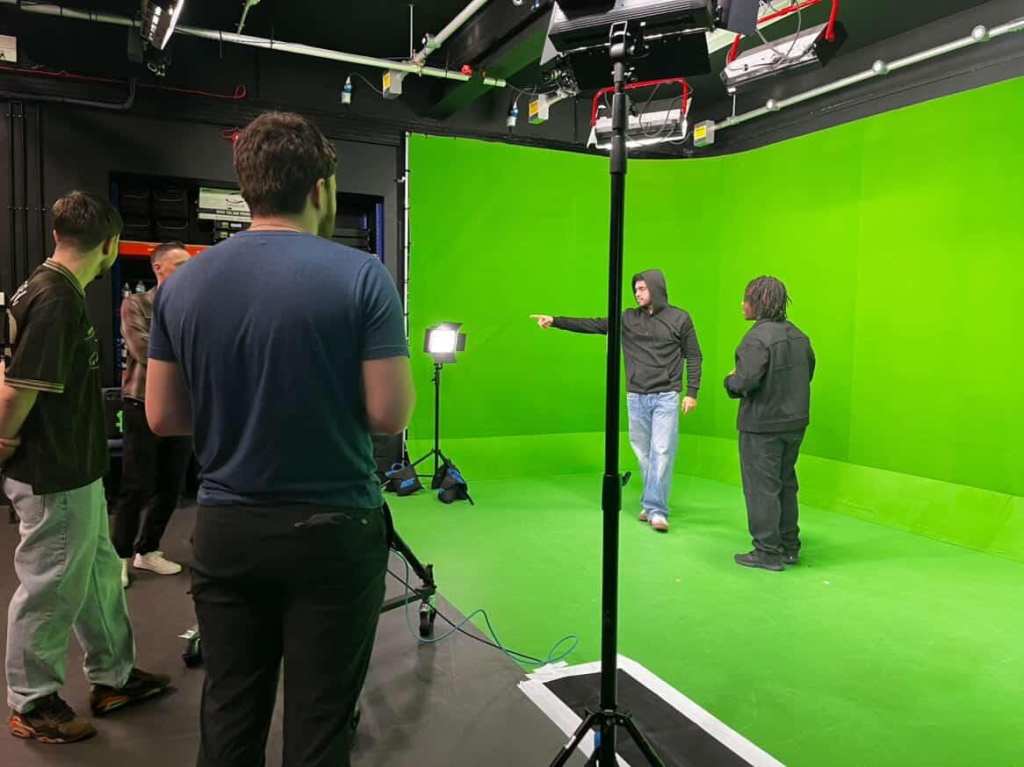
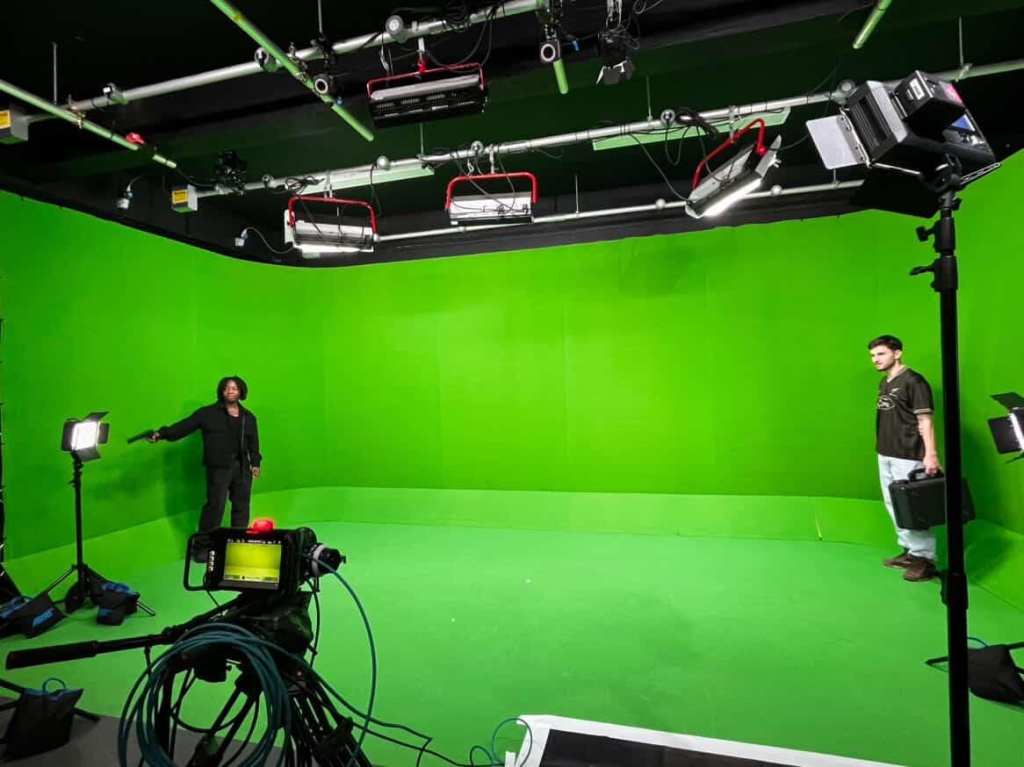
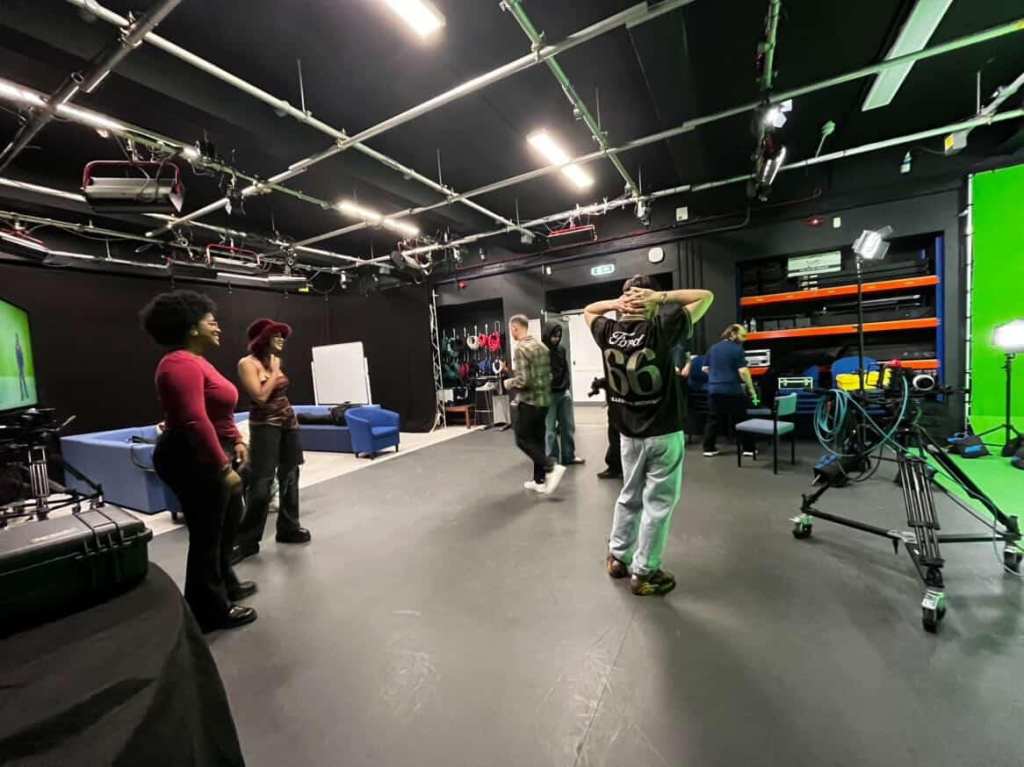
This session was dedicated to capturing green screen footage for future after effects exercises and assignment 1.
WEEK 5
Keying My Green Screen Plates
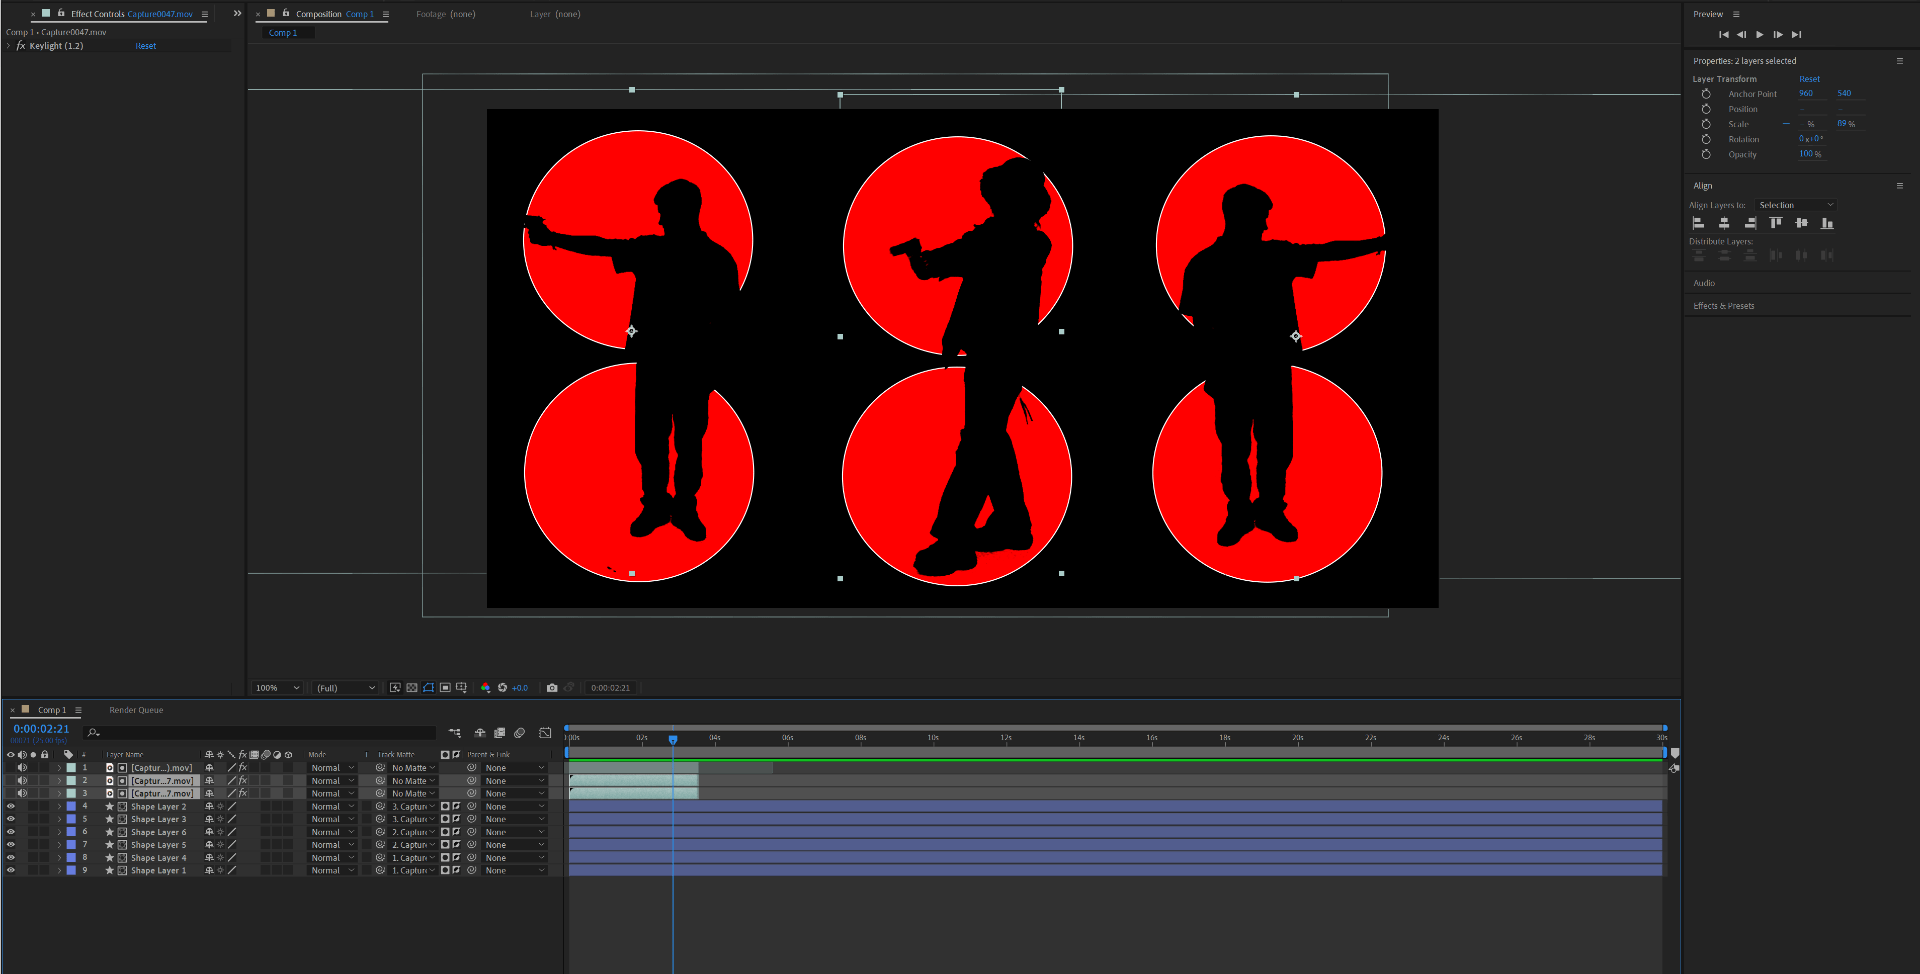
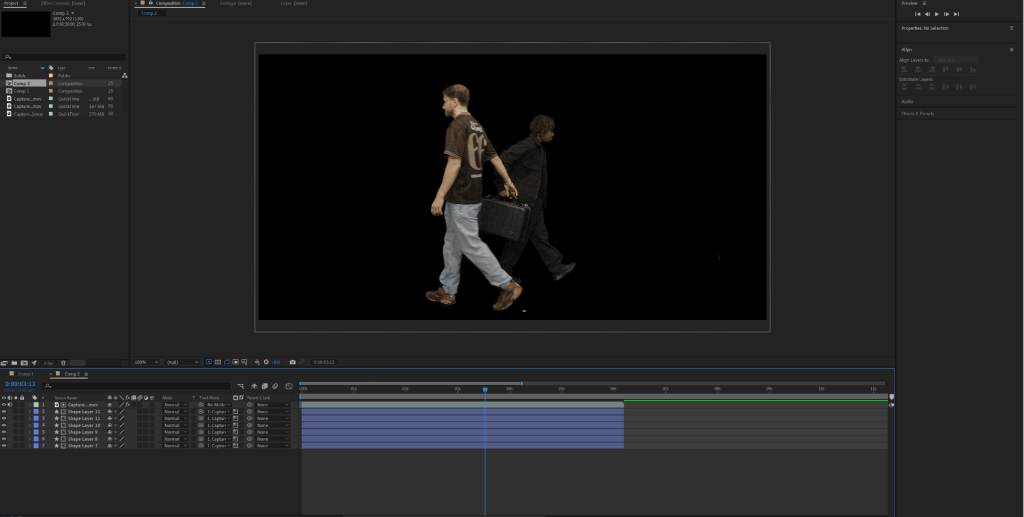
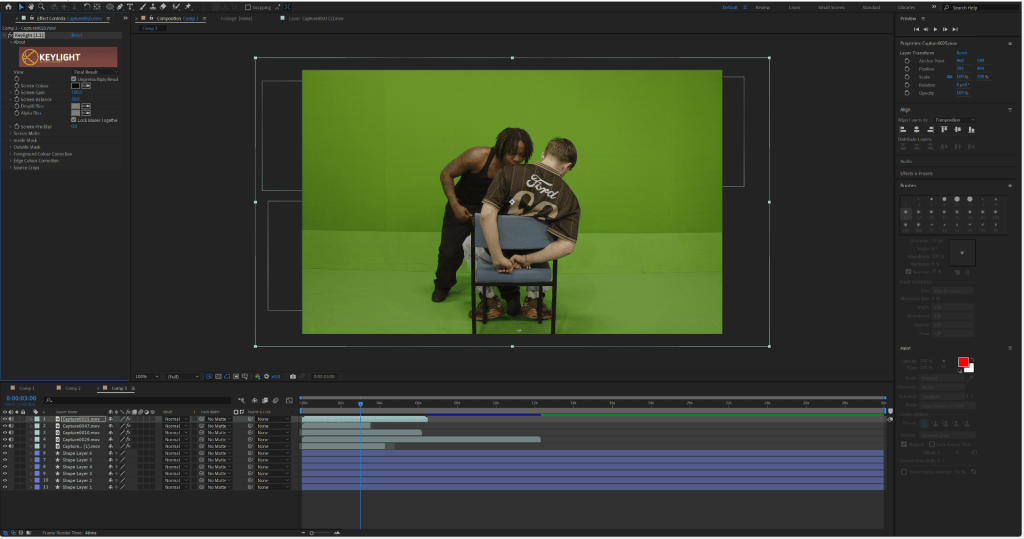
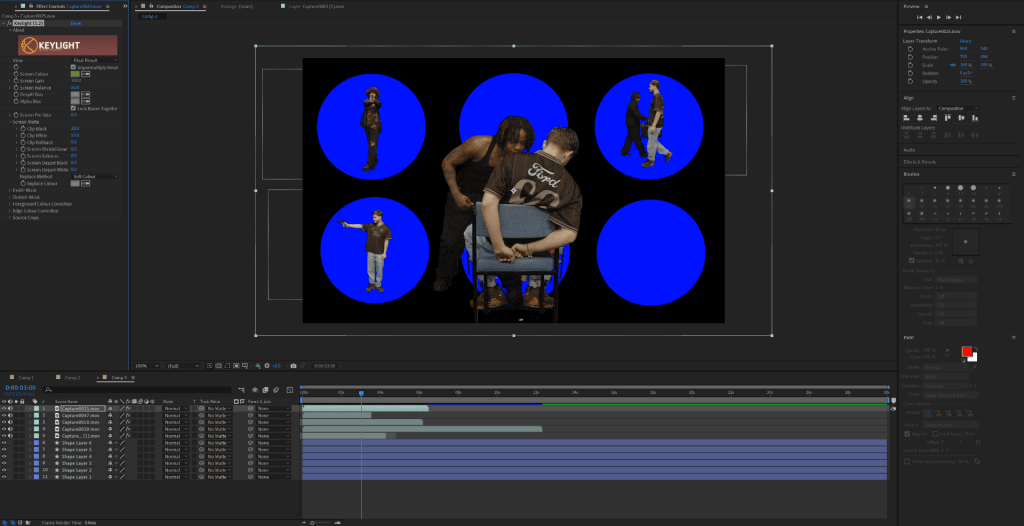
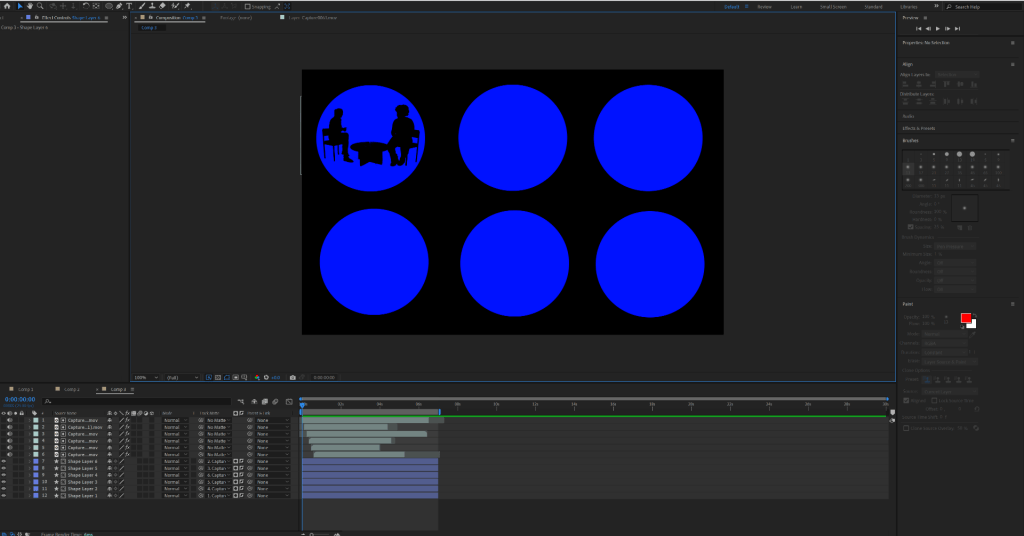
With this lesson I was able to edit the green screen clips to create a series of James Bond inspired sequences. I experimented with functions such as the key light effect, masking, layering and alpha mattes.
Task 1: using track matte
Task 2
Task 3: compiling multiple scenes
WEEK 6
Tracking in After Effects
An introduction to tracking on adobe after effects. Tracking is mostly useful in visual effects because it allows us to attach elements to a moving element.
Tracking methods include:
- Face tracking
- 3d camera tracking
- Mask tracking
- Planar tracking
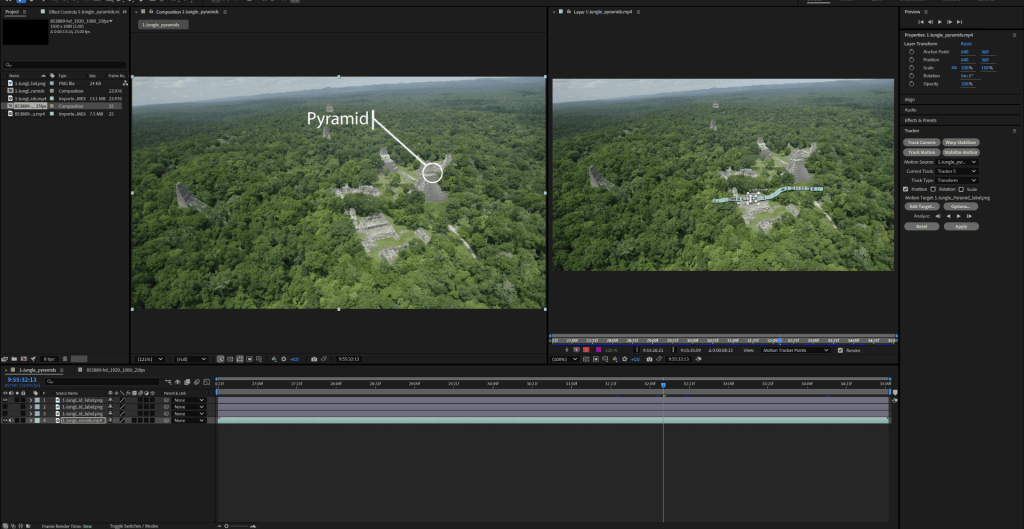
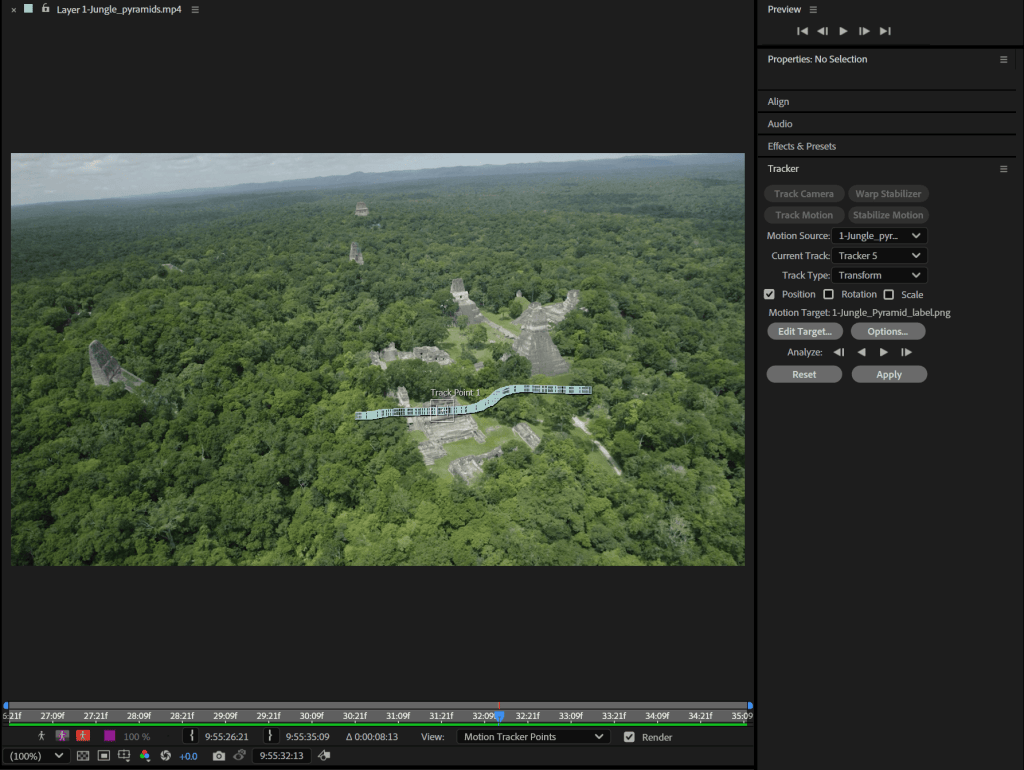
- The first method of visual tracking involves the use of the “track motion” feature. First the tracker window is opened and the tracker point is placed on the area that is to be tracked.
- Then the analyse forward is clicked, this allows after effects to create a path which the point moves as the video progresses.
- The track point is then linked to the anchor point of the image; by selecting the object and clicking “edit target”, this is easily achieved.
Task 1
The same process was used for this task, however, before linking the track point to the images anchor point, I moved its anchor point to the end of the label.
Final Result
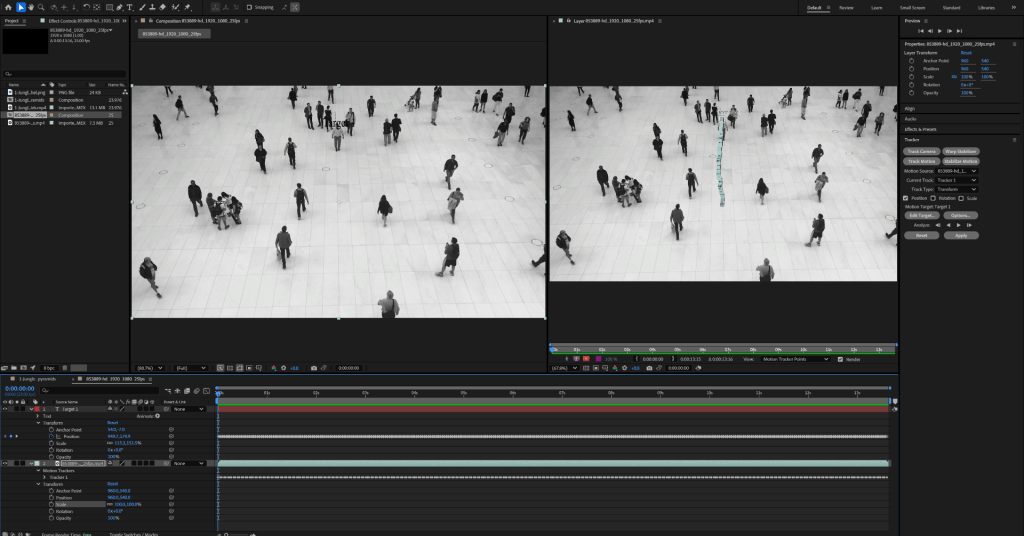
Task 2
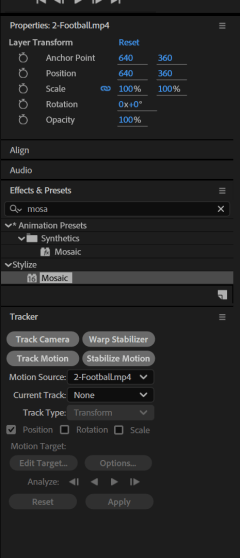
Task 3 – Face tracking
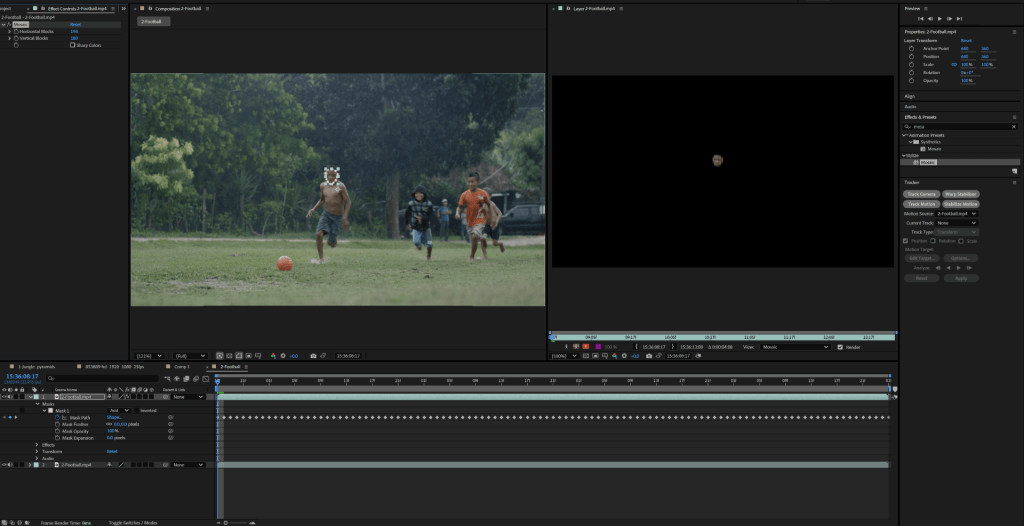
Final Result
Task 3 – Track Camera
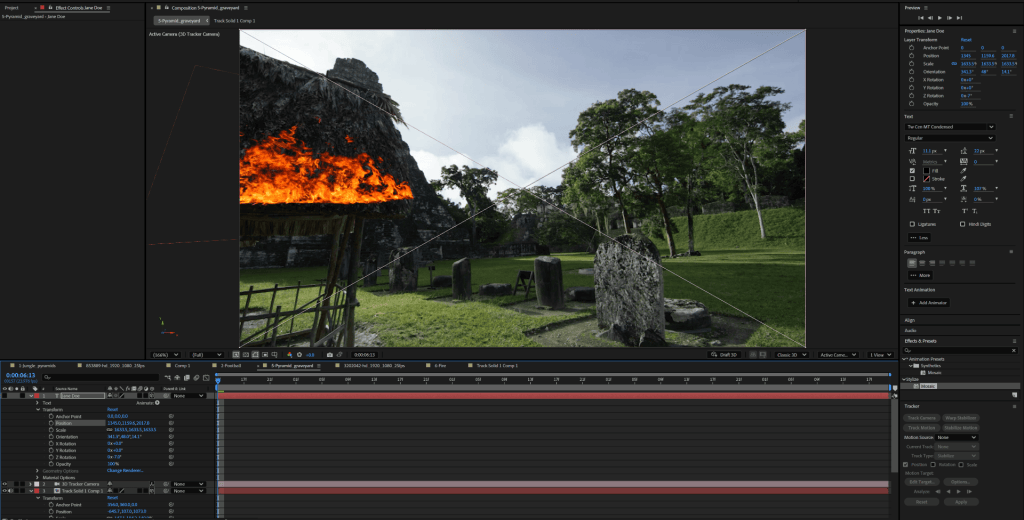
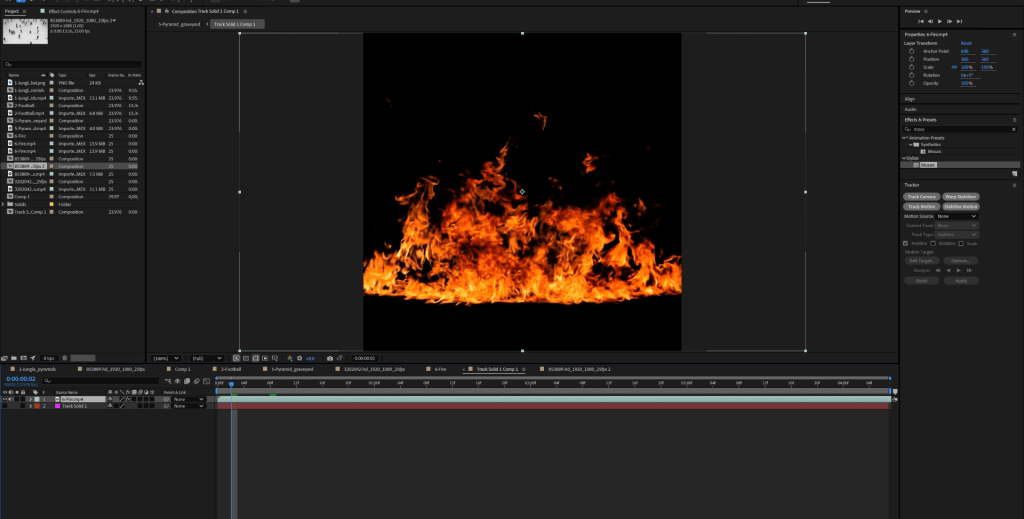
Create points on the clip that can be tracked by elements such as text, images or videos. Once the function is enabled, the points meant to be tracked are highlighted, then the visuals are applied.
Final render
WEEK 7
After Effects 3D Tracking
The aim of this session was to further practice 3D tracking using images, text and video footage.
1.(1) Track camera – using text
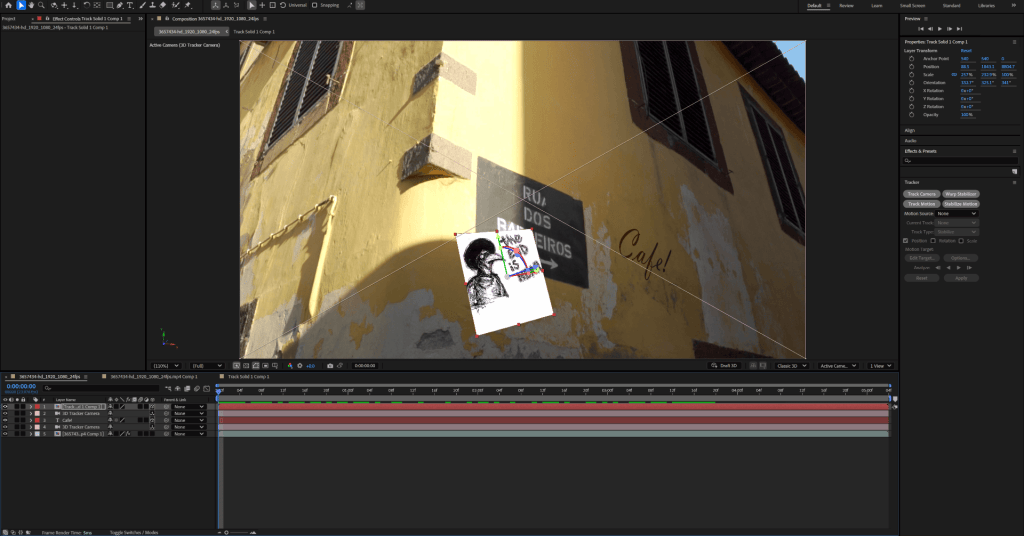
For this process I used the “track camera” feature, which generates point on elements of the footage. These allow me to attach a feature to it (such as text), by selecting the section I’d like to be tracked.
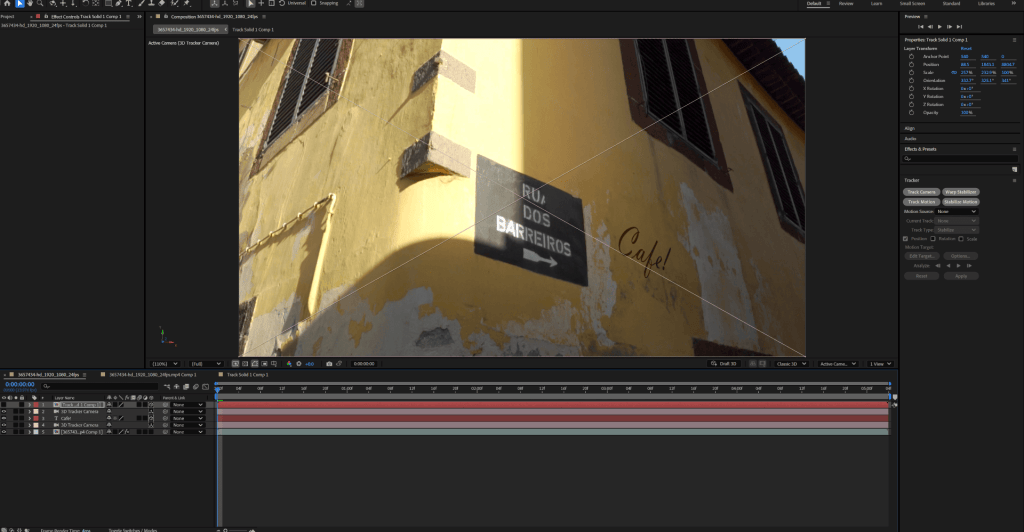
To make the make the lighting of the image more realistic, I edited the layer’s blending mode, by reducing the opacity and changing its layer setting to “hard light”.
Final render
(2) Track camera – using an image
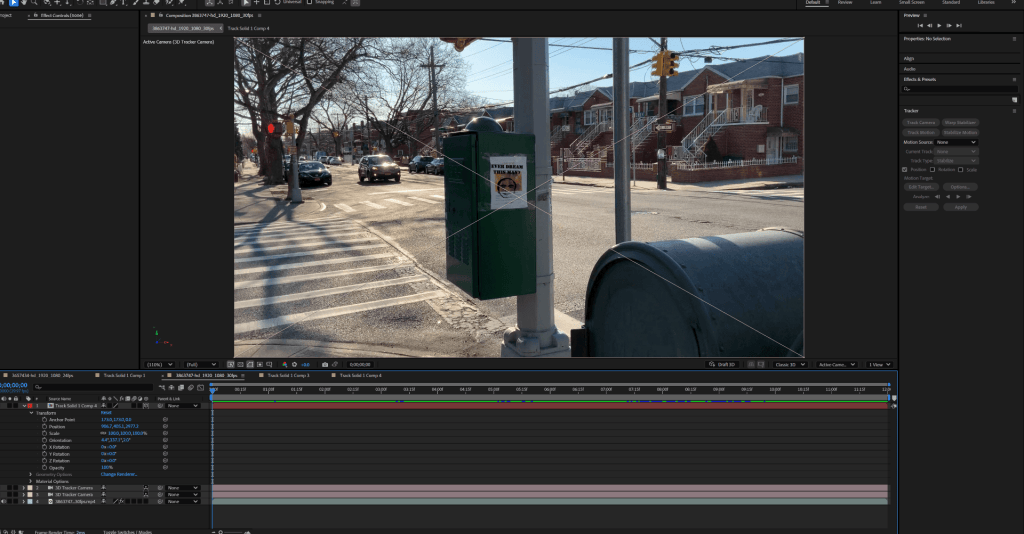
Final render
2.(1) Content aware and footage clean up
This feature allows me to cover a selected area by taking reference from details around its surrounding and generating a fill image. This feature can be very useful for removing unwanted elements from a scene.
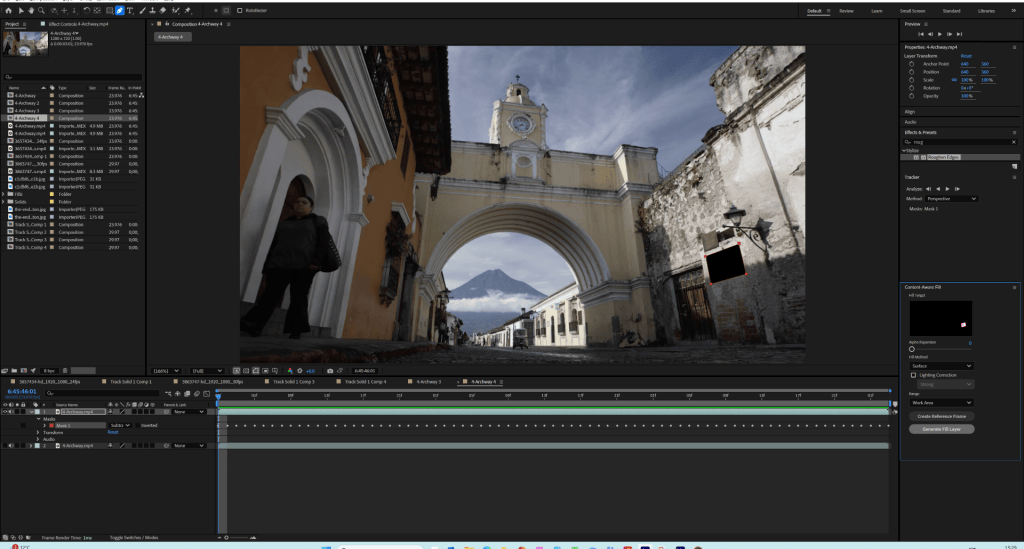
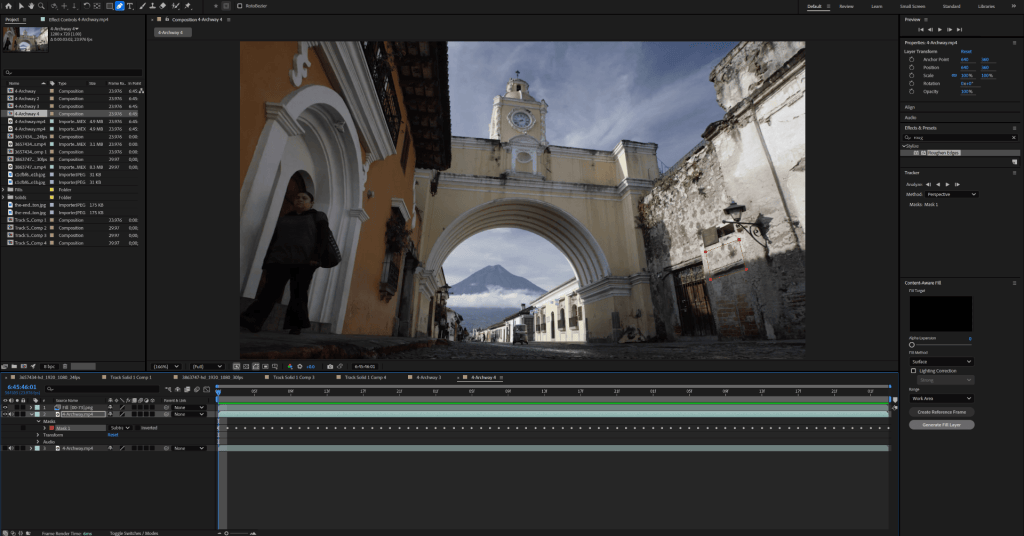
Final render
(2) Content aware and footage clean up
Unfortunately the results were not as good as my expectations as the content aware fill created a somewhat glossy image that doesn’t blend well with the background. This could be fixed by using a mask or editing the layer blending mode.
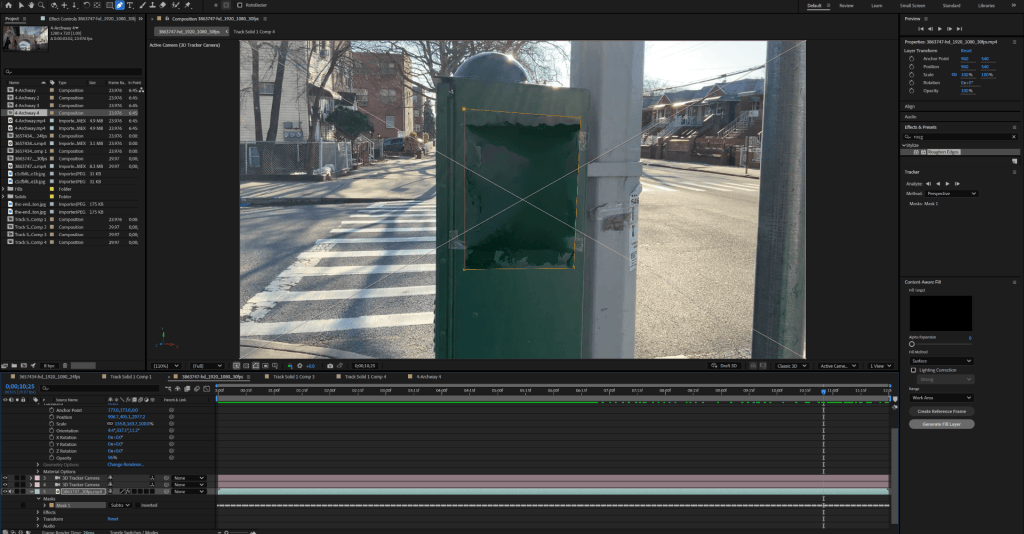
Final render
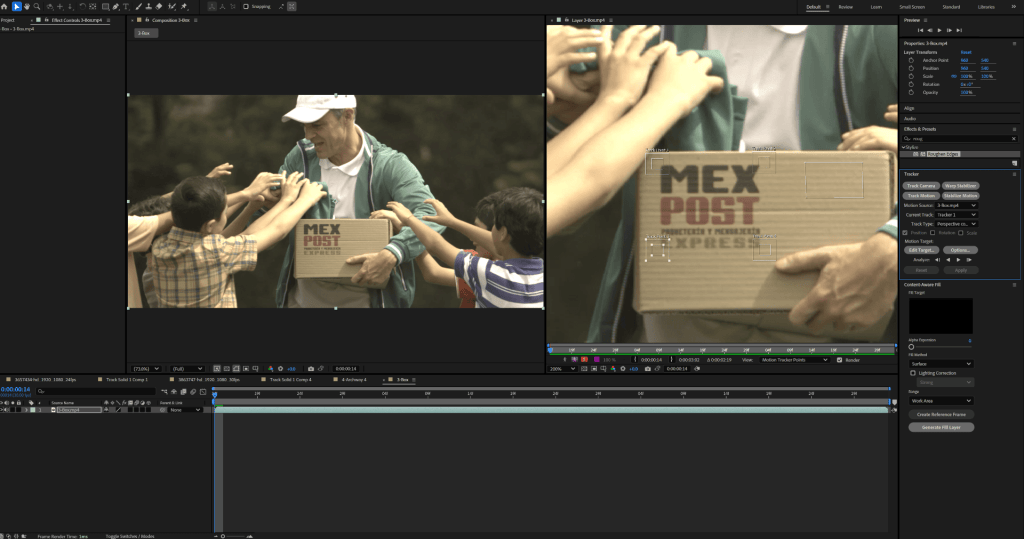
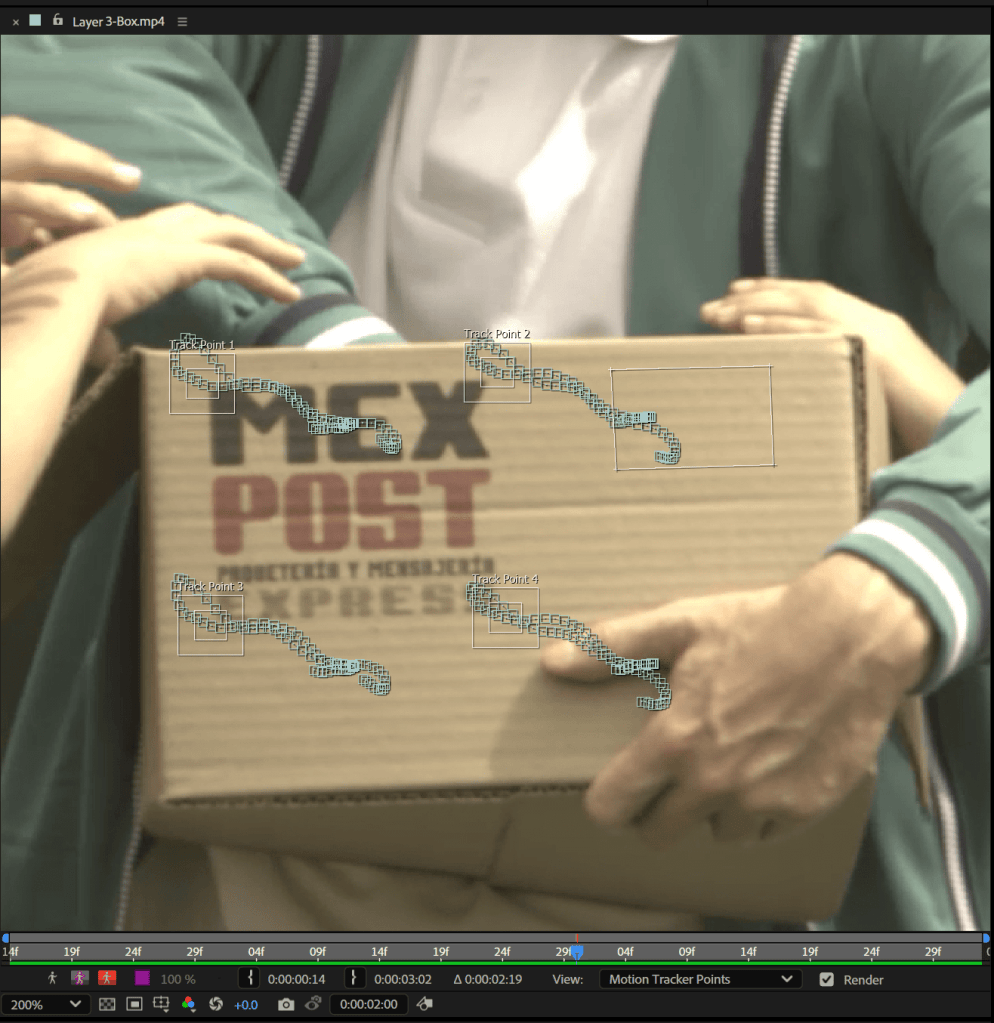
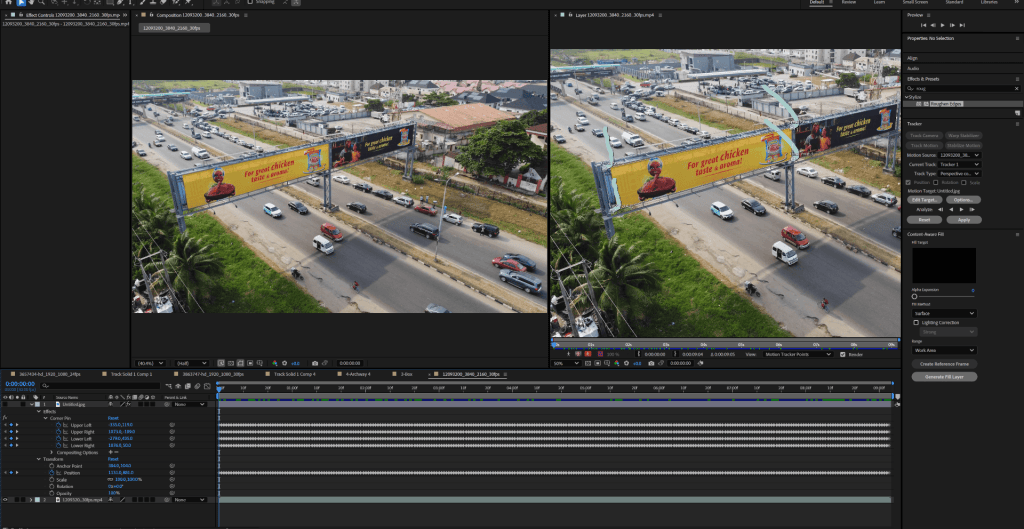
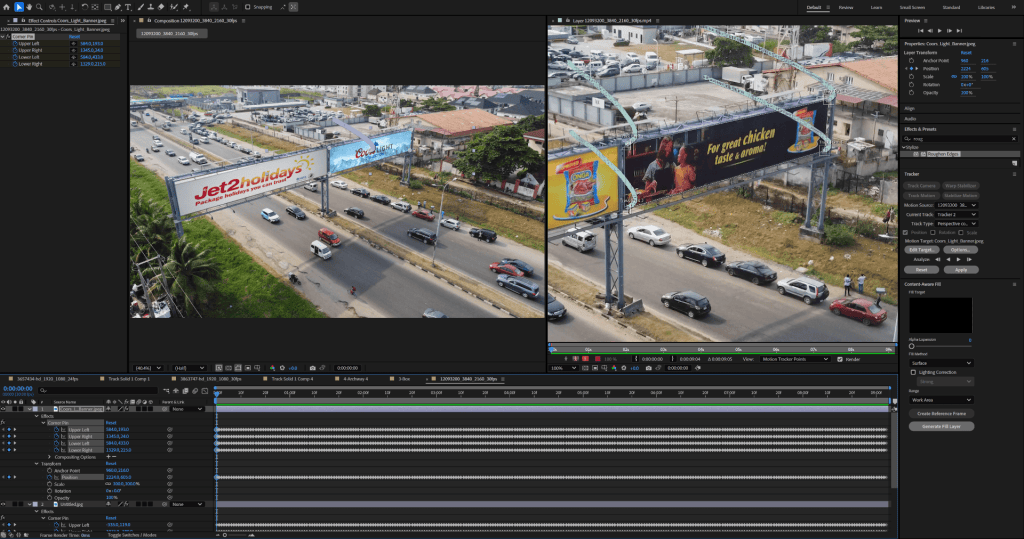
3.(1) Track and corner pin
This method allows for the corners of an image to be attached to the desired position meant for tracking. By using this feature, I was able to attach a logo to the front of the box. This turned out quite successful as there was minimal movement with the tracking and its position blended with the scene.
Final render
(2) Track and corner pin
Final render
After effects Show reel part 1
WEEK 8
After Effect 3D
This session was an introduction to the 3D functions in after effects. This includes editing 3D shapes with effects such as bevelling, extrusion and animations.
Class Exercise
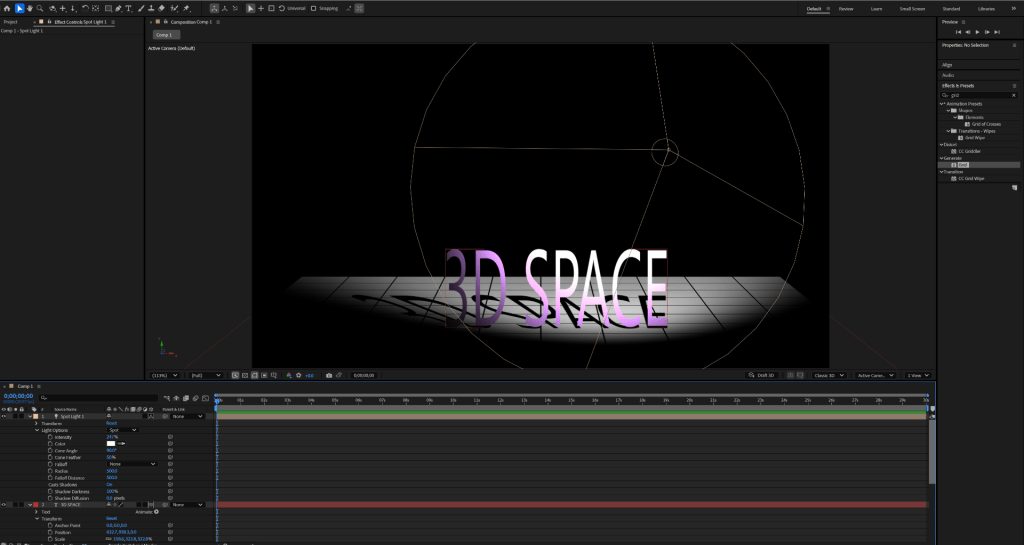
1. Introduction to after effects 3D creating an animation with 3D imagery
I was able to achieve the task, by making the text 3 dimensional. Additionally, other features such as camera, lighting and shadow were applied to the scene to make it more visually appealing.
I was then introduced to the application of effects to 3D imagery. For this process I used the character shuffle in animation.
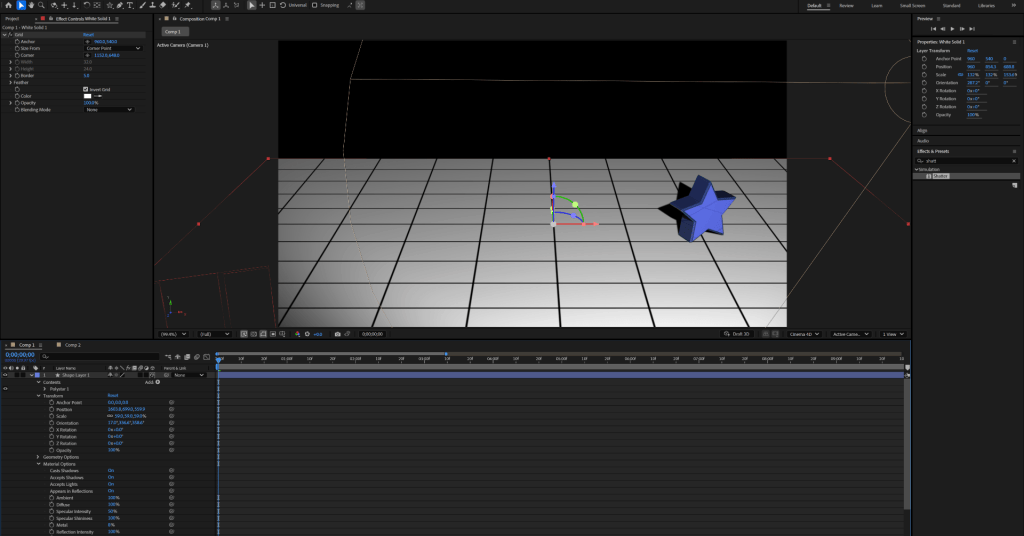
Final result
2. Using a shatter animation technique
This was further practice with 3D animation effects. This section of the exercise was an introduction to the cinema 4D setting. To make the effect appear with each character, I move the position of the target. I then added it as keys on the timeline.
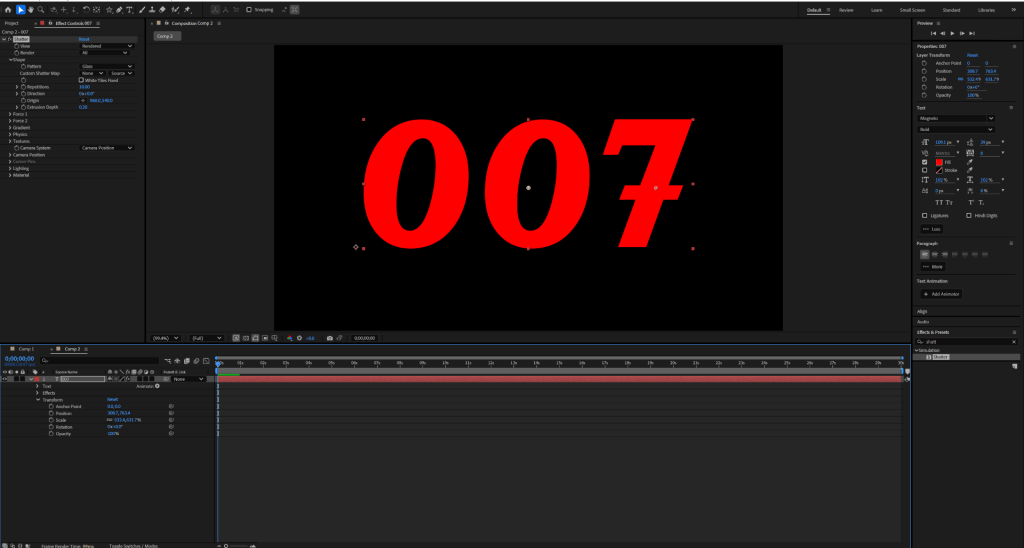
Final result
Assignment 1 – Adobe After Effects Week 1-8 Showreel
WEEK 9
Maya Render Passes, AOVs, EXR export and compositing these elements in After Effects
AOV (arbitrary output variable) refers to additional render settings that can be used to render along with the basic beauty pass. These AOVs are first added to the file in Maya and compiled using adobe after effects. These can include:
- Specular
- Diffuse
- Z Depth
- Ambient occlusion
- Transmission
Class exercise
Experimenting with different AOVs to create visually appealing renders in after effects.
Task 1
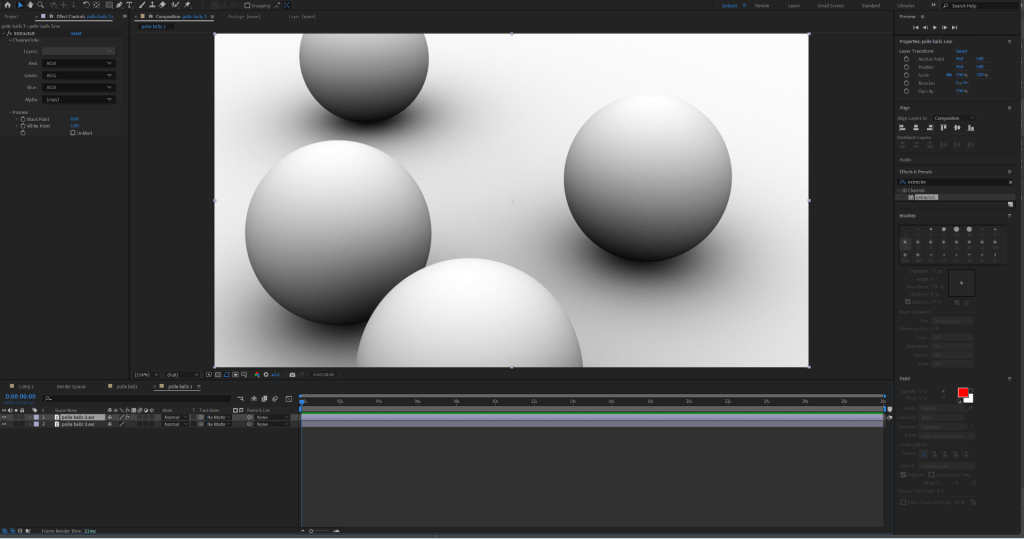
1. Applying the Z Depth to the Maya render: This is done through the Maya render settings.
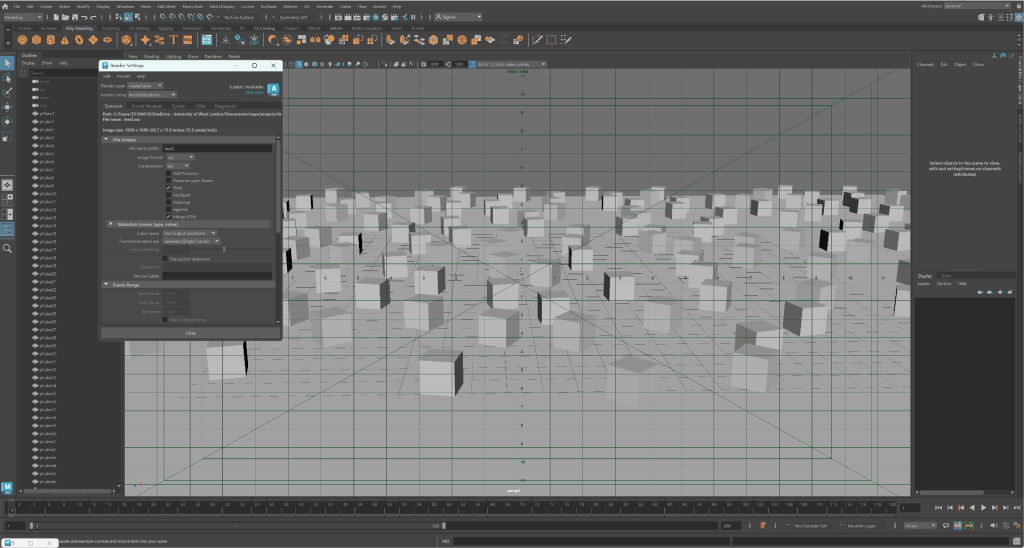
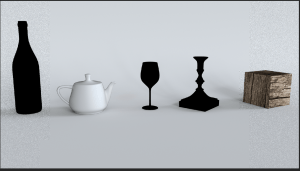
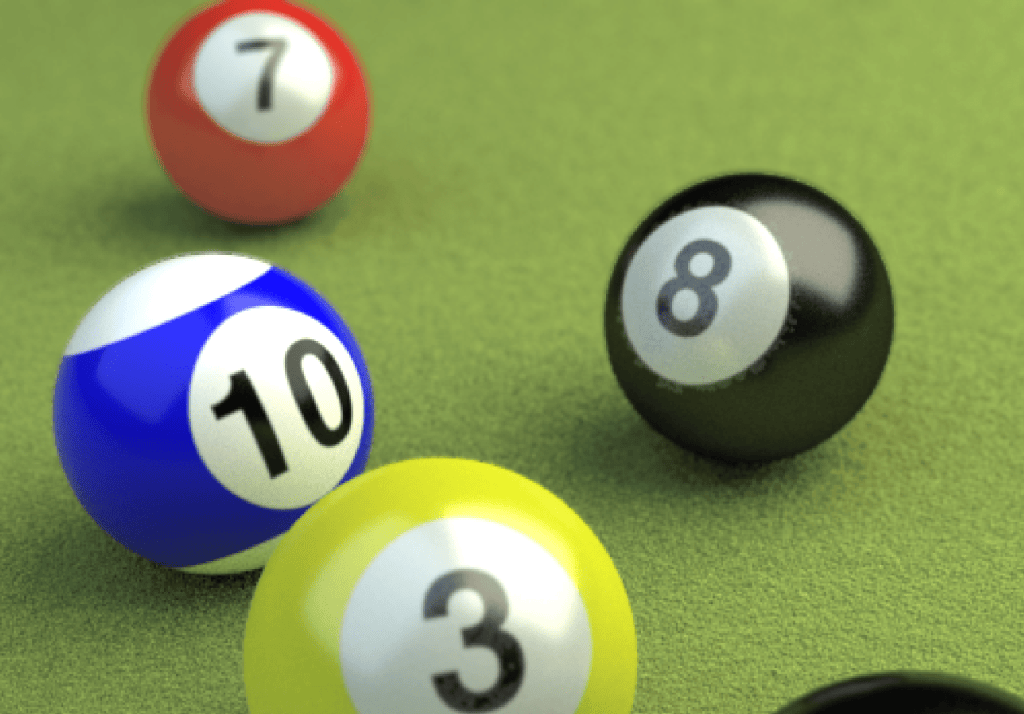
2. Opening the file in after effects with Z Depth: when the file is opened, the “EXtractoR” is applied to the layer. This allowed me to view the AOV applied to the render. The Zdepth is used as a reference map for the depth of field in an image.
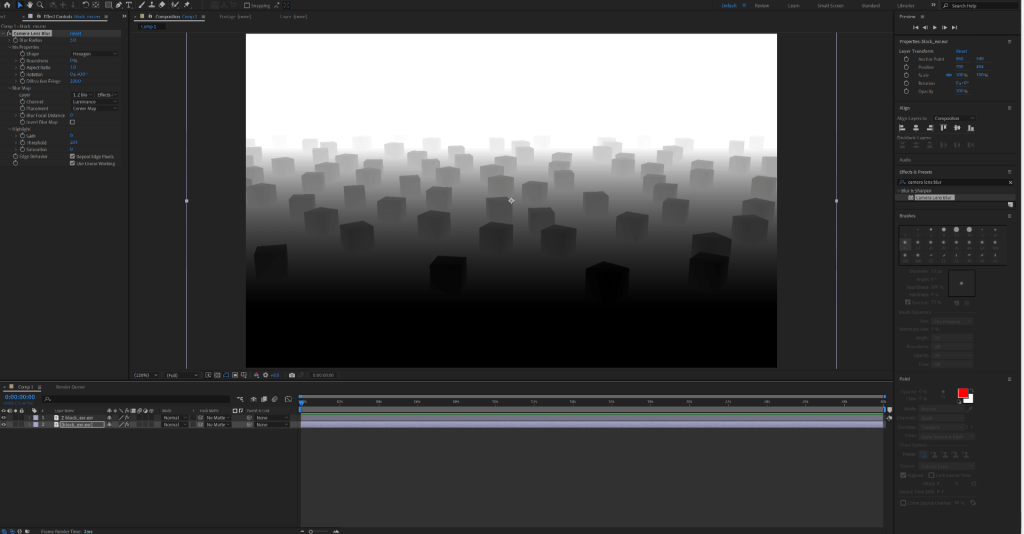
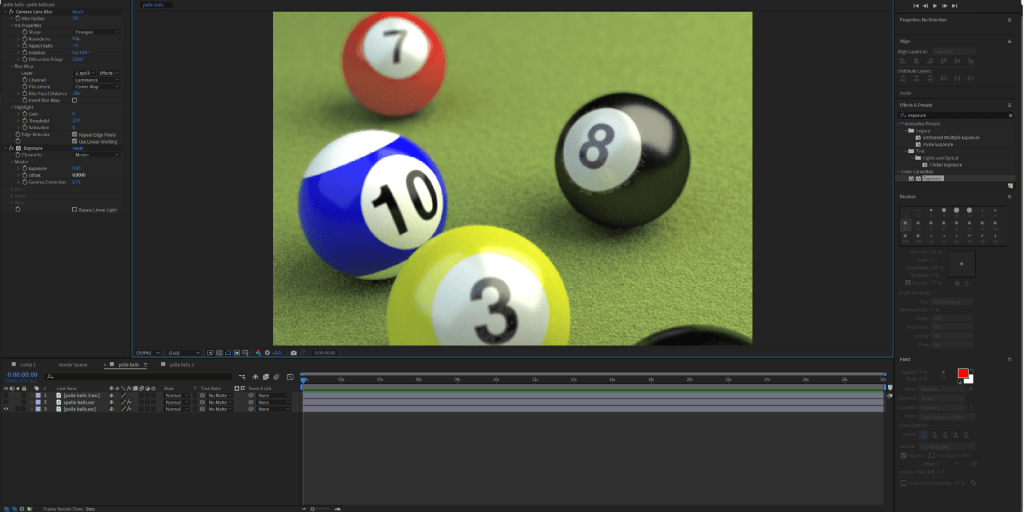
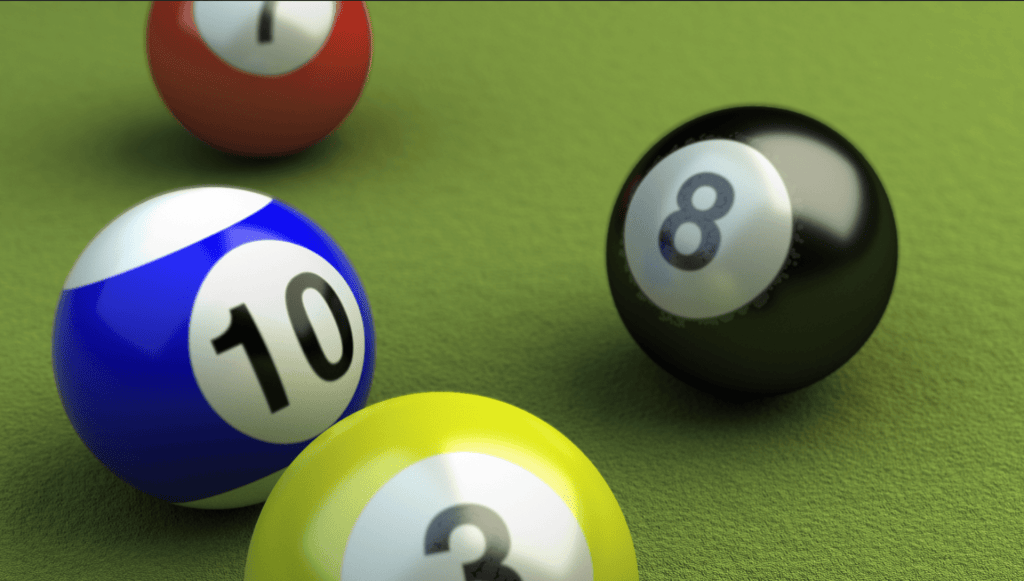
3. Applying the camera lens blur effect: by using the Zdepth mapping, the effect blurs out sections of the image highlighted by the Zdepth effect.
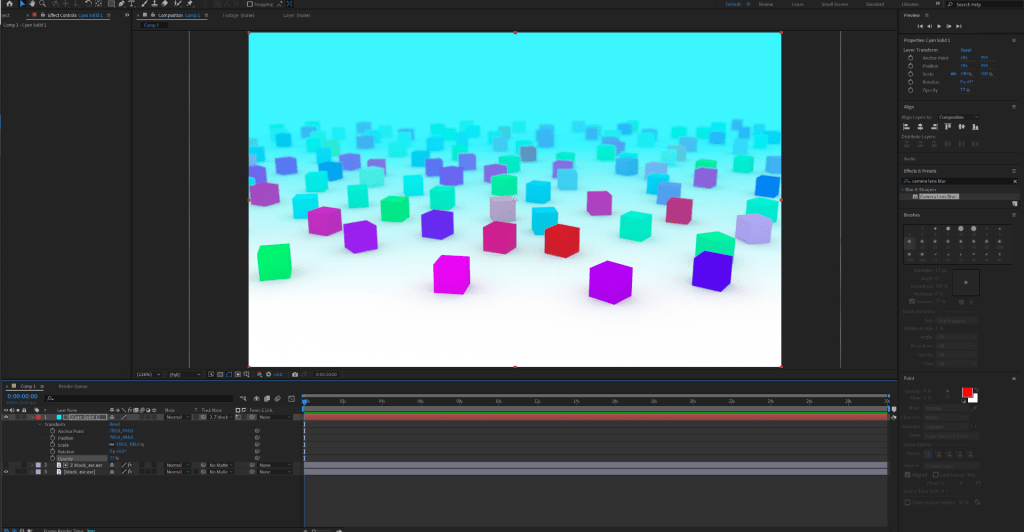
4. Applying fog through Zdepth: by also using the Zdepth map, a fog effect can be added to the image.
Task 2
WEEK 10
Maya Render Passes, AOVs, EXR export and compositing these elements in After Effects 2
Further experimentation with compositing render passes on after affects and applying other effects to create visually appealing imagery.
Class workshop
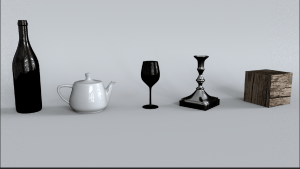
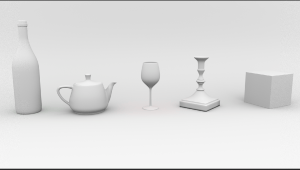
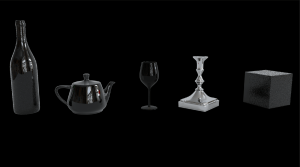
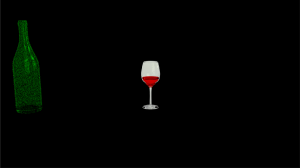
1. Compositing AOVs: with this exercise, I used adobe after effects to compile the different AOVs into a single image.
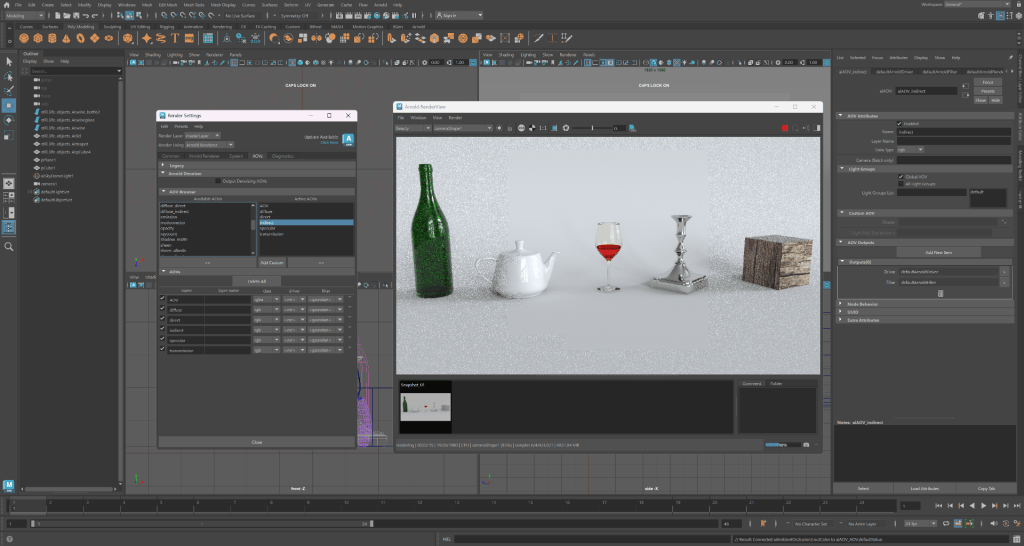
Separate AOVs
2. Compositing AOVs and applying Zdepth to an effect
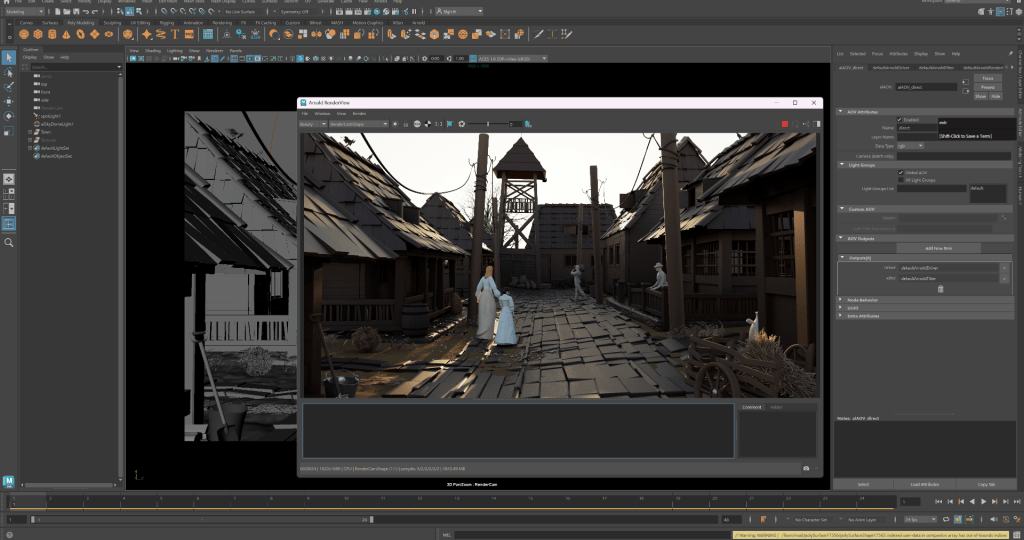
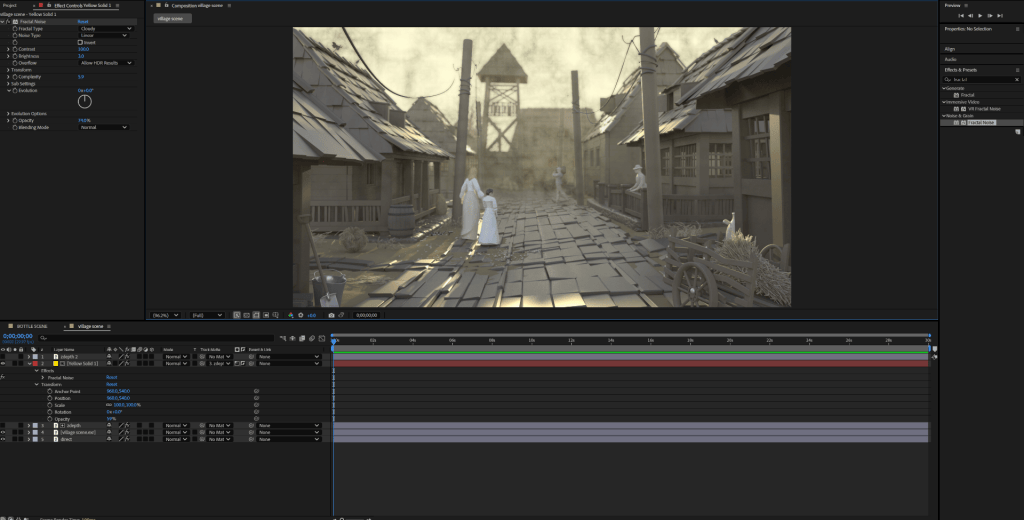
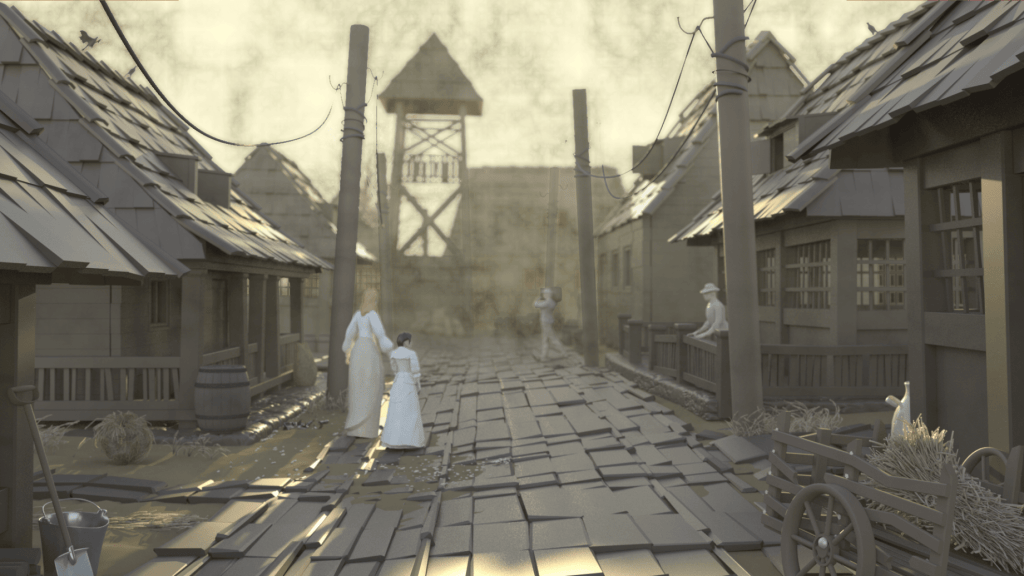
I then experimented with adding colour to a project using the Zdepth. This function is very useful as can be used to create effects such as fog, smoke or colour correction. I created fog using this feature along with a smoke effect provide by after effects.
WEEK 11 – 12
Introduction to Dynamics
Dynamics are systems often used in visual effects to stimulate the ways objects move or interact with each other.
Types of dynamics in Maya:
- Fluid dynamics: generates liquids or gases.
- Particles systems: used to create small particles such as dust, snow, water droplets or fire.
- Soft body dynamics: stimulates objects that deform under force, including rubber, plastic, and other bendable objects
- Rigid body dynamics: stimulate objects that do not deform under pressure.
Class exercise
Experiment with the range of dynamics Maya has to offer.
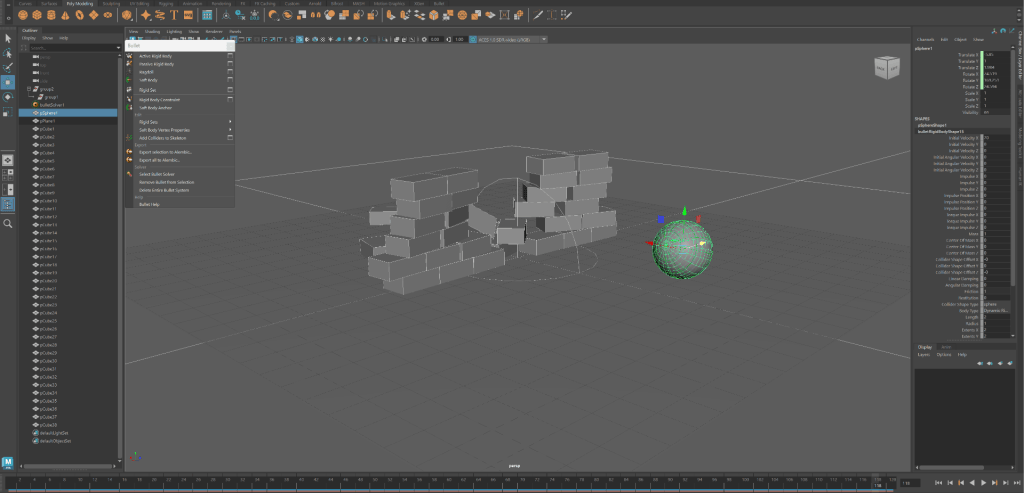
In order to use the dynamics in Maya, the bullet plug in had to be added to the project.
1. Introduction to active rigid body:
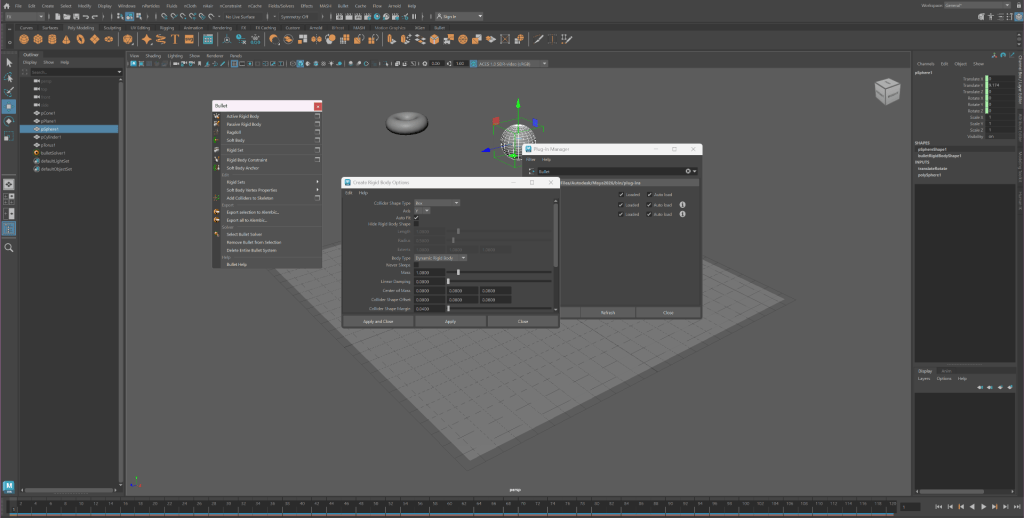
2. Crashing a ball into a pile of bricks using Maya dynamics: to create this simulation, the active rigid body system was applied to the moving objects, which in this case were the sphere and brick wall. The velocity of the sphere is the adjusted to ensure that the sphere moves towards a certain direction at a certain speed.
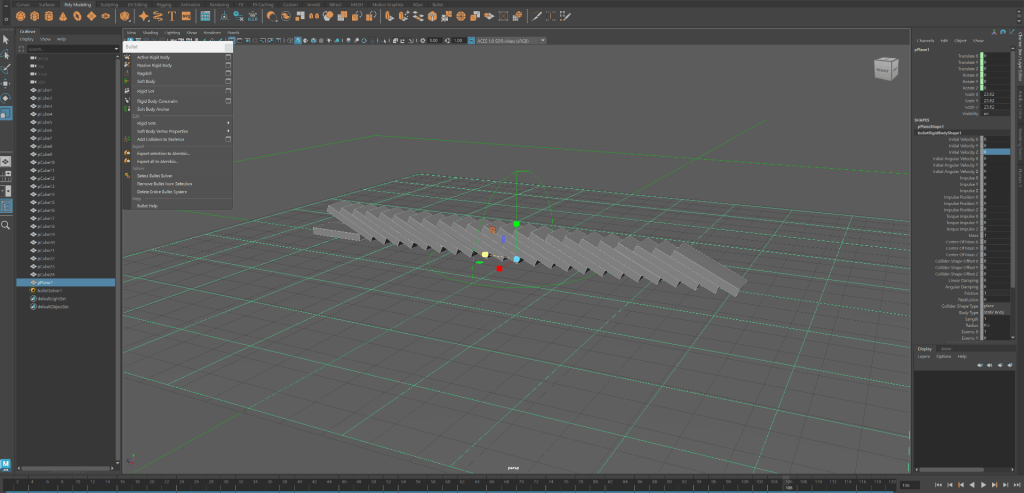
2. Falling Dominos: to carry out this process I adjusted the angular velocity of the first domino. This enabled the first domino to fall along the ‘X’ axis rather than ‘Y’.
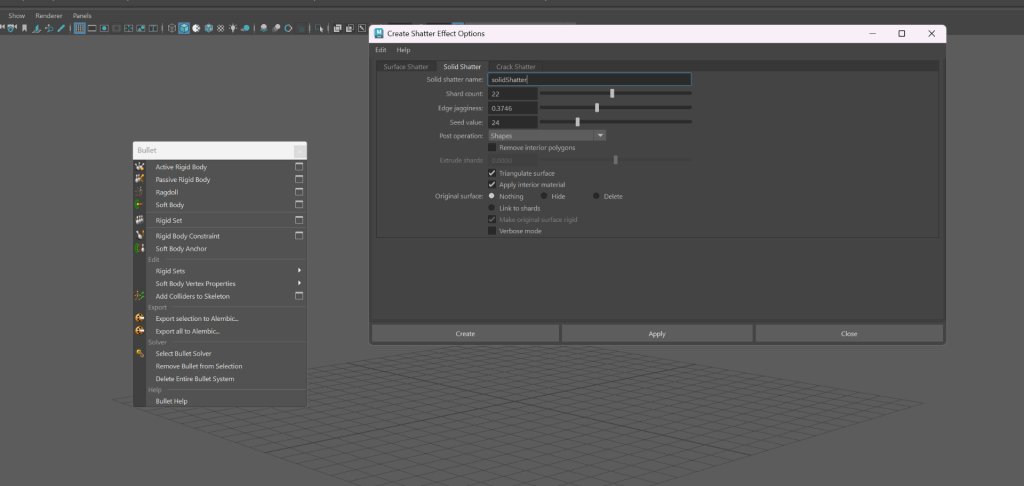
3. Introduction to the 3D Shatter effects: this process the application of the active rigid body system along with the shatter effects found on the effects menu. This feature can be further refined by editing aspects such a the seed value, randomness or size.
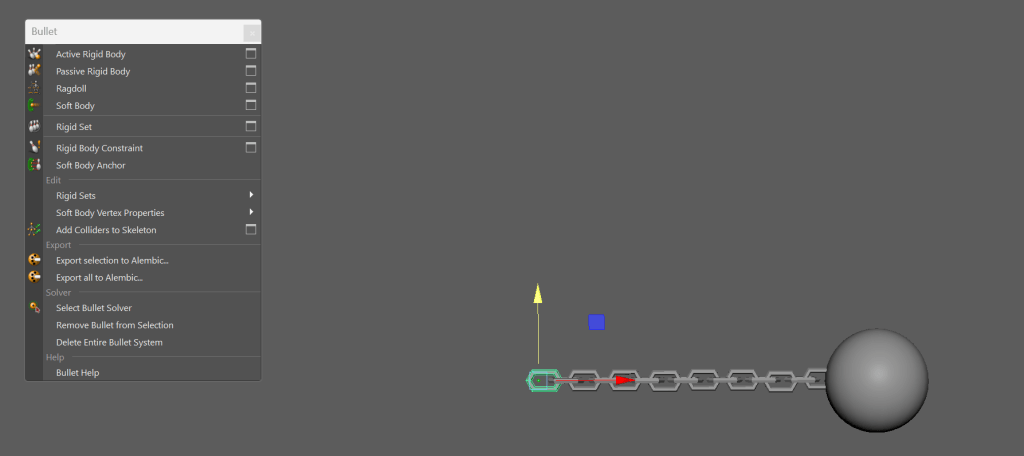
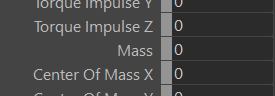
4. Ball and chain exercise: for this process I carried out the same steps used with active rigid body application, however, I reduced the mass of the first link to 0. This made it stay in place while the chain and ball swung.
Rendered
5. Introduction to nCloth: this system is used to stimulate the movement of fabric. To use this feature I simply applied it to a plane model. I was then able to adjust aspects such as the mass or thickness in the attributes editor.
Making a flag: for this process I used the nConstraint feature. This allowed me to create static point that remain in place when the sequence is played, this done by simply selecting the designated points and applying the system to it.
WEEK 13
Maya nParticles and Fluid Systems
The nParticles system is used to generate effects such as dust, rain, fire or sparkles. To use this feature a point is generated and placed on the scene. This then creates a cluster of particles that can be adjusted to create different simulations.
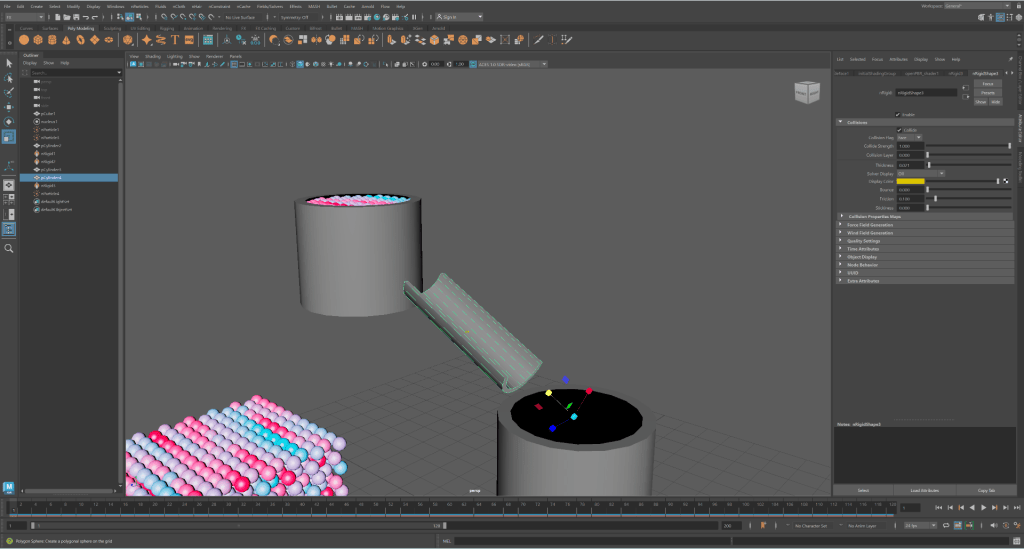
Filling a container
To create the tilting movement I keyed it into the timeline.
WEEK 14
Assignment 2 – James Bond Inspired Title Sequence
The aim of this assignment is to create a title sequence inspired by the James Bond trilogy.
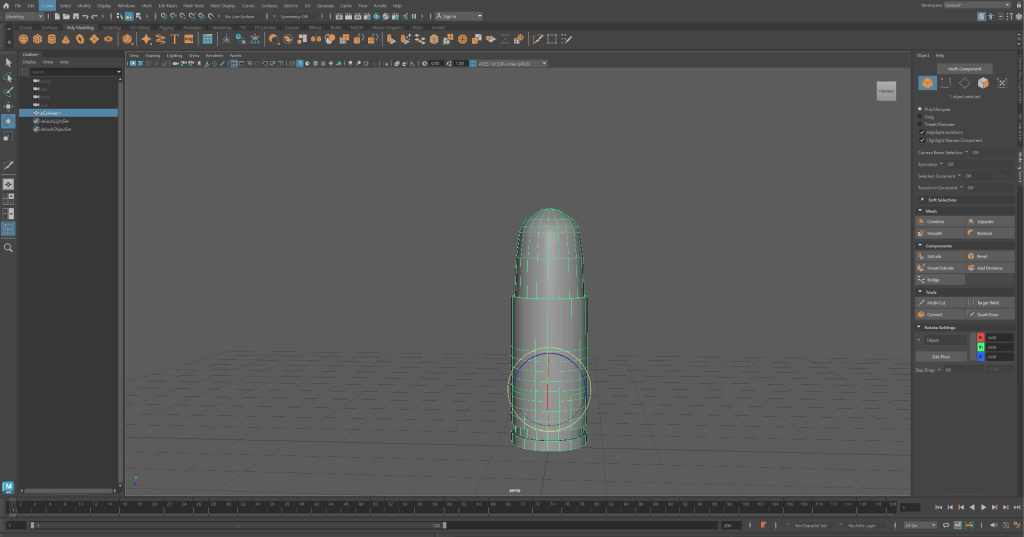
1. Creating a falling bullets sequence: for this process, I sculpted a bullet and duplicated it multiple times. Then applied the active rigid body feature to each to stimulate the movement of falling bullets. The scene was captured against a green background to make keying more effective.
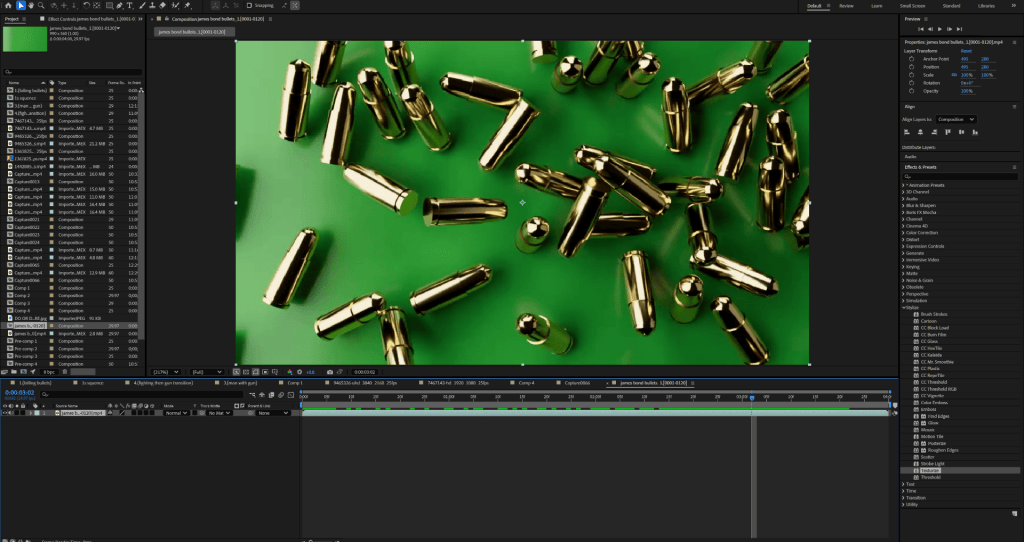
The sequence was then imported to after effects where I keyed out the background. Due to the glossiness of the models, they all contained green lighting. To fix this, I simply played around with the colour correction of the keyed sequence. I aim to keep the cropped out effect and work around it by creating a stylised look.
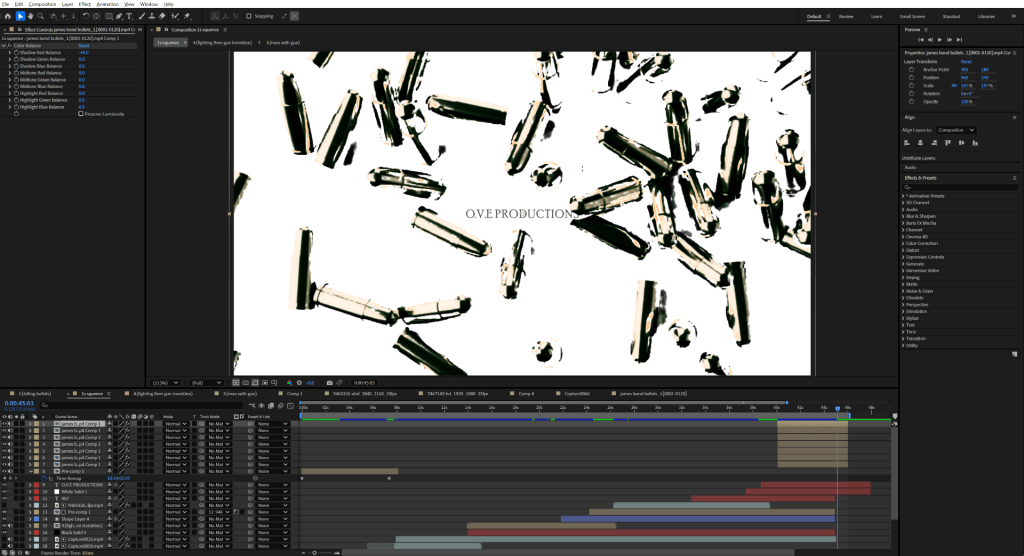
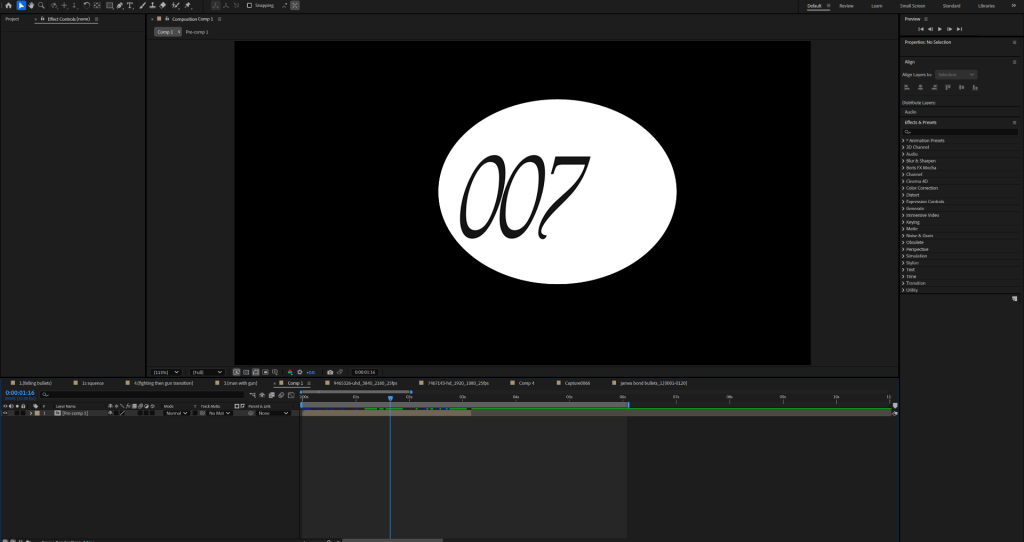
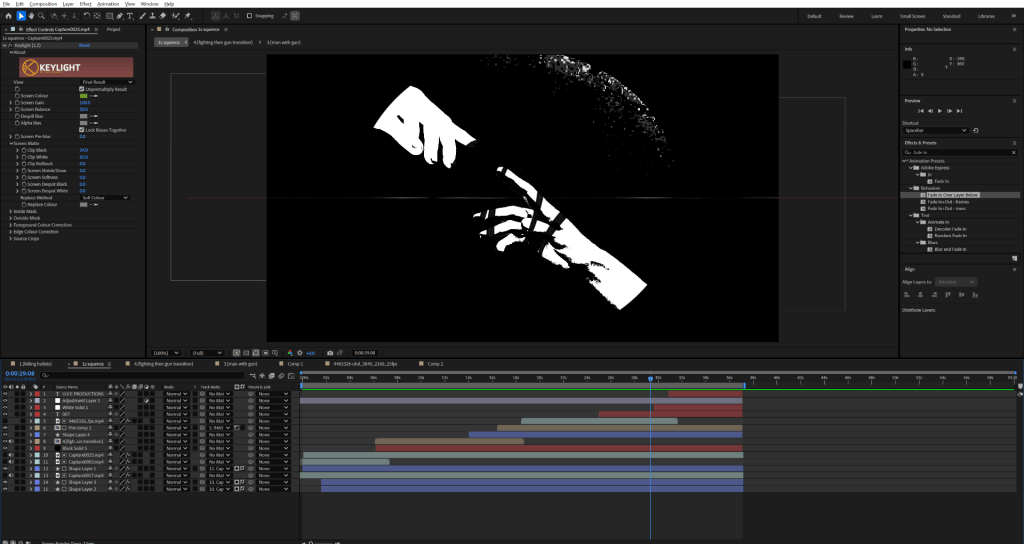
2. Creating a range of sequences through the use of keying and track mattes: for the deformation around the eclipses, I applied a decay effect to each shape layer and increase its size and reduced the speed to compliment the pace of the scene.
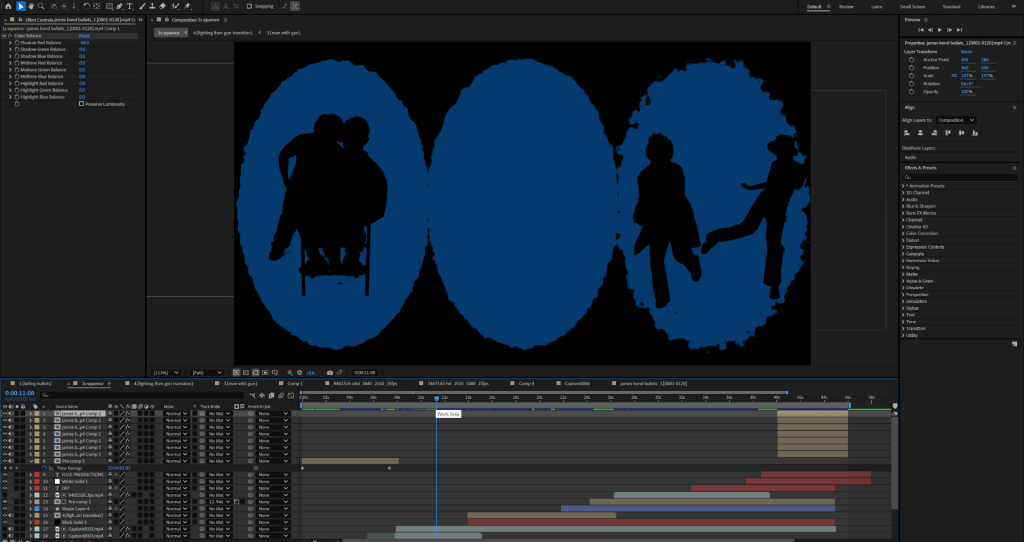
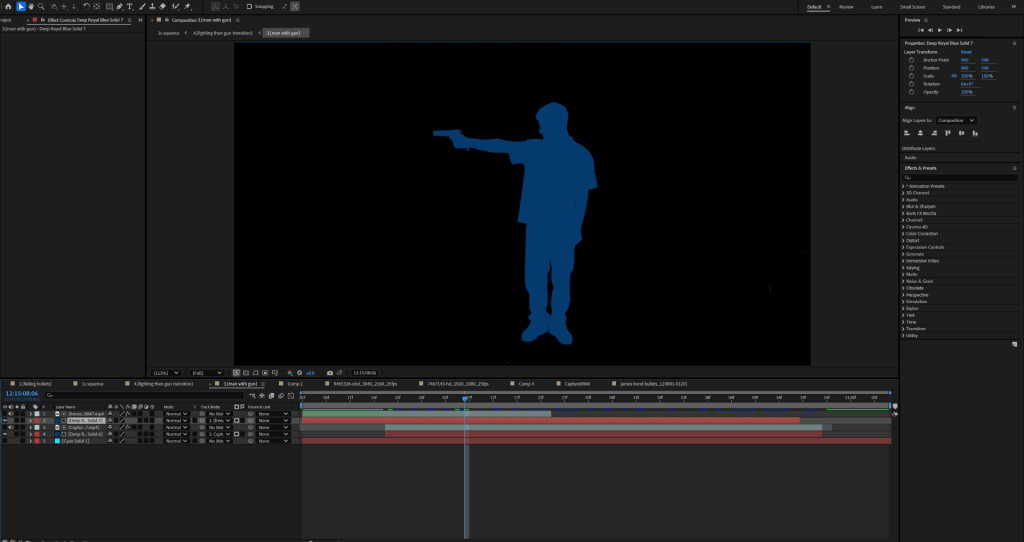
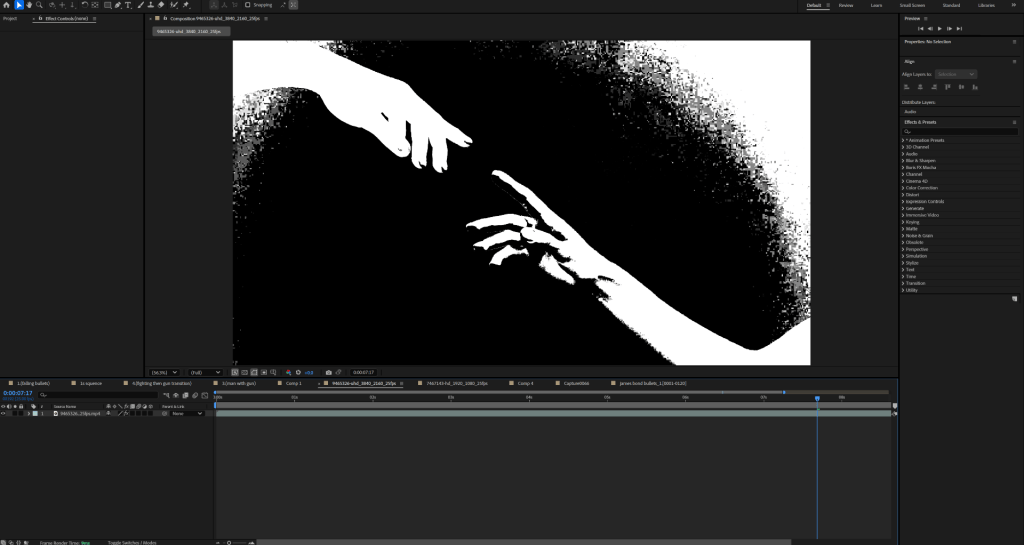
007 Display using track matte
3. Compiling the sequences and adding music: I used adobe premiere pro to add music to the sequence. I chose Billie Eilish – No Time To Die (Official Instrumental) to further tie the theme with the James Bond films. I made the audio fade in and out to make it more natural.
Final Sequence
Analysis & Evaluation
I was able to create this through a combination of media creativity and all that I’ve learnt with the course so far, therefore, I am quite proud of how the sequence came out. I believe that the final edits really tied it all together, the use of the colour emboss and noise effect help to create a retro style that can be associated with the Hollywood spy aesthetic. Additionally, the constant colour theme joined by the changes in mood helps to hook the attention of the viewer. Something I feel could be developed in the project is the movement displayed on each sequence. More moving elements could be added to the background of each sequence, e.g smoke, falling tokens, fire, etc. This would make the final result much more fun to watch. In the future, I hope to further experiment with the use of 3D elements in after effects. I’d love to create more dynamic movements and stimulations.

